Install an SSL certificate
If you do not use a wildcard certificate, you must create a Certificate Signing Request (CSR) for the storage zones controller server and submit your request to a Certificate Authority (CA). For help, see the documentation for your CA.
Follow these steps to install a certificate.
- On the storage zones controller server, open MMC and then choose File > Add/Remove Snap-in.
- Select Certificates and then select Add.
- Select Computer Account, select Next, select Finish, and then select OK.
- In the MMC console, expand Certificates > Personal.
- Right-Select Certificates, choose All Tasks > Import, and then select Next.
- Select Browse and then from the file name extension menu, choose Personal Information Exchange.
- Browse to the certificate location and then select Open.
- Select Next, enter the Password associated with your private key, select Next twice, and then select Finish.
- When the message Import was Successful appears, select OK.
For a public certificate, make sure that the domain it is issued to resolves to the local IP address of storage zones controller. To do that, update the hosts file on the storage zones controller to map the domain associated with the certificate to the storage zones controller IP address. If the two addresses do not resolve, users will not be able to upload files from storage zones controller.
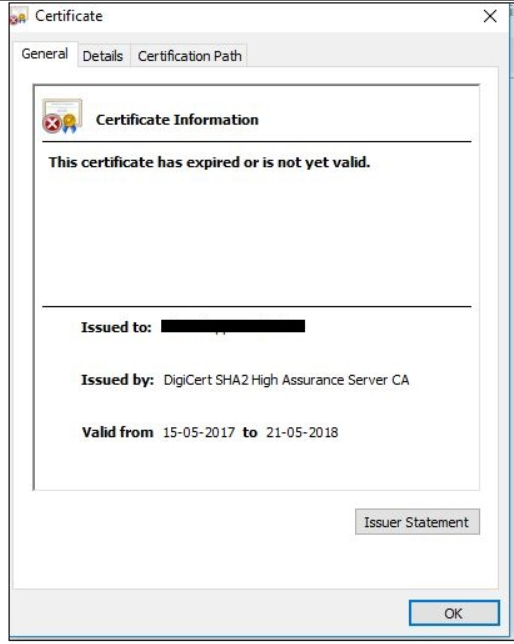
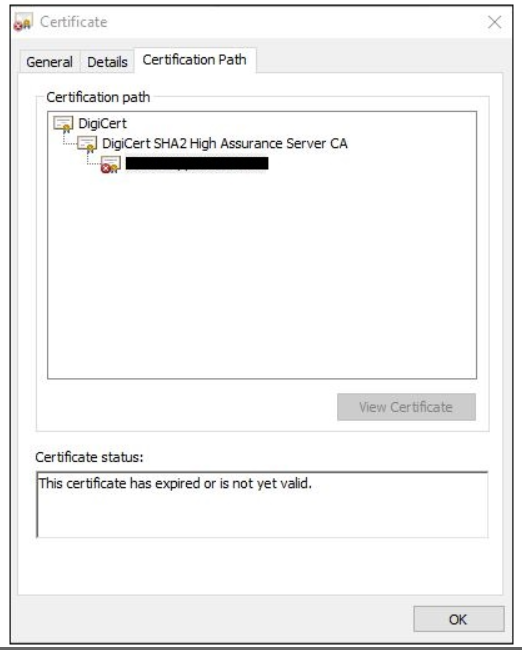
Check and renew SSL status
To check the SSL certificate status. Access the External Address of the Storage Zone Controller on the browser.


Renew instructions
-
Save your certificate file to the IIS server that the CSR request was generated from.
-
Open the IIS Manager and on the left side click on your server’s name, and in the center window pane scroll down to Server Certificates and open it.
-
Under Actions pane click to Complete Certificate Request.
-
Click to browse to the .CER certificate file you received from Vendor, and give the certificate a Friendly Name to help you refer to this certificate by in the future and click Ok.
-
Under the Connections window pane, expand your server’s computer name, then click the Site that you want to enable SSL on.
-
In the Actions menu click Bindings… then select the binding for https and select Edi.
-
In the ‘SSL certificate:’ drop-down menu select your newly-installed SSL Certificate by it’s friendly name, and click Ok.
The official version of this content is in English. Some of the Cloud Software Group documentation content is machine translated for your convenience only. Cloud Software Group has no control over machine-translated content, which may contain errors, inaccuracies or unsuitable language. No warranty of any kind, either expressed or implied, is made as to the accuracy, reliability, suitability, or correctness of any translations made from the English original into any other language, or that your Cloud Software Group product or service conforms to any machine translated content, and any warranty provided under the applicable end user license agreement or terms of service, or any other agreement with Cloud Software Group, that the product or service conforms with any documentation shall not apply to the extent that such documentation has been machine translated. Cloud Software Group will not be held responsible for any damage or issues that may arise from using machine-translated content.
DIESER DIENST KANN ÜBERSETZUNGEN ENTHALTEN, DIE VON GOOGLE BEREITGESTELLT WERDEN. GOOGLE LEHNT JEDE AUSDRÜCKLICHE ODER STILLSCHWEIGENDE GEWÄHRLEISTUNG IN BEZUG AUF DIE ÜBERSETZUNGEN AB, EINSCHLIESSLICH JEGLICHER GEWÄHRLEISTUNG DER GENAUIGKEIT, ZUVERLÄSSIGKEIT UND JEGLICHER STILLSCHWEIGENDEN GEWÄHRLEISTUNG DER MARKTGÄNGIGKEIT, DER EIGNUNG FÜR EINEN BESTIMMTEN ZWECK UND DER NICHTVERLETZUNG VON RECHTEN DRITTER.
CE SERVICE PEUT CONTENIR DES TRADUCTIONS FOURNIES PAR GOOGLE. GOOGLE EXCLUT TOUTE GARANTIE RELATIVE AUX TRADUCTIONS, EXPRESSE OU IMPLICITE, Y COMPRIS TOUTE GARANTIE D'EXACTITUDE, DE FIABILITÉ ET TOUTE GARANTIE IMPLICITE DE QUALITÉ MARCHANDE, D'ADÉQUATION À UN USAGE PARTICULIER ET D'ABSENCE DE CONTREFAÇON.
ESTE SERVICIO PUEDE CONTENER TRADUCCIONES CON TECNOLOGÍA DE GOOGLE. GOOGLE RENUNCIA A TODAS LAS GARANTÍAS RELACIONADAS CON LAS TRADUCCIONES, TANTO IMPLÍCITAS COMO EXPLÍCITAS, INCLUIDAS LAS GARANTÍAS DE EXACTITUD, FIABILIDAD Y OTRAS GARANTÍAS IMPLÍCITAS DE COMERCIABILIDAD, IDONEIDAD PARA UN FIN EN PARTICULAR Y AUSENCIA DE INFRACCIÓN DE DERECHOS.
本服务可能包含由 Google 提供技术支持的翻译。Google 对这些翻译内容不做任何明示或暗示的保证,包括对准确性、可靠性的任何保证以及对适销性、特定用途的适用性和非侵权性的任何暗示保证。
このサービスには、Google が提供する翻訳が含まれている可能性があります。Google は翻訳について、明示的か黙示的かを問わず、精度と信頼性に関するあらゆる保証、および商品性、特定目的への適合性、第三者の権利を侵害しないことに関するあらゆる黙示的保証を含め、一切保証しません。
ESTE SERVIÇO PODE CONTER TRADUÇÕES FORNECIDAS PELO GOOGLE. O GOOGLE SE EXIME DE TODAS AS GARANTIAS RELACIONADAS COM AS TRADUÇÕES, EXPRESSAS OU IMPLÍCITAS, INCLUINDO QUALQUER GARANTIA DE PRECISÃO, CONFIABILIDADE E QUALQUER GARANTIA IMPLÍCITA DE COMERCIALIZAÇÃO, ADEQUAÇÃO A UM PROPÓSITO ESPECÍFICO E NÃO INFRAÇÃO.

