-
-
-
-
-
-
-
-
-
Signature Request using ShareFile in Outlook Online
-
-
This content has been machine translated dynamically.
Dieser Inhalt ist eine maschinelle Übersetzung, die dynamisch erstellt wurde. (Haftungsausschluss)
Cet article a été traduit automatiquement de manière dynamique. (Clause de non responsabilité)
Este artículo lo ha traducido una máquina de forma dinámica. (Aviso legal)
此内容已经过机器动态翻译。 放弃
このコンテンツは動的に機械翻訳されています。免責事項
이 콘텐츠는 동적으로 기계 번역되었습니다. 책임 부인
Este texto foi traduzido automaticamente. (Aviso legal)
Questo contenuto è stato tradotto dinamicamente con traduzione automatica.(Esclusione di responsabilità))
This article has been machine translated.
Dieser Artikel wurde maschinell übersetzt. (Haftungsausschluss)
Ce article a été traduit automatiquement. (Clause de non responsabilité)
Este artículo ha sido traducido automáticamente. (Aviso legal)
この記事は機械翻訳されています.免責事項
이 기사는 기계 번역되었습니다.책임 부인
Este artigo foi traduzido automaticamente.(Aviso legal)
这篇文章已经过机器翻译.放弃
Questo articolo è stato tradotto automaticamente.(Esclusione di responsabilità))
Translation failed!
Create Signature Request In ShareFile For Outlook Online
The ShareFile Outlook Online add‑in lets you send documents for electronic signature or sign documents yourself—directly from Outlook, without leaving your inbox or compose experience.
Create Signature Request from New Mail Window
Use the following instructions to create a signature request using ShareFile for Outlook Online.
-
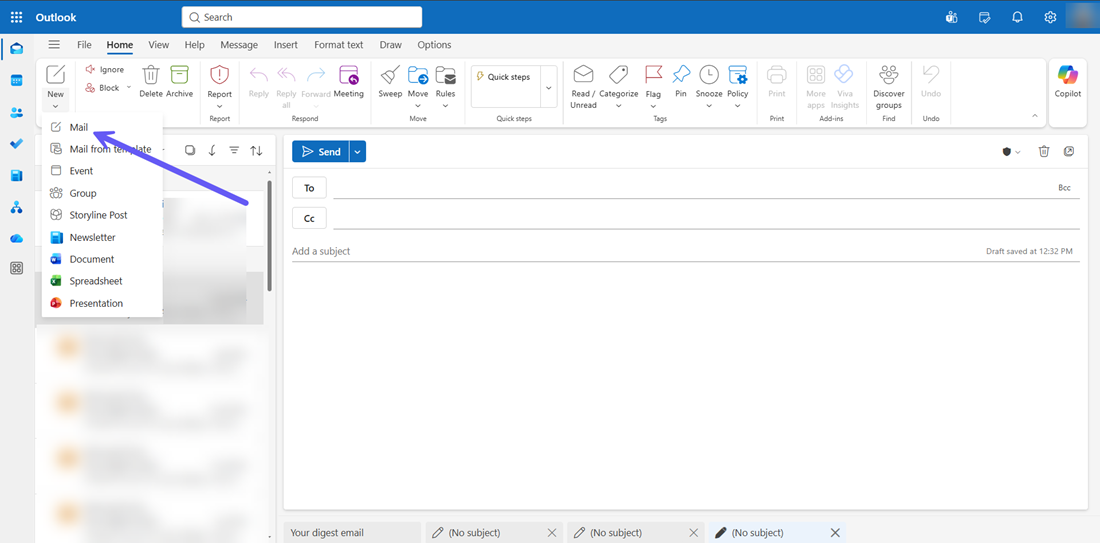
Navigate and log in to your Outlook Online account.
-
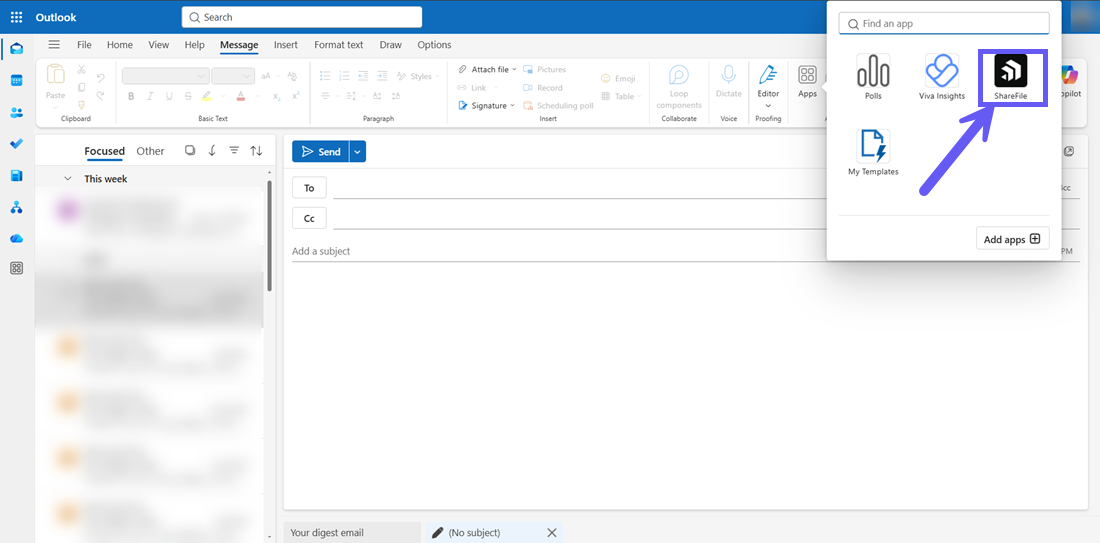
Select New mail to open up a new message window and navigate to the App section and select the ShareFile icon.
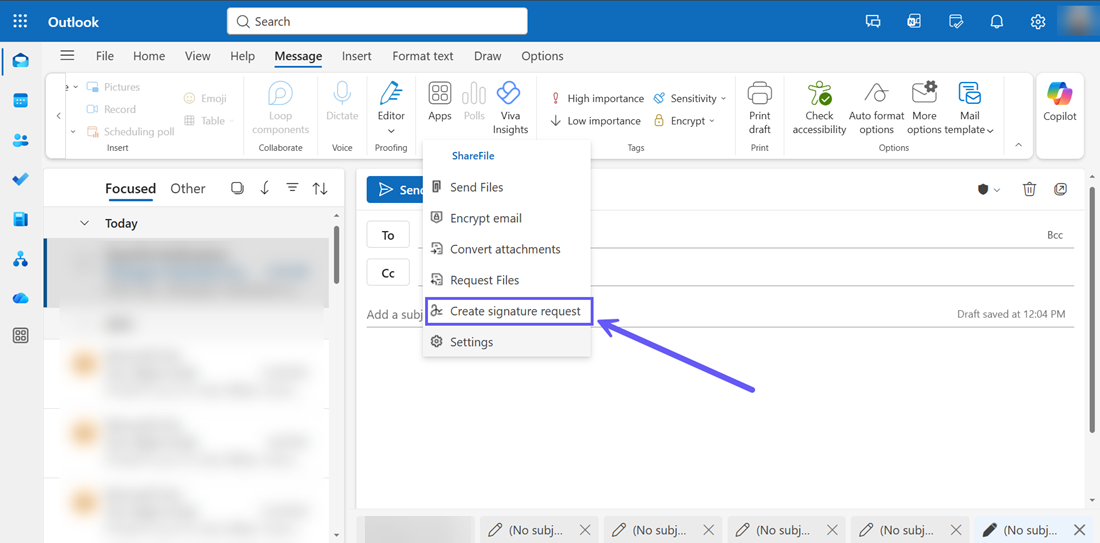
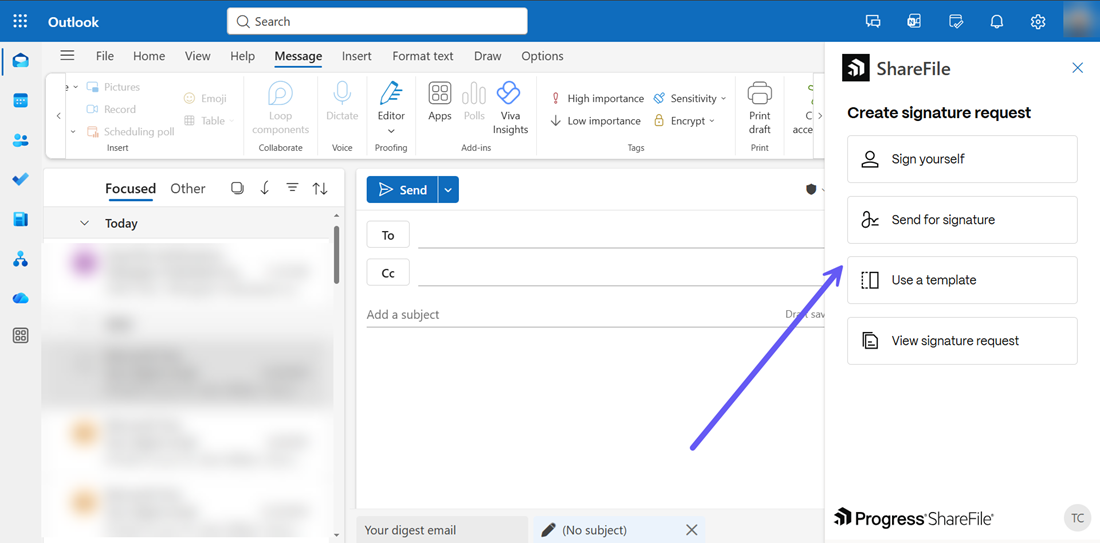
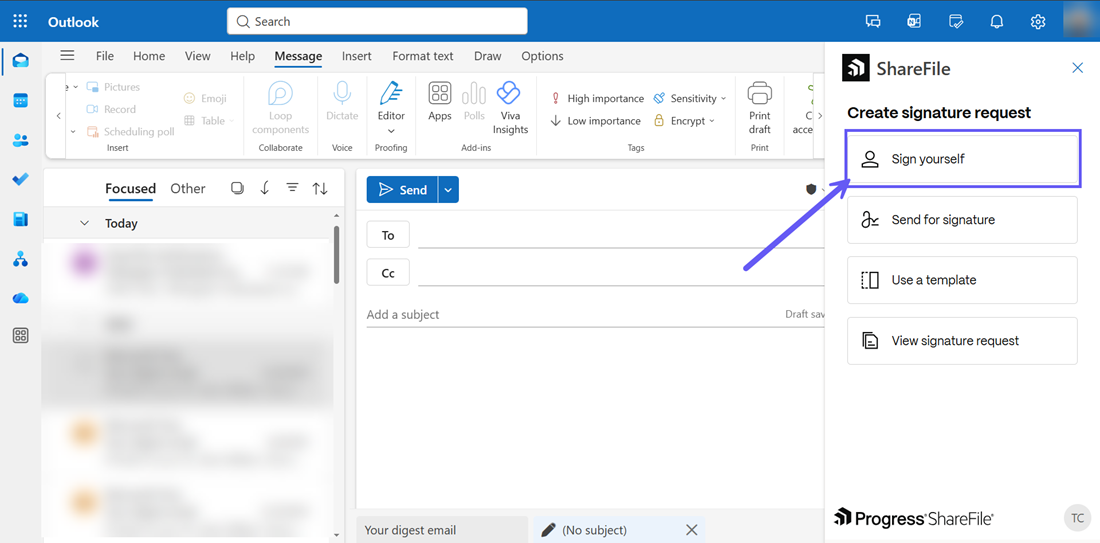
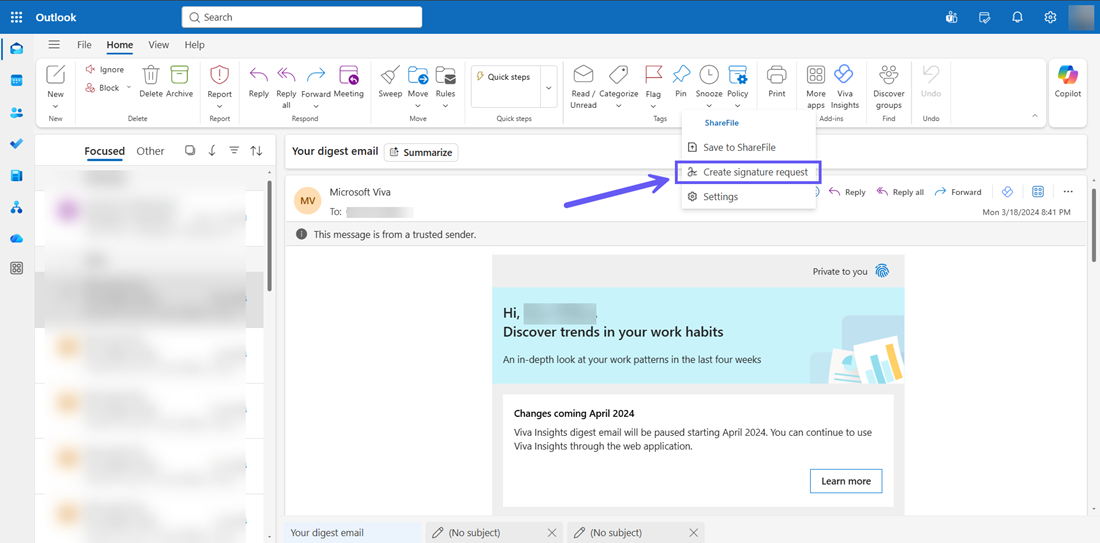
- From the drop-down menu, select the Create signature request and the signature request menu opens on the right hand pane as shown below:
Create Self Signature Request
-
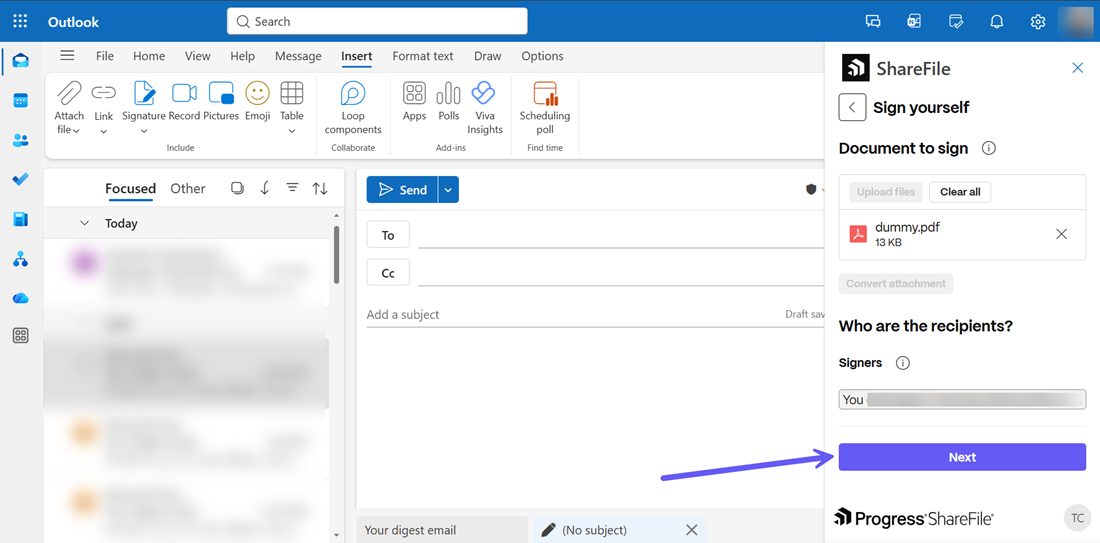
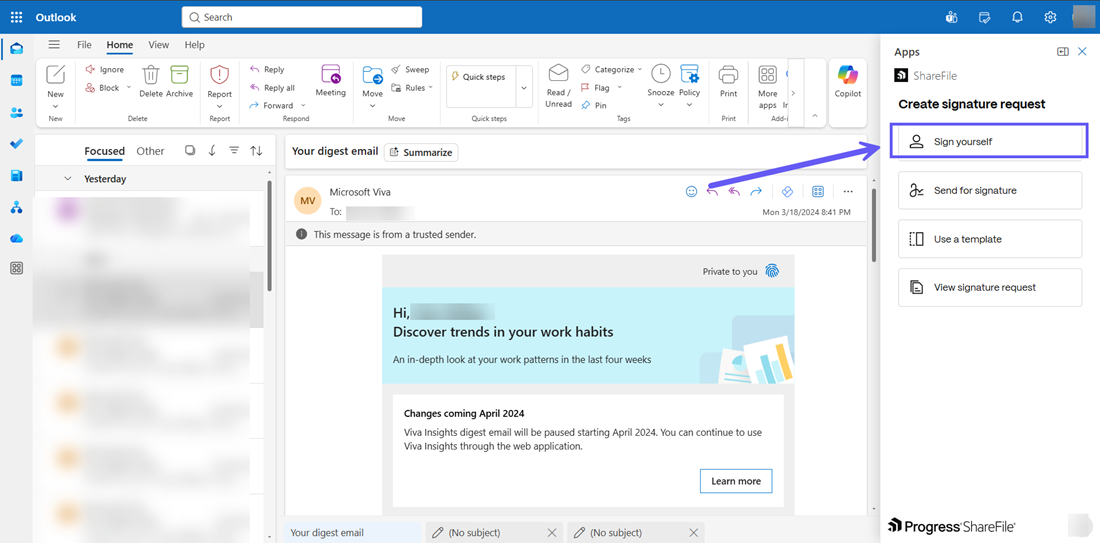
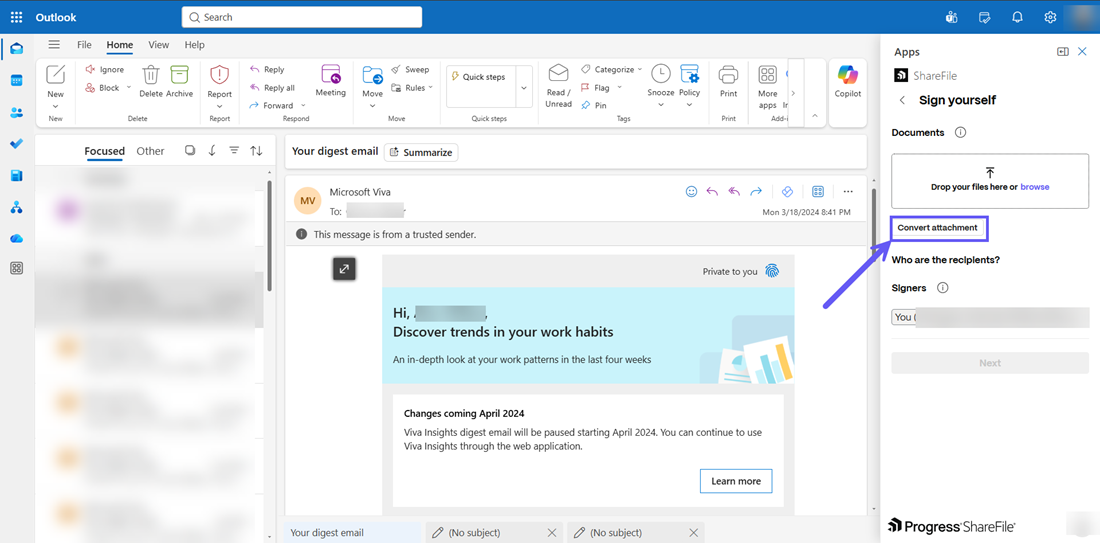
In the Create signature request menu, click on the Sign yourself button to sign the document yourself.
-
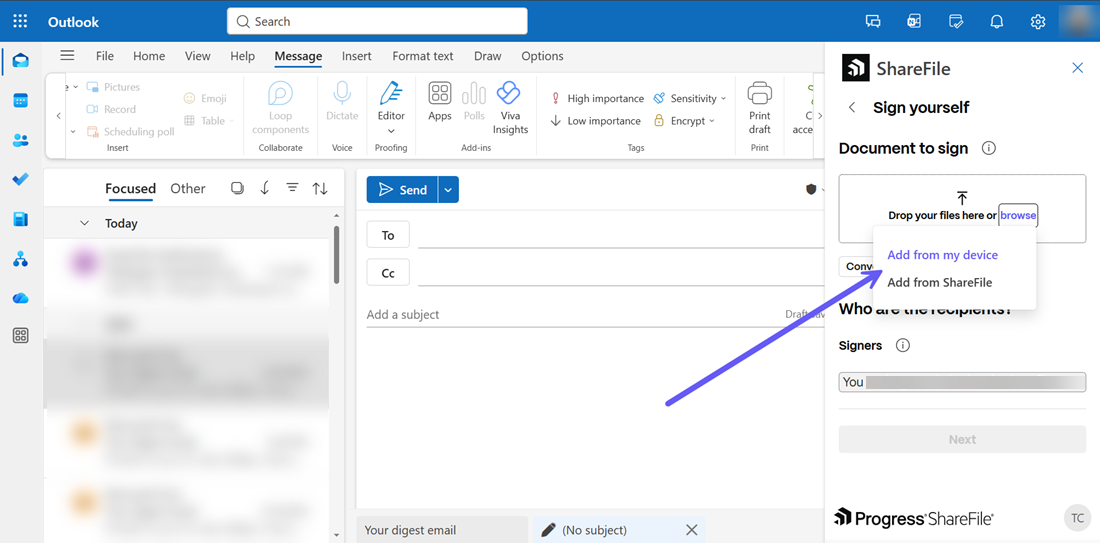
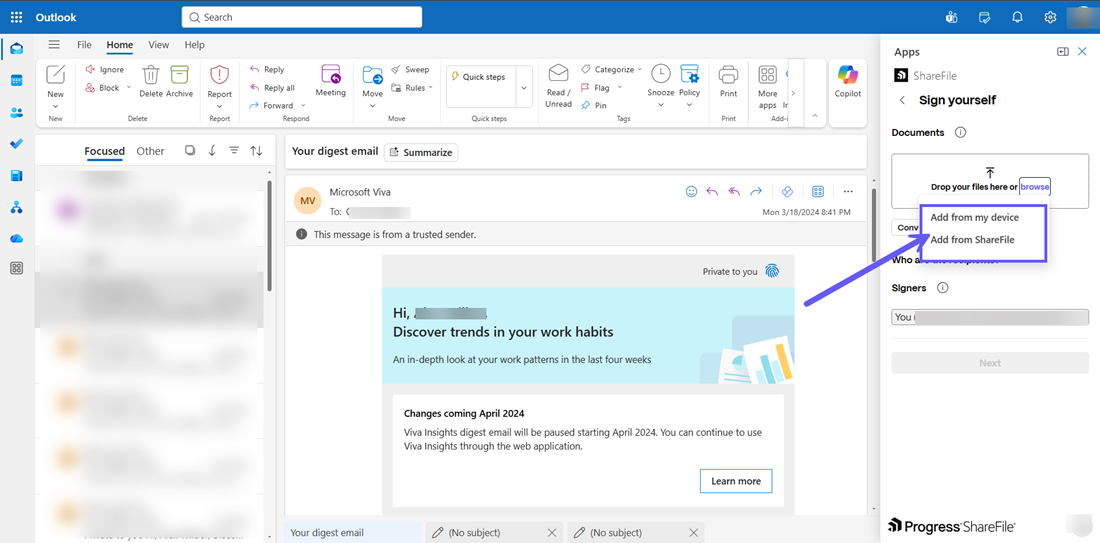
From the Sign yourself menu that opens, you can choose to attach files directly from ShareFile using the Add from ShareFile option or use the Add from my device button to add files from the Document to sign section as shown below:
-
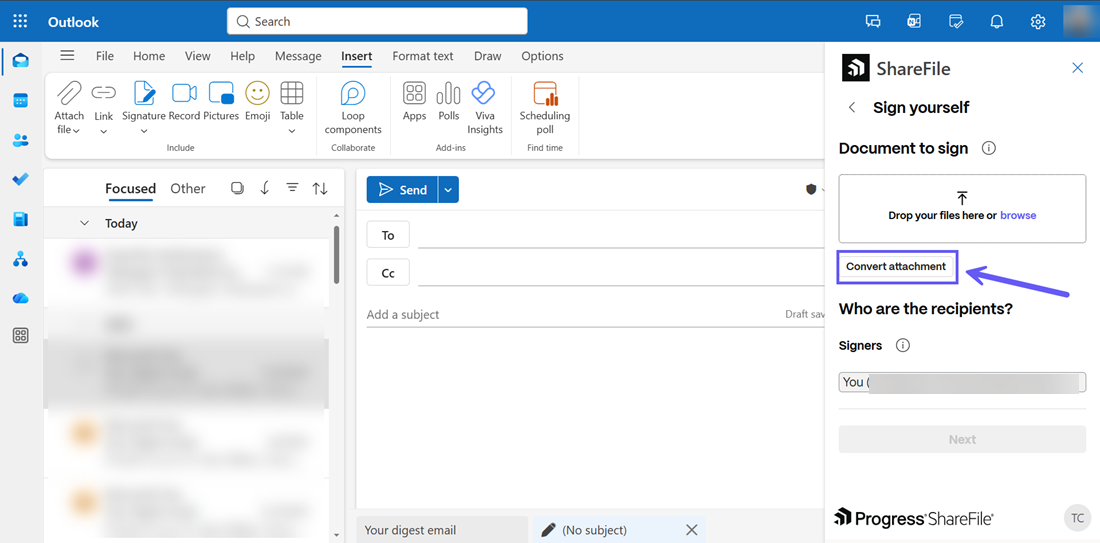
If you already have an attached file in the mail, you can use the Convert attachment button to add the file for signature request. You can visit Convert attachments for more information.
-
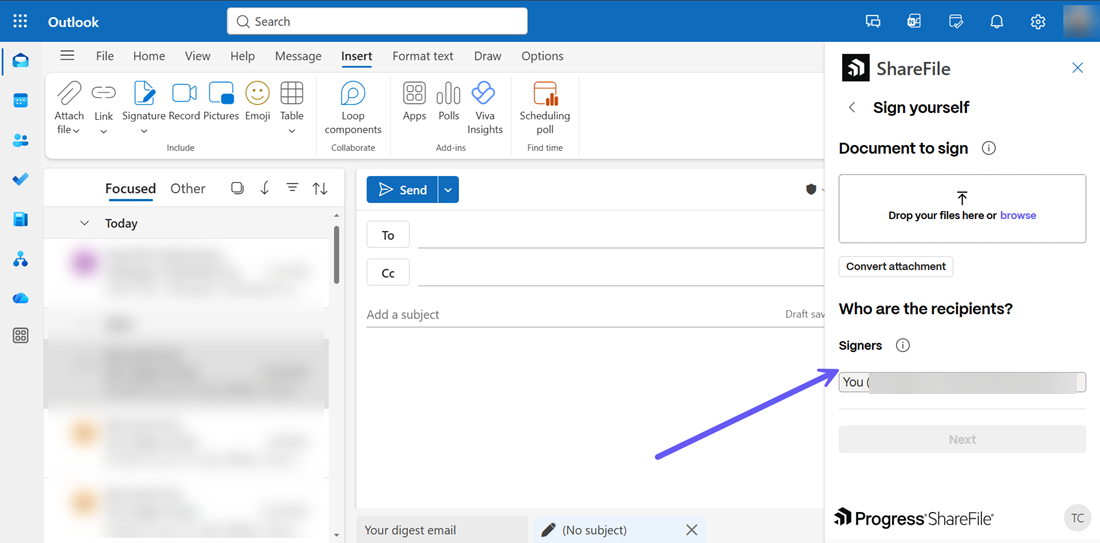
Under the Who are the recipients? section, your email id appears under the Signers section.
-
Click on the Next button and the Signature request window is displayed.
-
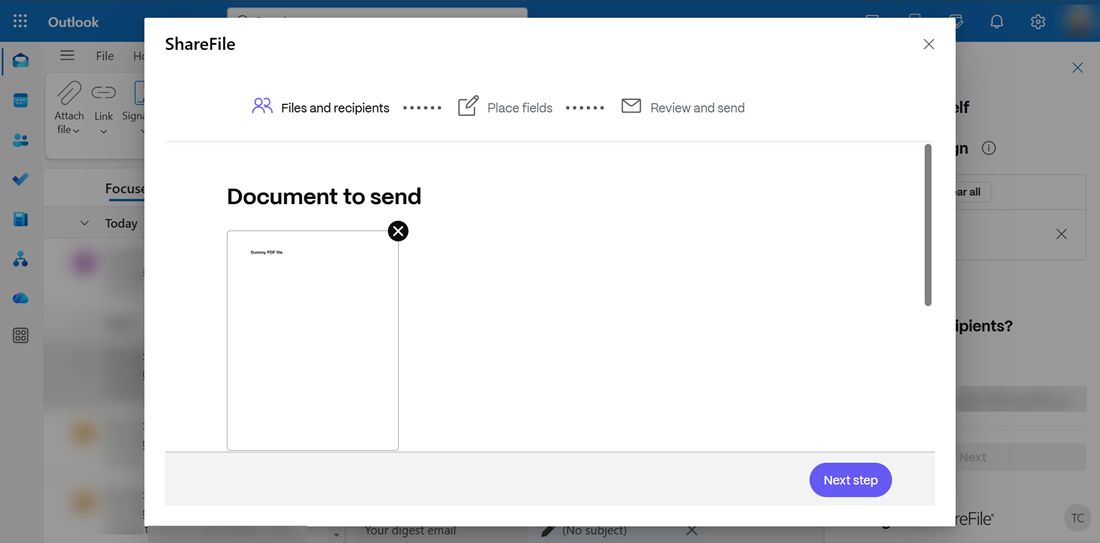
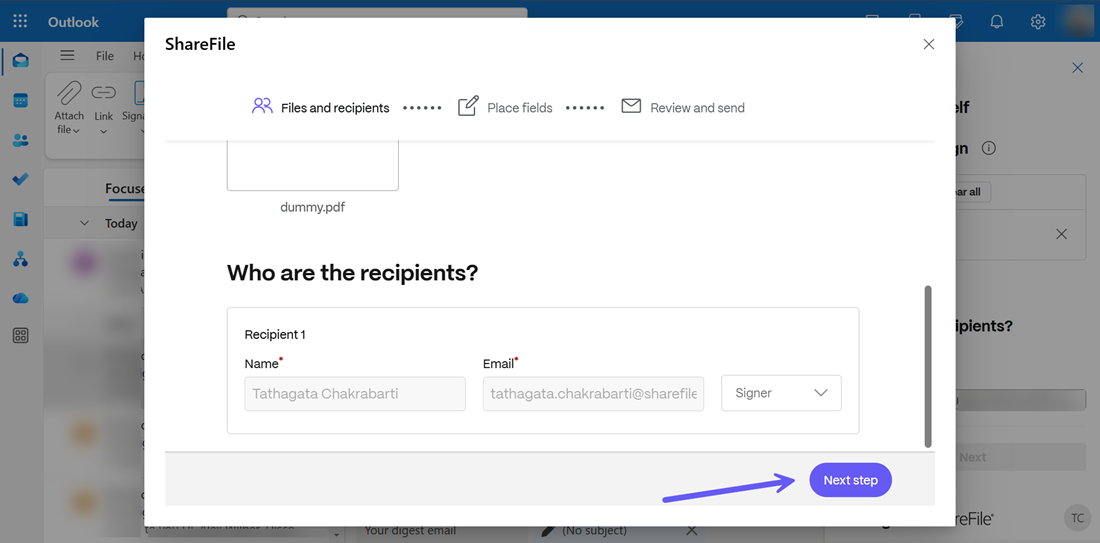
In the Files and recipients section, the document preview is shown under Document to send and your credentials are shown under the Who are the recipients? section. Click on Next Step to continue.
-
The Place fields section opens. You can add the fields in the document as shown below or you can add more fields using the Import fields option. For more information on how to import fields, follow steps 4-7 in Import fields. Then you can choose the Previous step to go back to the Files and recipients section or click on Next Step to continue.

-
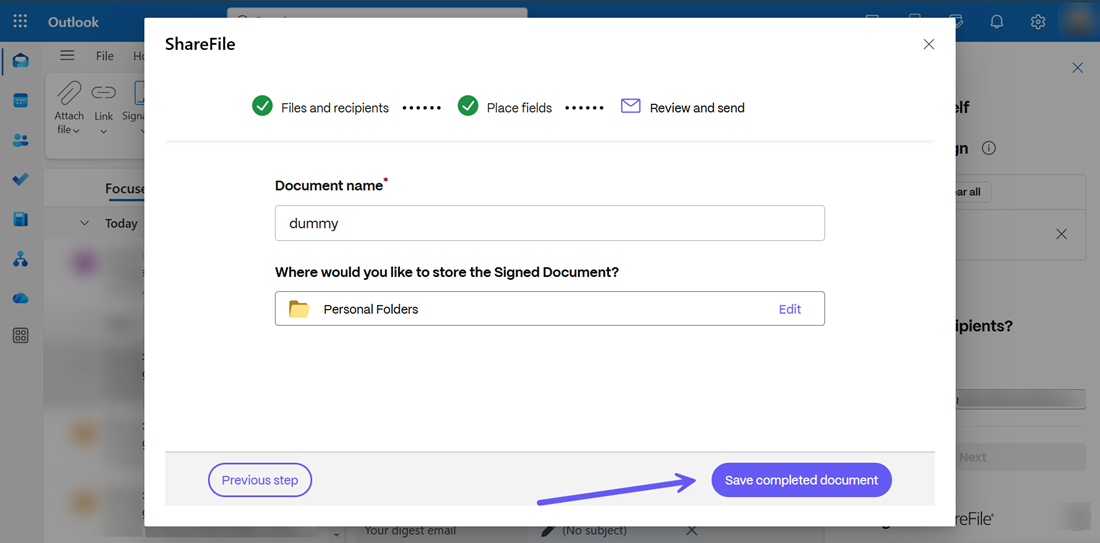
From the Review and send menu that opens, you can edit the document name or select the storage location where you want the signed document to be stored. Once completed, click on the Save completed document. Your signed document is now ready. Click on Create signature request to complete the process and the document will be sent for signature request.
Note:
You can add only the following file types as attachment for sending for signature request:
- Microsoft Word documents
- Plain text files
- Rich text files
You can attach a maximum of 5 attachments per signature request or a maximum file size of 20MB.
Create Send for signature request
-
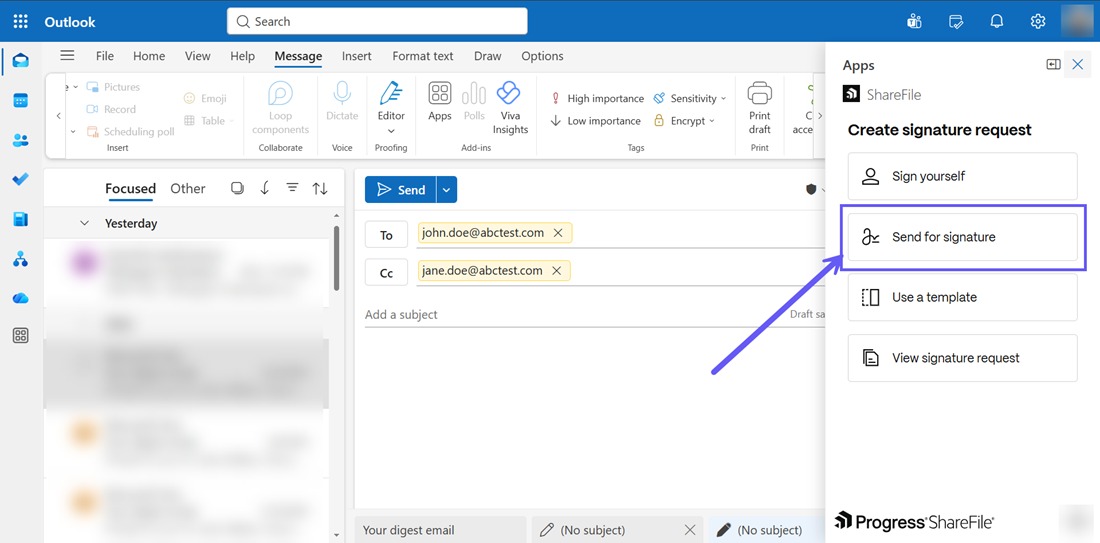
In the New Mail window, add the members in the To and Cc fields and from the ShareFile drop down menu, select the Create signature request option as shown in the previous section.
-
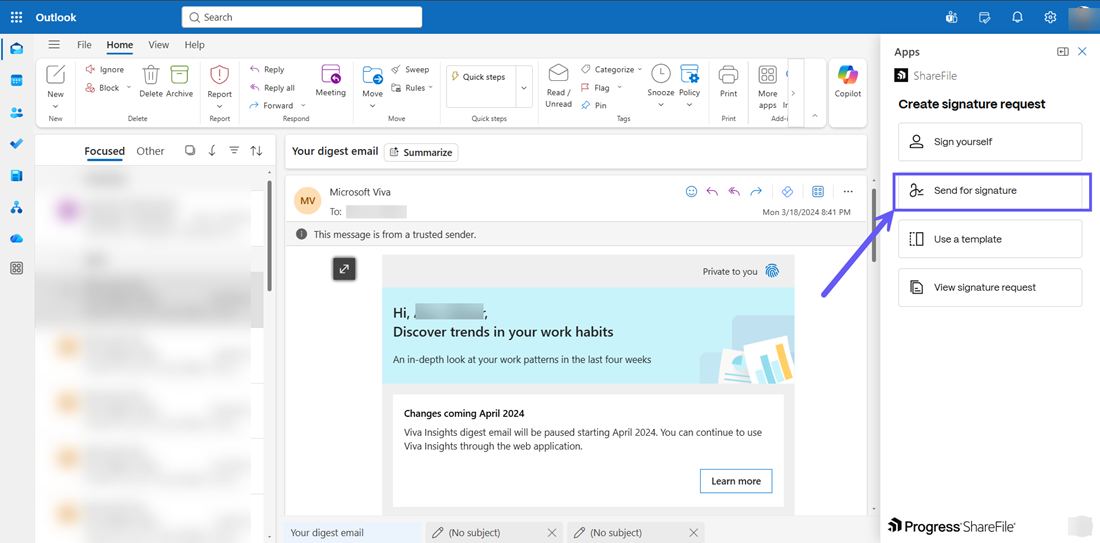
In the Create signature request menu, click on the Send for signature button to send files to signers.
-
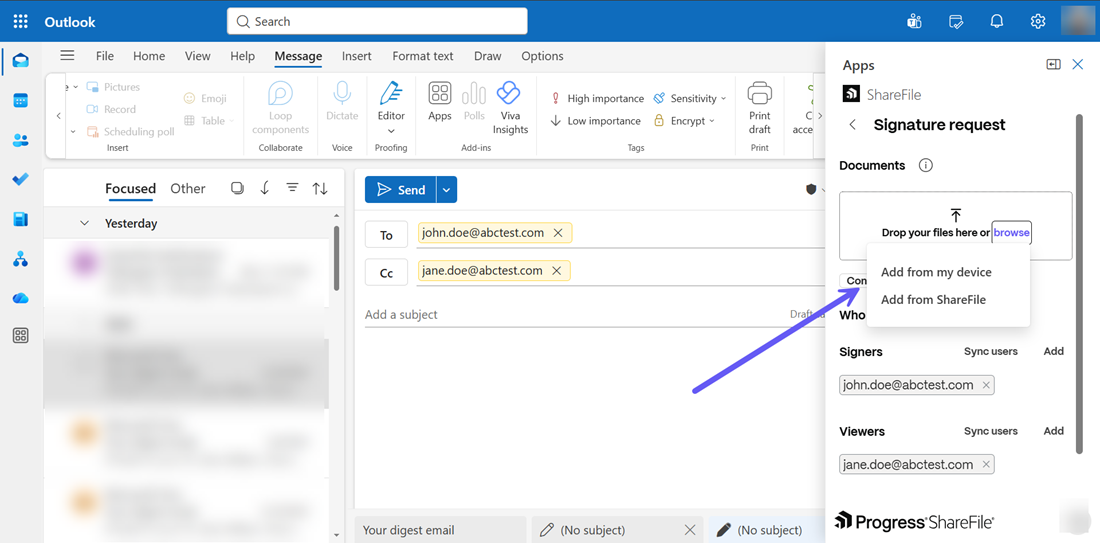
From the Signature request menu that opens, you can choose to attach files directly from ShareFile using the Add from ShareFile option or use the Add from my device button to add files from the Documents section as shown below:
-
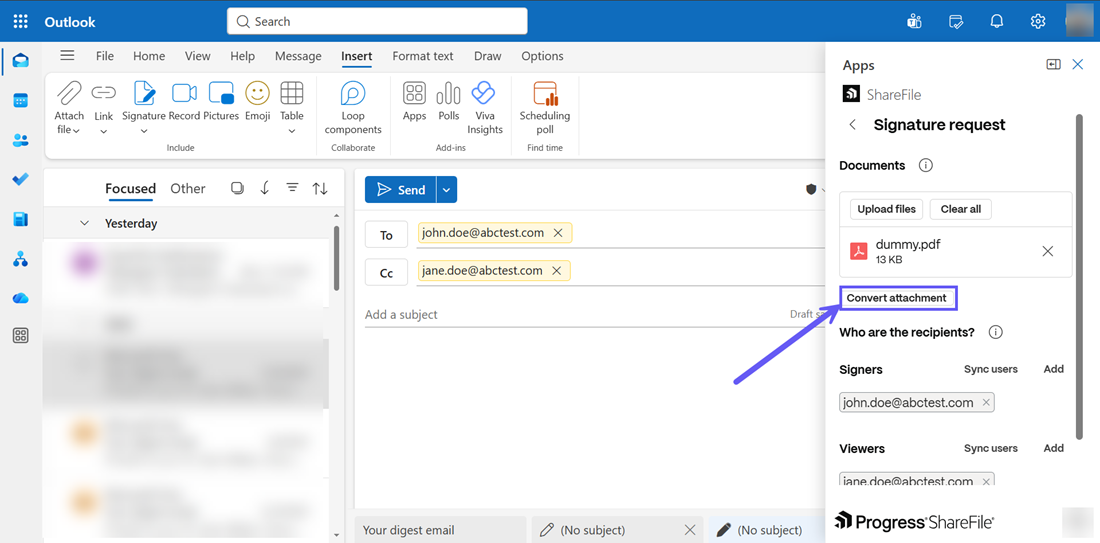
If you already have an attached file in the mail, you can use the Convert attachment button to add the file for signature request. You can visit Convert attachments for more information.
-
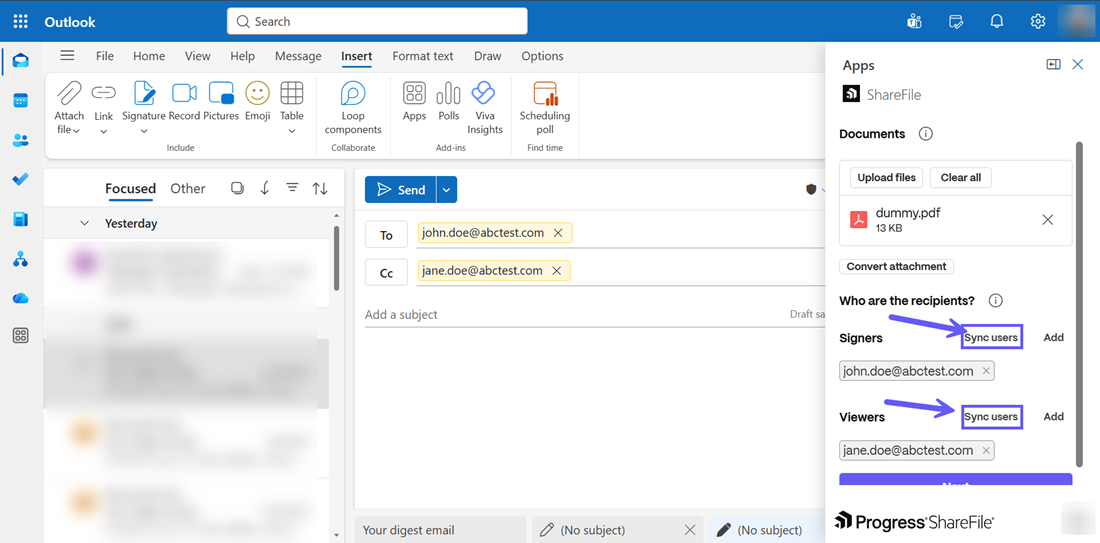
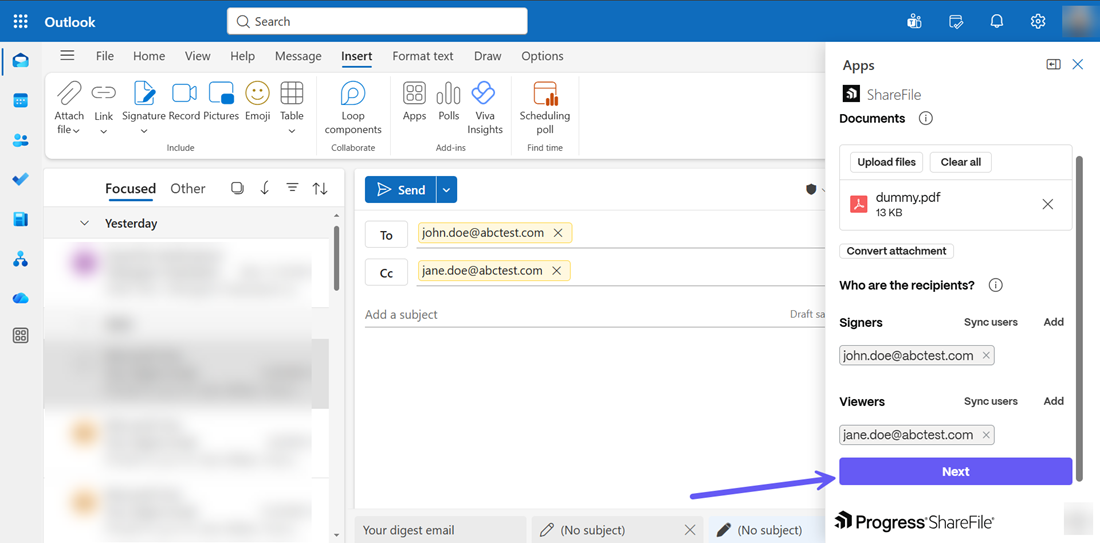
Under the Who are the recipients? section, you can use the Sync users button to add the recipients in the To field to Signers and the recipients in the Cc to Viewers as shown below. You can add/remove recipients to the To and Cc fields and click on Sync users again to add/remove members in Signers and Viewers
-
Once all the details for the signature request have been added, click on the Next button and the signature request window is displayed.
-
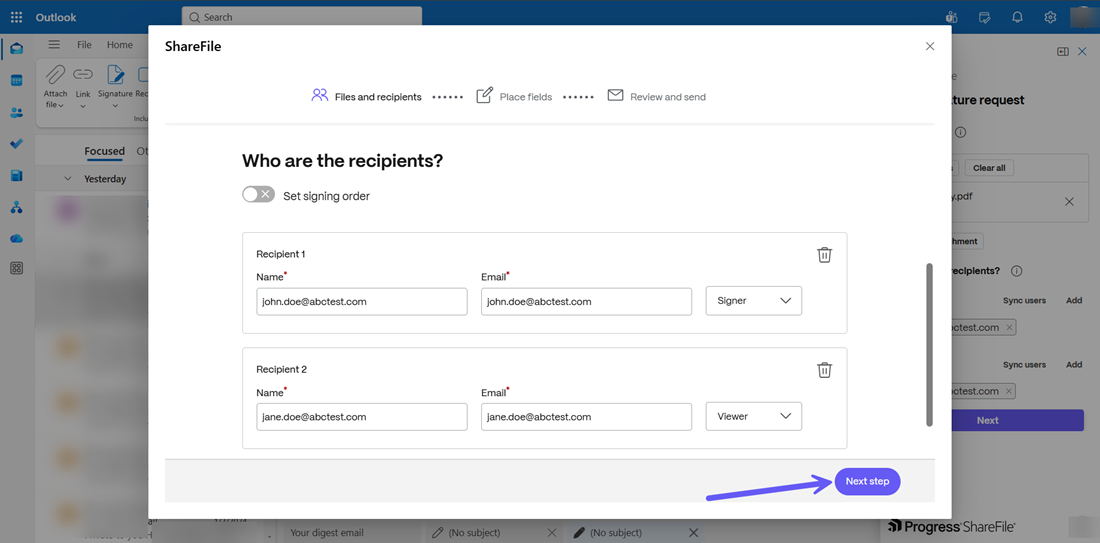
In the Files and recipients section, the document preview is shown under Document to send as shown above and the signer and viewer credentials are shown under the Who are the recipients? section. You can choose to add/modify/delete the details or select Next Step to continue.
-
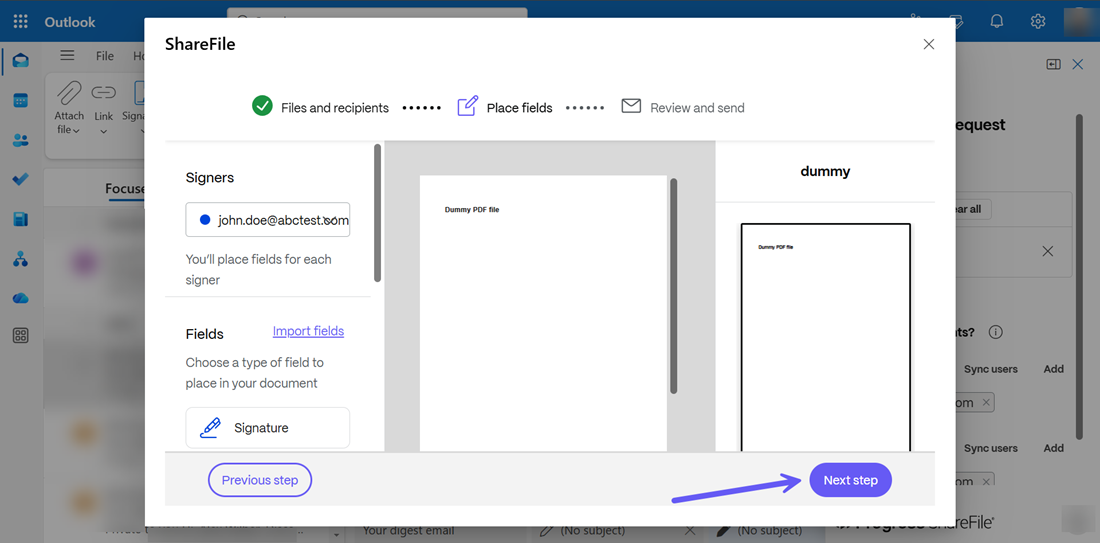
The Place fields section opens. You can add the fields in the document as shown below or you can add more fields using the Import fields option. For more information on how to import fields, follow steps 4-7 in Import fields. Then you can choose the Previous step to go back to the Files and recipients section or click on Next Step to continue.
-
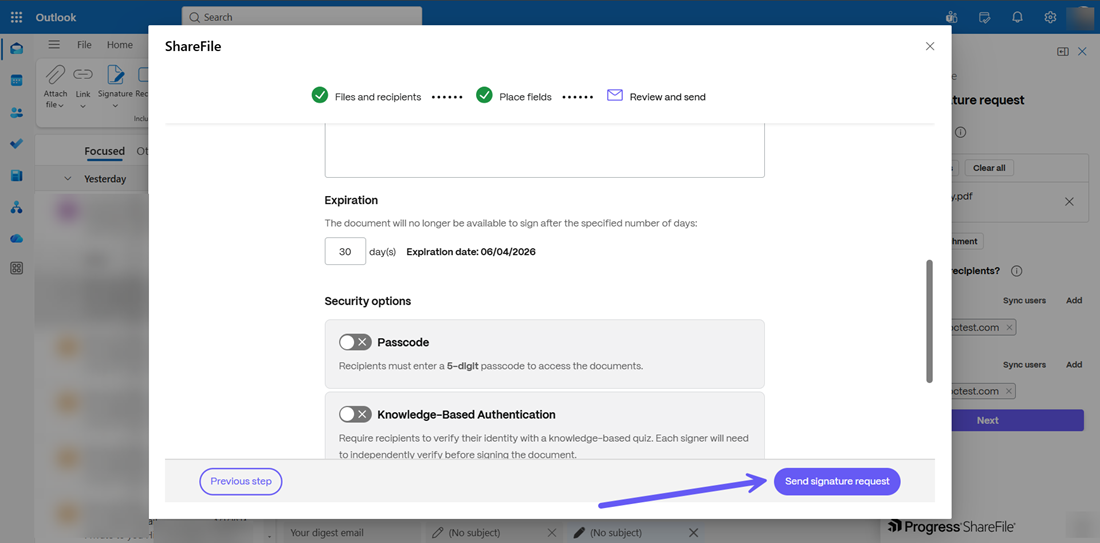
From the Review and send menu that opens, you can edit the document name or select the storage location where you want the signed document to be stored. You can also choose to add a note(optional), add security option or set the expiration date for the signature request. Once completed, click on the Save completed document. Your signed document is now ready. Click on Create signature request to complete the process and the document will be sent for signature request.
Use a template for signature request
-
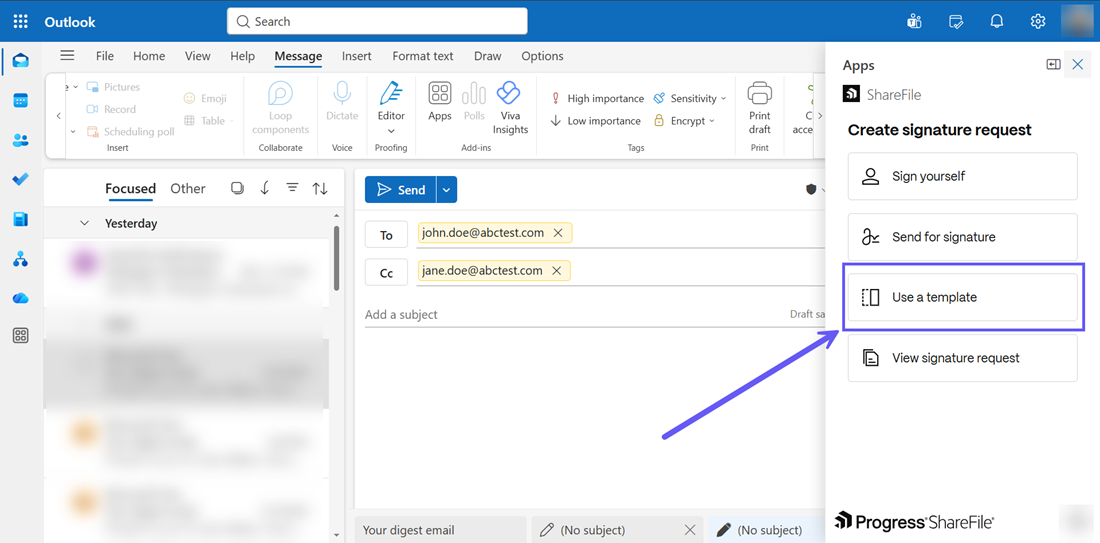
In the New Mail window, open the ShareFile drop down menu and select the Create signature request option. Then select the Use a template option as shown below:
-
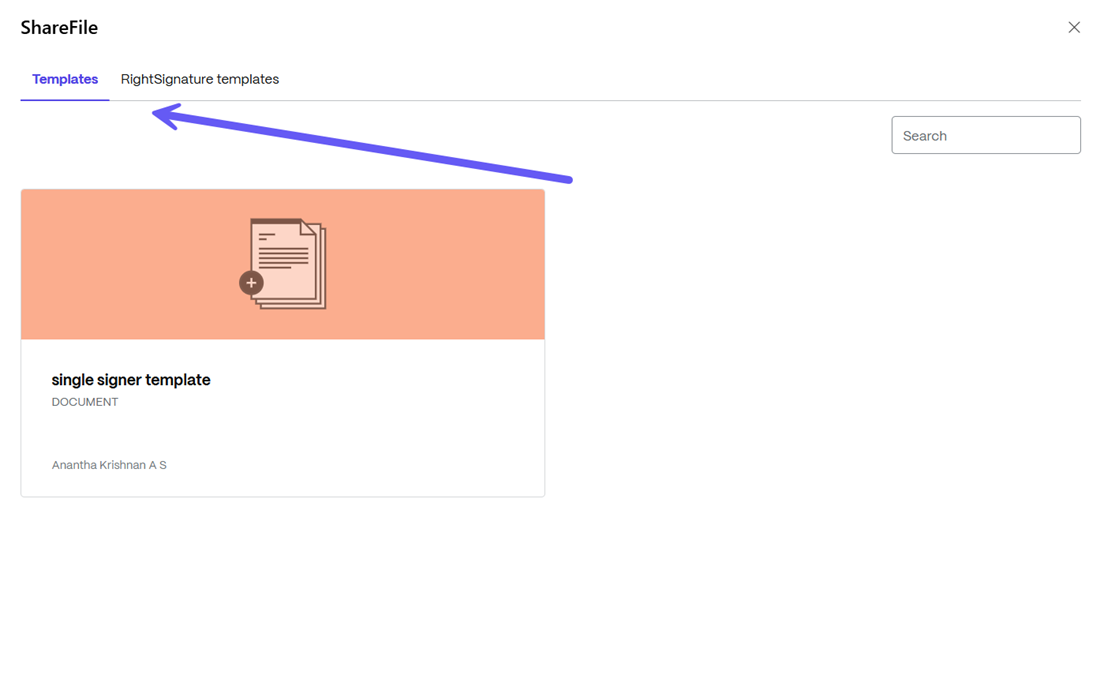
The ShareFile Templates menu is opened. Select the desired template from the Templates Library or you can choose a RightSignature Template also.
-
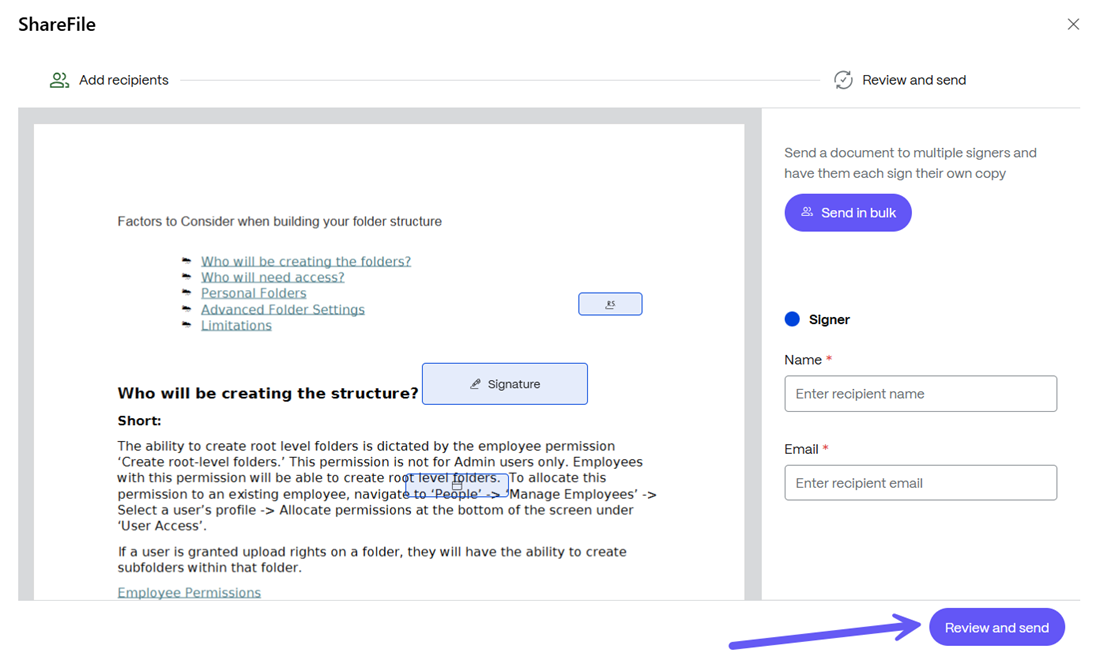
The Add recipients window is displayed. You can choose the signer name and email address for single signer as shown in the following screen. You can also choose the Bulk Send option to add multiple signers to the template. To use Bulk Send, follow steps 4-7 from this page. Select the Review and send button to continue.
-
Once the signer details have been finalized, the Review and send screen opens. You can choose to add the Document name and add a note to the signer in the Note to all signers section.
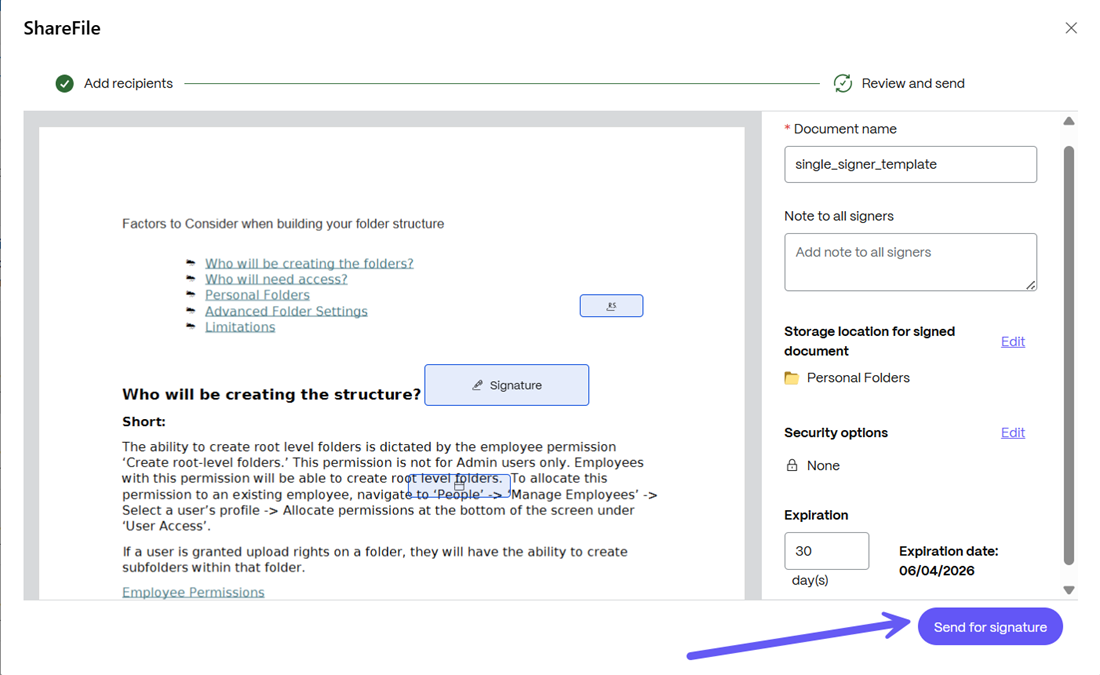
-
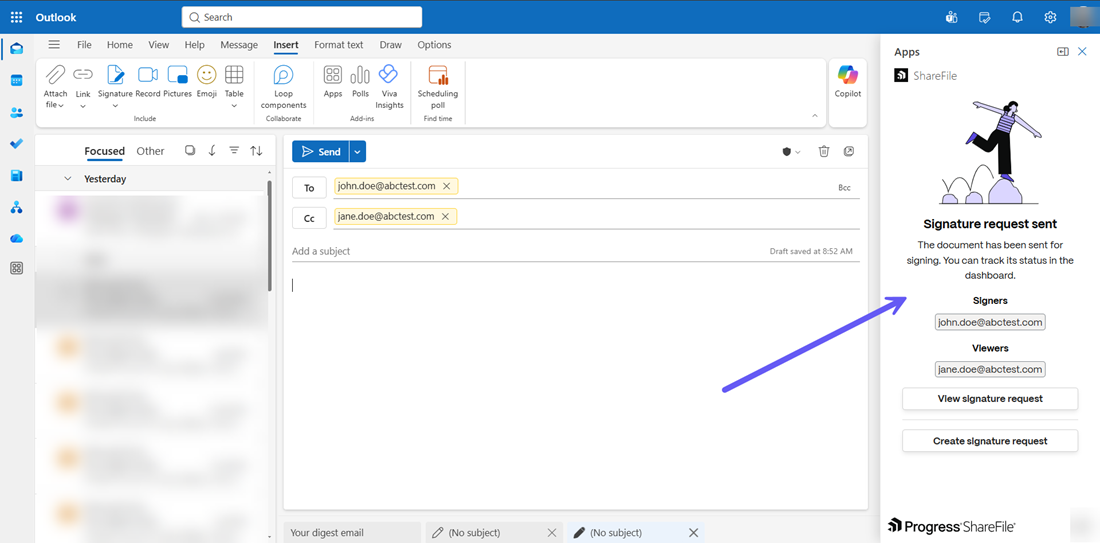
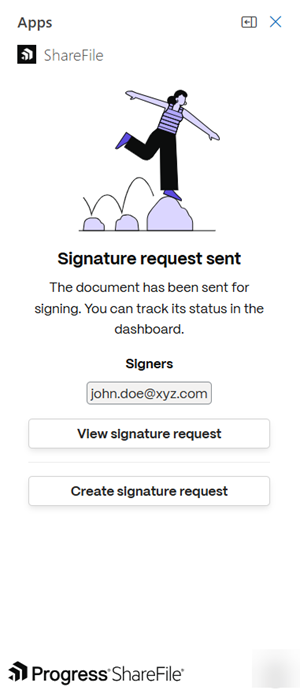
You can also edit and choose the Storage location for signed document, add a Security option as well as adjust the Expiration date. Once all the details have been added, click on the Send for Signature button as shown above.The Signature request sent message is displayed and the request is successfully sent. You can use the View signature request button to view the current requests.
View Signature Requests
-
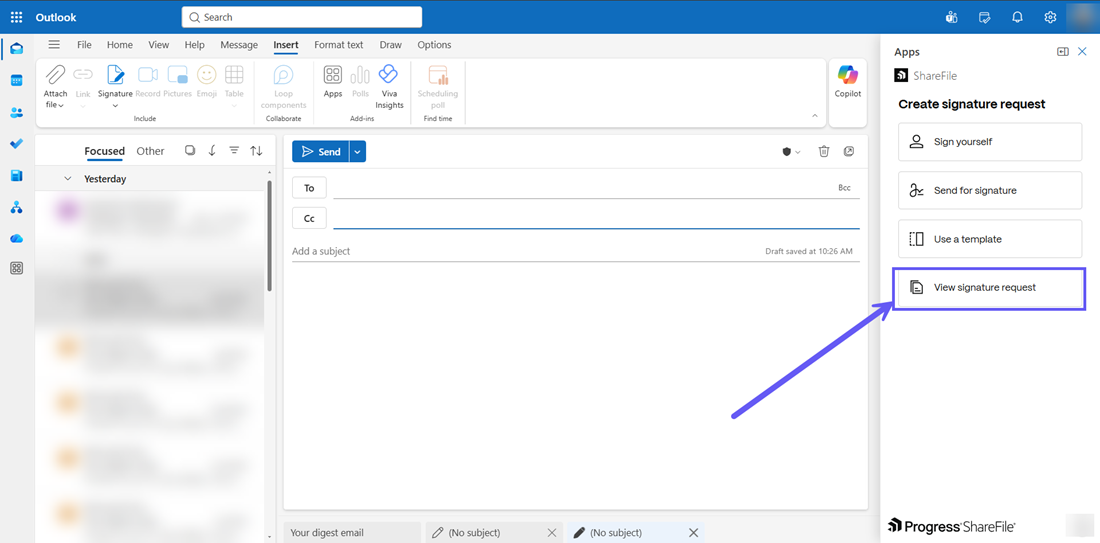
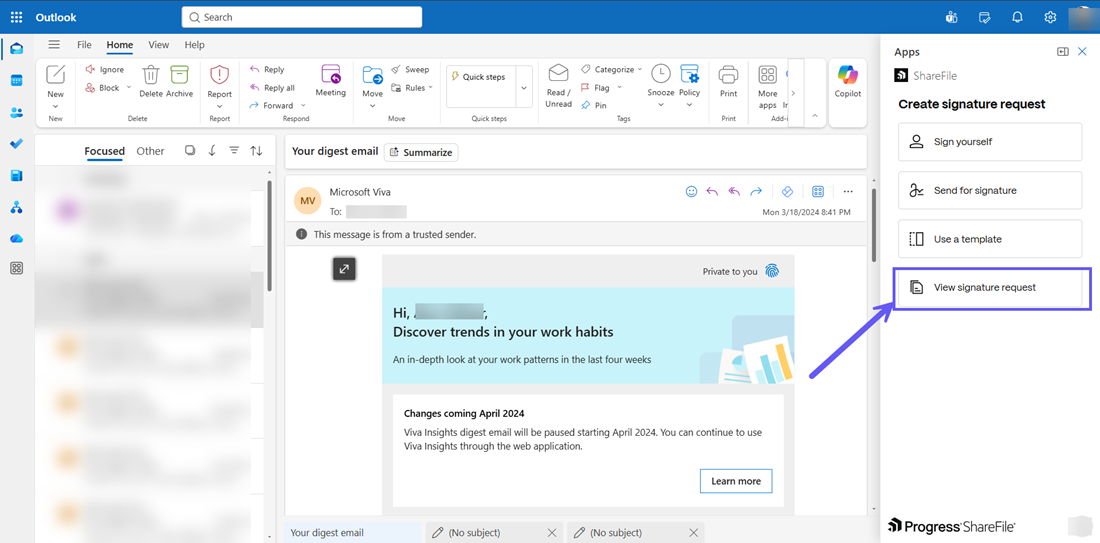
In the Create signature request menu, click on the View signature request button to view the existing signature requests.
-
The ShareFile Web App opens and you are directed to login to your account to proceed to the Signature requests menu where you can view the entire list of active/completed signature requests.
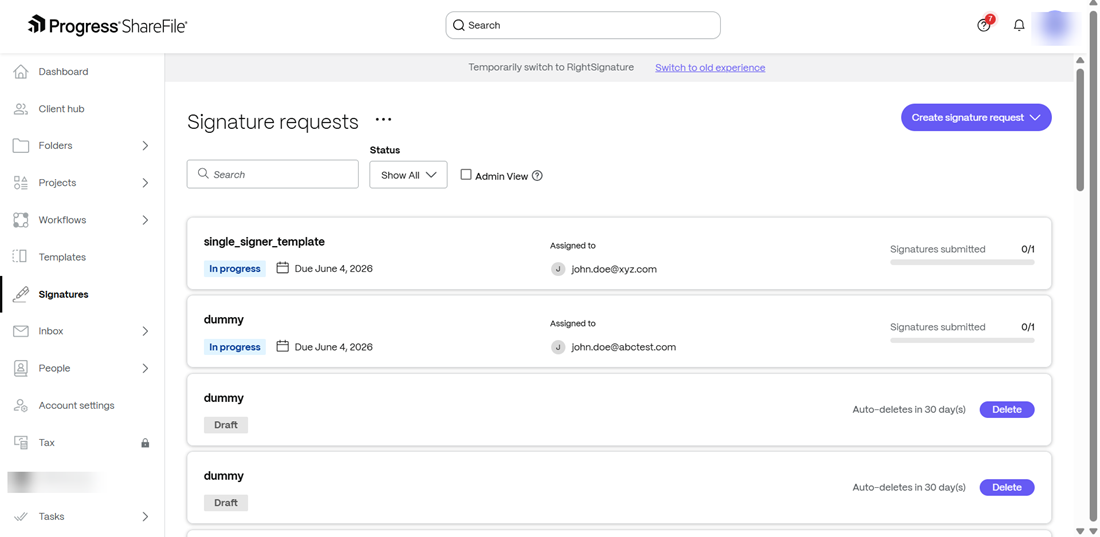
-
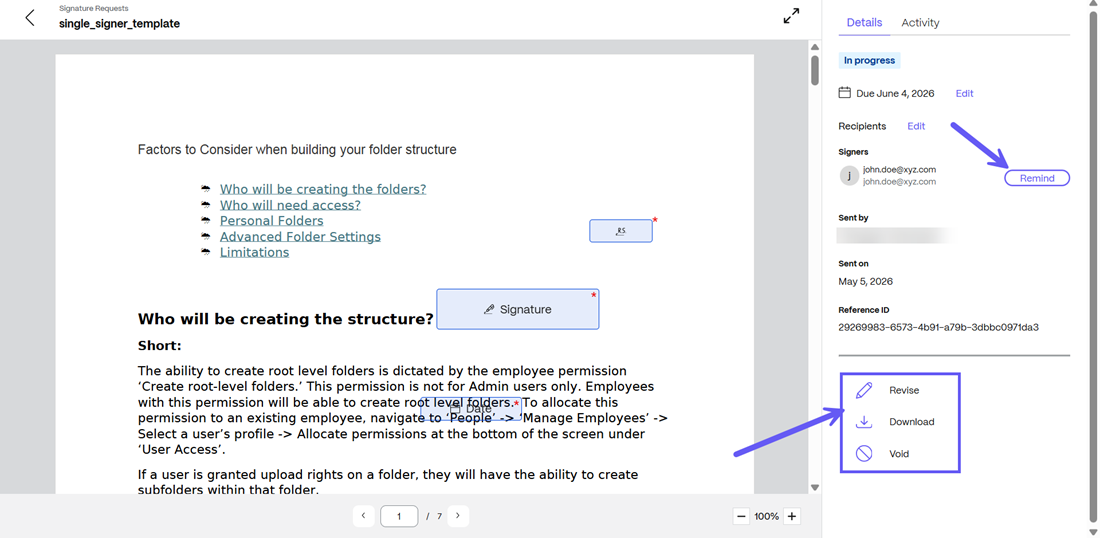
Select any active request and click on it to view the details. You can send a reminder to the signer by clicking on the Remind button next to the signer details. You can also choose to Revise, Download or Void any request as shown below:
Create Signature Request From Inbox View
You can also create a signature request from the default inbox view in Outlook. To do so, simply navigate to the App section the inbox view, select the ShareFile icon and click on Create Signature request.
Create Self Signature Request
-
In the Create signature request menu, click on the Sign yourself button to sign the document yourself.
-
From the Sign yourself menu that opens, you can choose to attach files directly from ShareFile using the Add from ShareFile option or use the Add from my device button to add files from the Document to sign section as shown below:
-
If you already have an attached file in the mail, you can use the Convert attachment button to directly add the file for signature request.
-
Under the Who are the recipients? section, your email id appears under the Signers section as shown above. Click on the Next button and the Signature request window is displayed.
-
In the Files and recipients section, the document preview is shown under Document to send and your credentials are shown under the Who are the recipients? section. Click on Next Step to continue.
-
The Place fields section opens. You can add the fields in the document as shown below or you can add more fields using the Import fields option. For more information on how to import fields, follow steps 4-7 in Import fields. Then you can choose the Previous step to go back to the Files and recipients section or click on Next Step to continue.
-
From the Review and send menu that opens, you can edit the document name or select the storage location where you want the signed document to be stored. Once completed, click on the Save completed document. Your signed document is now ready. Click on Create signature request to complete the process and the document will be sent for signature request.
Note:
You can add only the following file types as attachment for sending for signature request:
- Microsoft Word documents
- Plain text files
- Rich text files
You can attach a maximum of 5 attachments per signature request or a maximum file size of 20MB.
Create Send for signature request
-
In the Inbox view, add the members in the To and Cc fields and from the ShareFile drop down menu, select the Create signature request option as shown in the previous section.
-
In the Create signature request menu, click on the Send for signature button to send files to signers.
-
From here, follow steps 3-9 as given in the previous section on Create Send for Signature request and your signature request is successfully created and sent to the respective signers/viewers.
Use a template for signature request
-
In the inbox view, open the ShareFile drop down menu and select the Create signature request option. Then select the Use a template option as shown below:

-
The ShareFile Templates menu is opened. Select the desired template and click on it to continue. From here, follow steps 2-5 as given in the previous section for Use a template for signature request to create and send a signature request from a template successfully.
View Signature Requests
-
In the Create signature request menu, click on the View signature request button to view the existing signature requests.
-
The ShareFile Web App opens and you are directed to login to your account to proceed to the Signature requests menu where you can view the entire list of active/completed signature requests.
-
Select any active request and click on it to view the details. You can send a reminder to the signer by clicking on the Remind button next to the signer details. You can also choose to Revise, Download or Void any request as shown below:
Share
Share
This Preview product documentation is Citrix Confidential.
You agree to hold this documentation confidential pursuant to the terms of your Citrix Beta/Tech Preview Agreement.
The development, release and timing of any features or functionality described in the Preview documentation remains at our sole discretion and are subject to change without notice or consultation.
The documentation is for informational purposes only and is not a commitment, promise or legal obligation to deliver any material, code or functionality and should not be relied upon in making Citrix product purchase decisions.
If you do not agree, select I DO NOT AGREE to exit.