Workflow Automation: My First Flow
When you first log into your Workflow Automation account, you will see the tree structure of your workspaces and apps on the left of the Flows page.
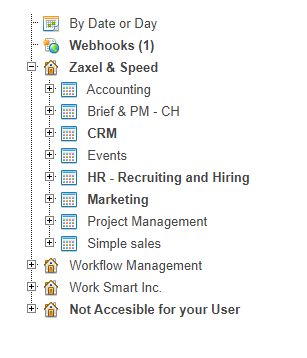
You can expand and collapse the branches of this tree to zero in on the apps you want to work on.
When you select an app, you will see a relationship diagram on the right of the screen showing how this app references and is referenced by other apps.

You will also see a toolbar above this diagram.

On the toolbar, click on the Add New option to display the drop down menu.
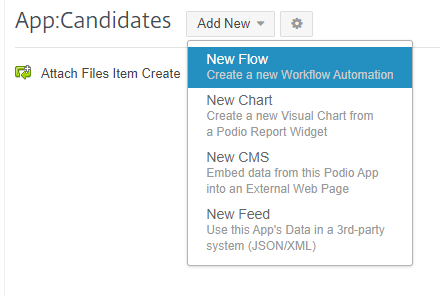
On the drop-down menu, click on the New Flow option, and on the pop-up that shows up afterward, click on the Item Updated option.

This will start the creation process of a new flow which will be triggered when an item is updated in the given app.
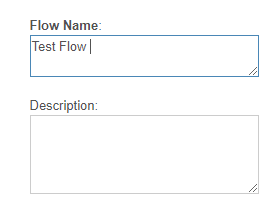
Now, give your flow a name;
Next, we need to set the Filters for this flow.
We already know that this flow will run every time an item is updated in this app, but we want to be more specific.
Click on the Plus button, and select the Field Changed Option.
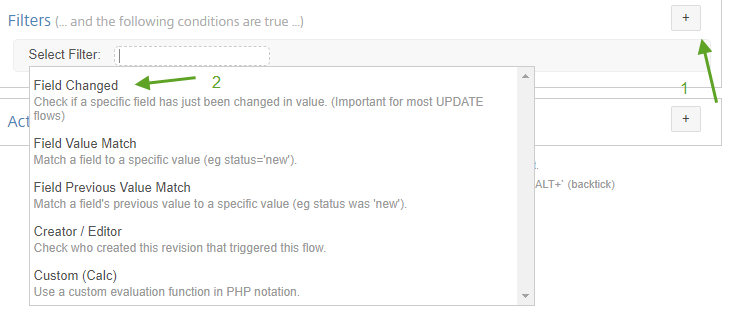
And then do this again but for the Field Value Match option.

The filter condition for this flow will pretty much be as you read it on the screen.
- When an Item is Updated…
- …in App __________ (your Candidates app)…
- …if field Education Value has just Changed
- …AND if Skills is equal to Typing.
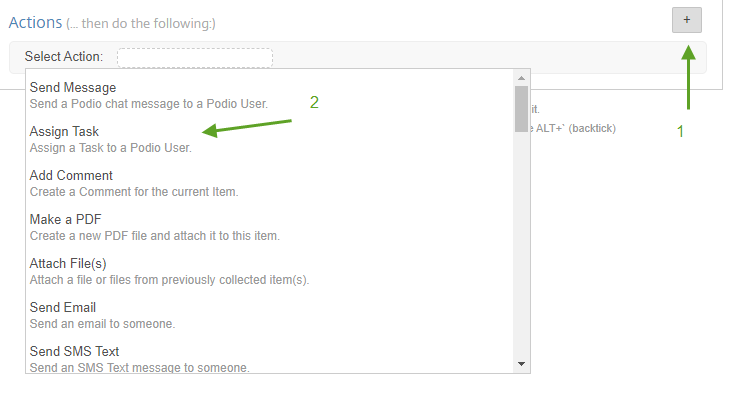
Now that we have the filter done, we need to set up an action. For the sake of this example, we’ll just have the flow assign a task to someone.
Click on the + sign to add a new action, and select Assign Task from the drop down menu.
In the Create Task action block, you will notice some text fields with a square icon on the right.
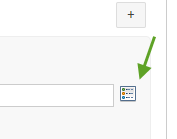
When you click on this icon, you will get a list of fields from your app that are available to drop into the text field as a token. These tokens will then be replaced with the actual field values when the flow runs.
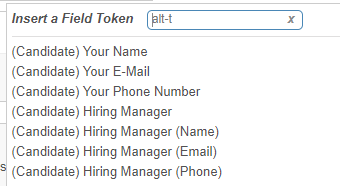
Now fill in the task options and text, including using tokens, to finish the create task action.
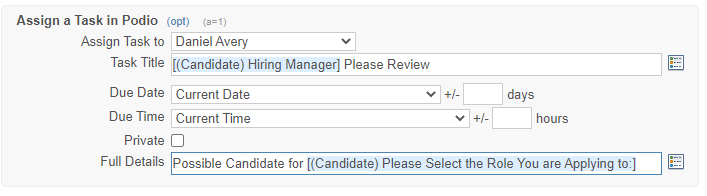
This flow will now assign a task to the selected user whenever an item in this app is marked as your filters say. The task will be due on the day it is created (Current Date), and the title will include the name of the item that was completed.
This task will also be attached to the item because it was created in the context of this item, which means you can easily navigate from the task to the item, and see the task when viewing the item in Podio.
Congratulations on your first flow! We recommend that you go through the individual items in the Lab Experiments which show some really cool real-world implementations.
If you ever get stuck, please refer to the other Help articles from the Help Manual, and if you can’t find an answer there, simply submit a support ticket with as much detail as possible.