Create a blank form
Article applies to:
- ShareFile Employee users
You can create a form from scratch in either of the following ways:
Create from Projects
To create a blank form in your project's workspace:
-
From your ShareFile account, go to Projects.
-
Select Create project to start a new project. Or, open the project where you want to create the form.
-
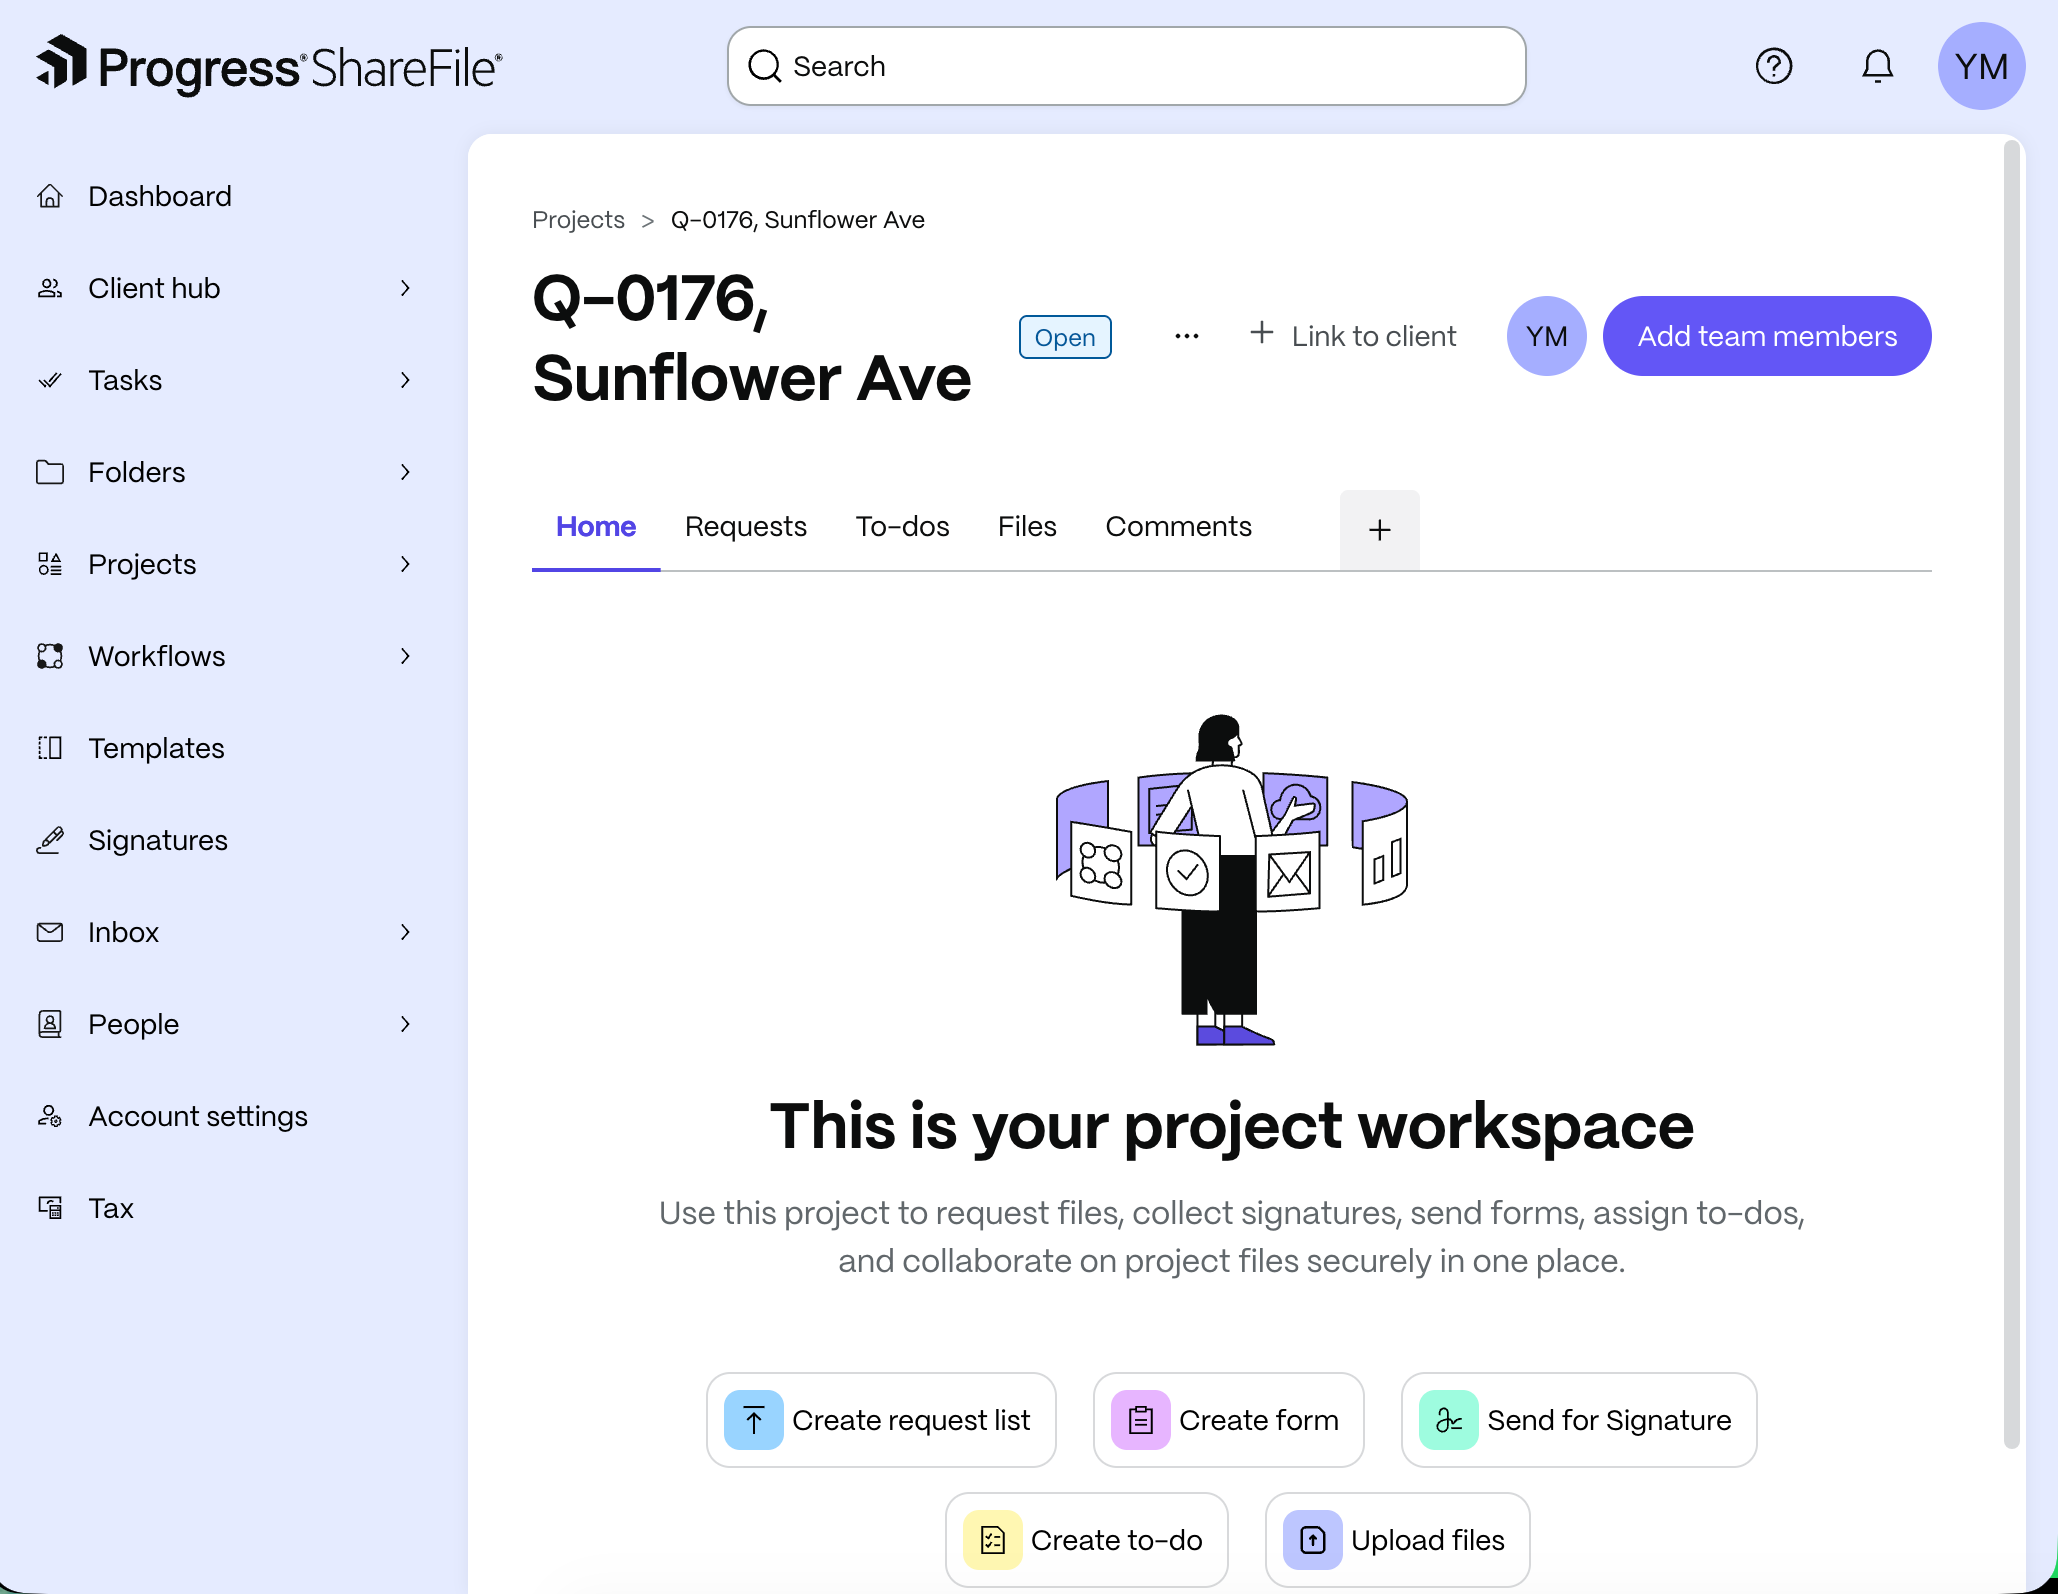
In the project's workspace, select Create form.
-
Select Start from scratch.
The Start from scratch window opens and lets you fill in the form details.
NOTE:
You can also create forms using pre-populated templates.
-
In the Start from scratch window, add the form details:
- Enter a Name.
- Add a Description with directions for the request (optional)
- Set a Due date if you need the form completed within a specific timeframe. (optional)
- Select Create.
The form is created.
-
Design the form:
-
Add fields and layout elements like sections by dragging them from the Fields and Display and layouts area.
-
Reorder fields and sections using drag-and-drop.
-
Use Conditional Logic to show or hide fields based on earlier responses.
Example: Show “Proof of Address” field only if user selects “Yes” for “Do you reside in the U.S.?”
- Select Save to finalize the form.
-
-
Assign Recipients:
-
Navigate to the project where you created the form.
-
Locate the form and select it to open it.
-
Select Assign.
-
Select internal users or clients who need to complete the request. Each recipient will receive an email notification with access to the form.
-
Set the permissions for the form.
-
Select Assign.
-
Create from Tasks
To create a new form from the Tasks menu:
-
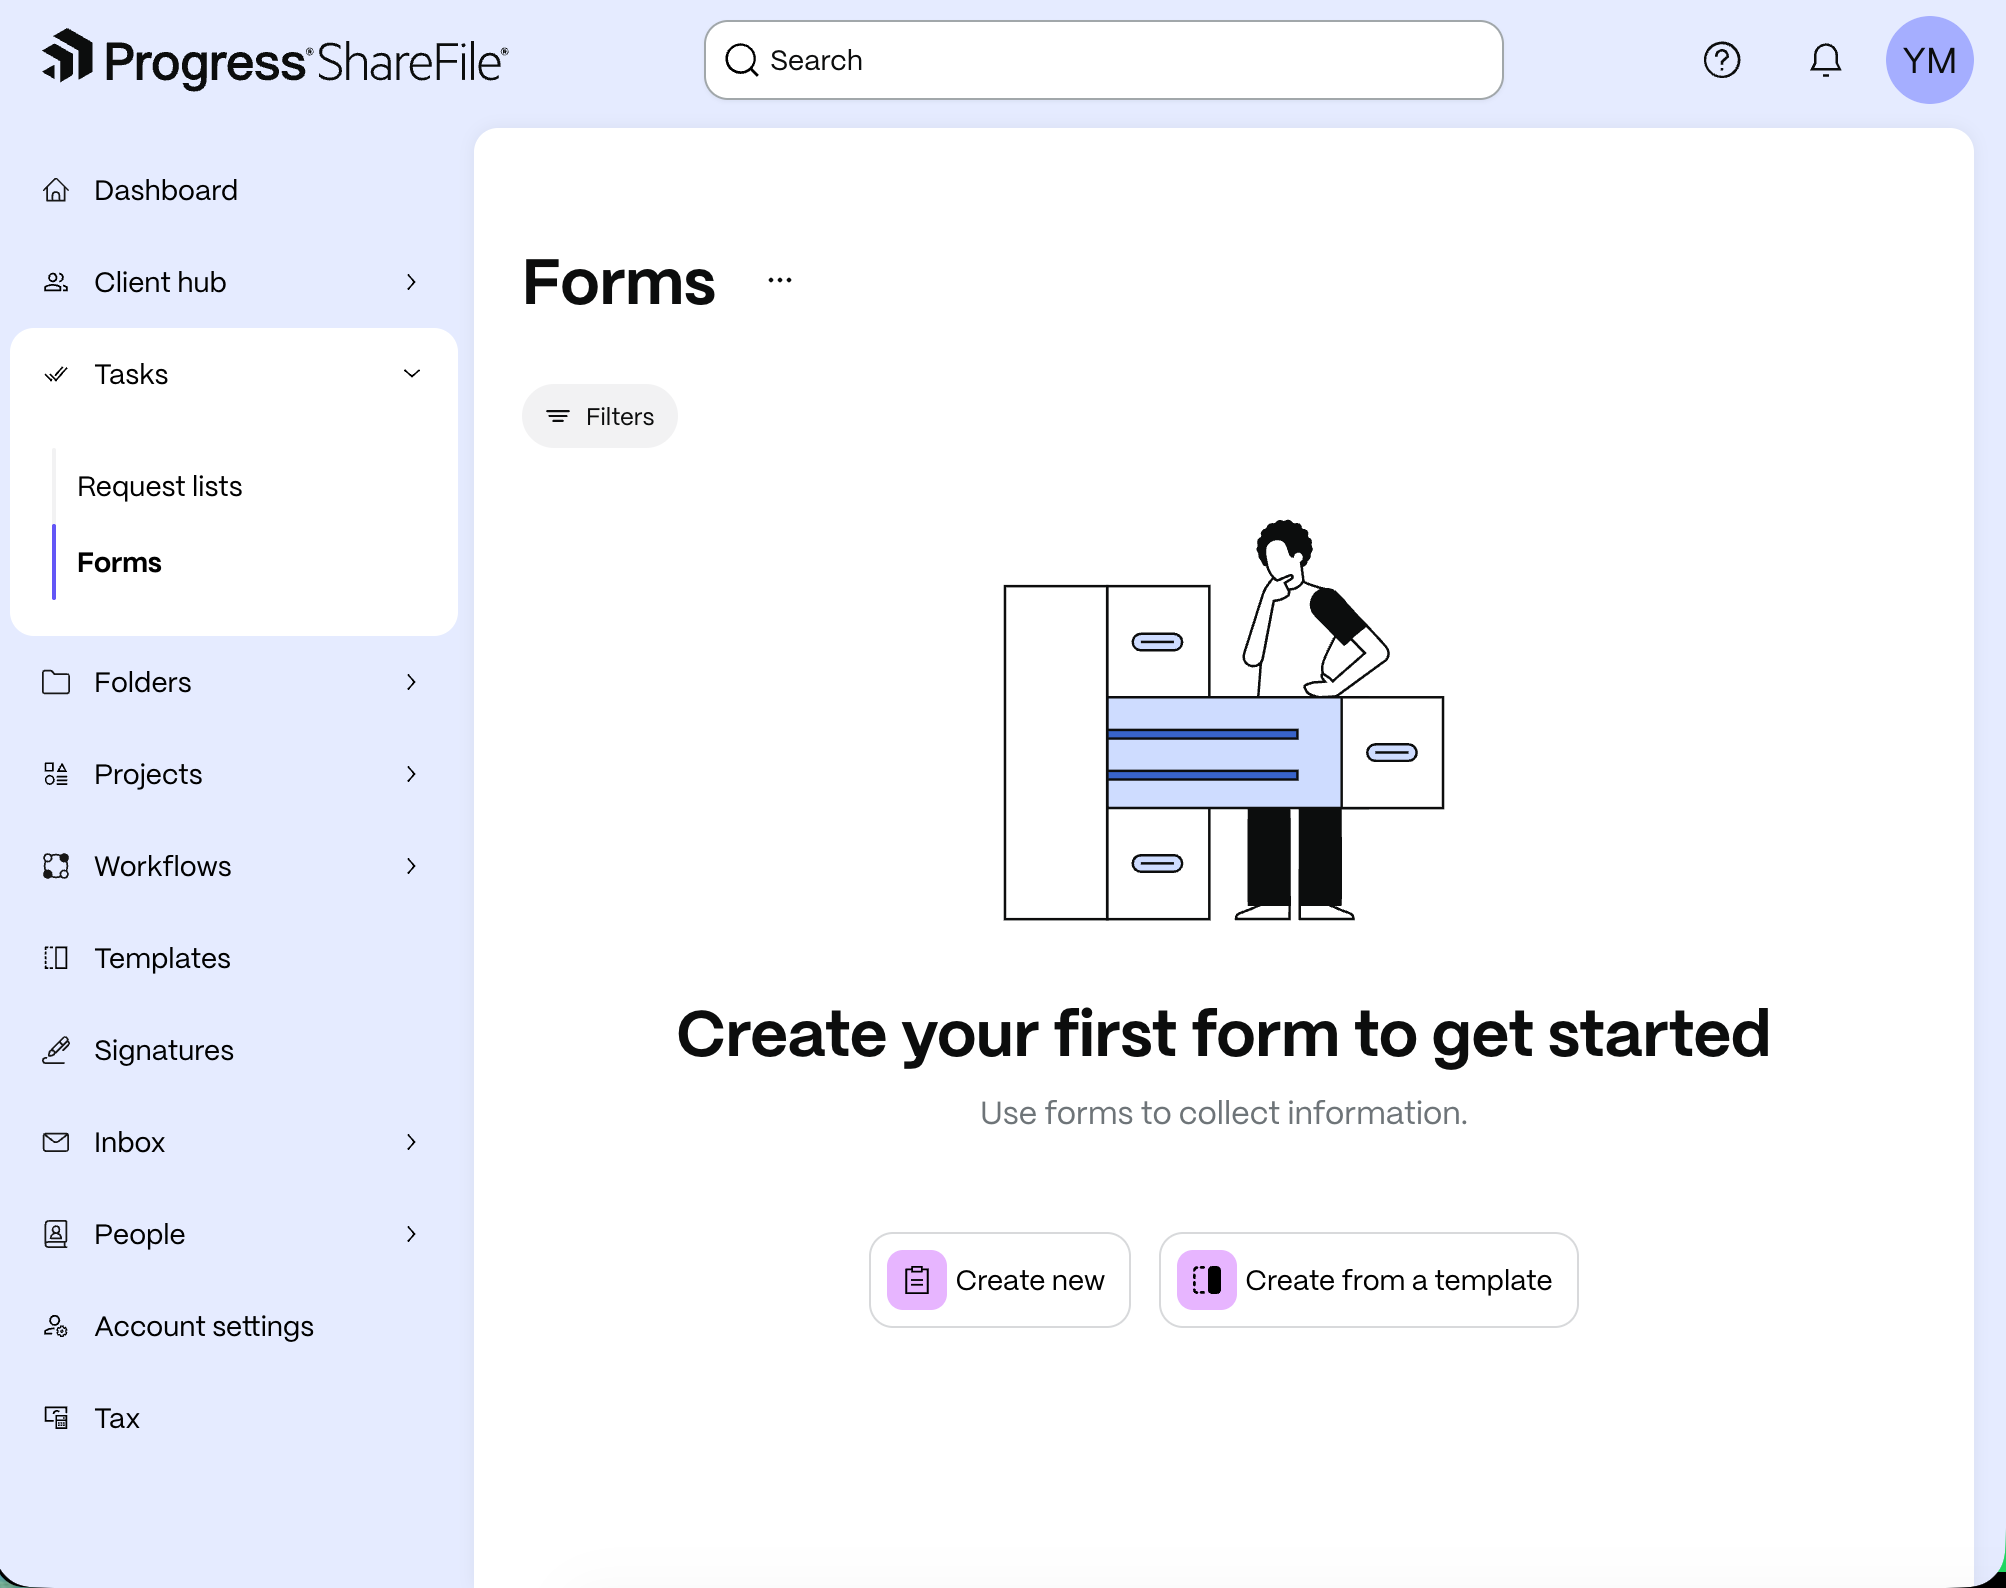
From your ShareFile account, go to Tasks > Forms.
-
Select Create new. The Start from scratch window displays.
-
From the Start from scratch window:
- Enter a Name.
- Add a Description (optional).
- Set a Due date (optional).
- Select a project (optional).
NOTE:
By default, the form is created in the Tasks workspace. You can choose to create the task within a project; if no location is selected, the Form is created as a standalone task. Standalone tasks cannot be moved to a project after creation. If the task must belong to a project, be sure to select the project during creation.
-
Select Create. The Form is created.
The form is created.
-
Design the form:
-
Add fields and layout elements like sections by dragging them from the Fields and Display and layouts area.
-
Reorder fields and sections using drag-and-drop.
-
Use Conditional Logic to show or hide fields based on earlier responses.
Example: Show “Proof of Address” field only if user selects “Yes” for “Do you reside in the U.S.?”
- Select Save to finalize the form.
-
-
Assign Recipients:
-
Select Assign.
-
Select internal users or clients who need to complete the request. Each recipient will receive an email notification with access to the form.
-
Set the permissions for the form.
-
Select Assign.
-
Configure reminders
ShareFile sends automatic reminders for forms 1, 3, 5, and 10 days before the due date. Post-due date, reminders are sent daily for 30 days after the deadline until completed.
To send a reminder manually, go to Tasks > Forms, select the three-dot menu (…) and then Remind.