Webforms
By adding a webform to your app, you can get data into Podio from an external source, such as your website.
Webforms can be used for many different purposes. Some common examples are:
-
Use an Attendees app with a webform to gather submissions to your event.
-
Use a Requests app with a webform to get contact form postings from your website’s “Contact Us” section.
-
Use a Candidates app to get candidates for your next job opening into your Recruitment workflow.
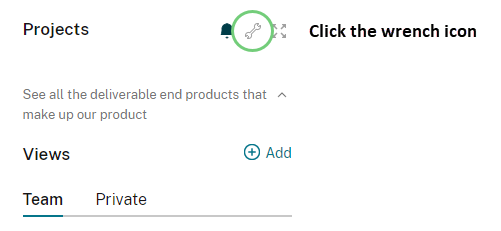
All apps have a webform that can be used to submit items into the app. To access the webform link as well as the webform settings, click the wrench icon to the right of your app, and select Webform.
Here is a quick video showing how to set up webforms in your app:
Relationship fields in webforms
Relationship fields are a powerful concept in Podio, allowing you to link items from different apps together (see the help article). In webforms, you can use relationship fields in two ways, described below.
-
Selecting from existing items
With this option, you can let people select one or more items from the app(s) linked to the relationship field. For example, imagine you have a webform that lets people submit support tickets related to your products. Each ticket should have a reference to the products that the user has a problem with. With this option, the user can search and pick their product.
-
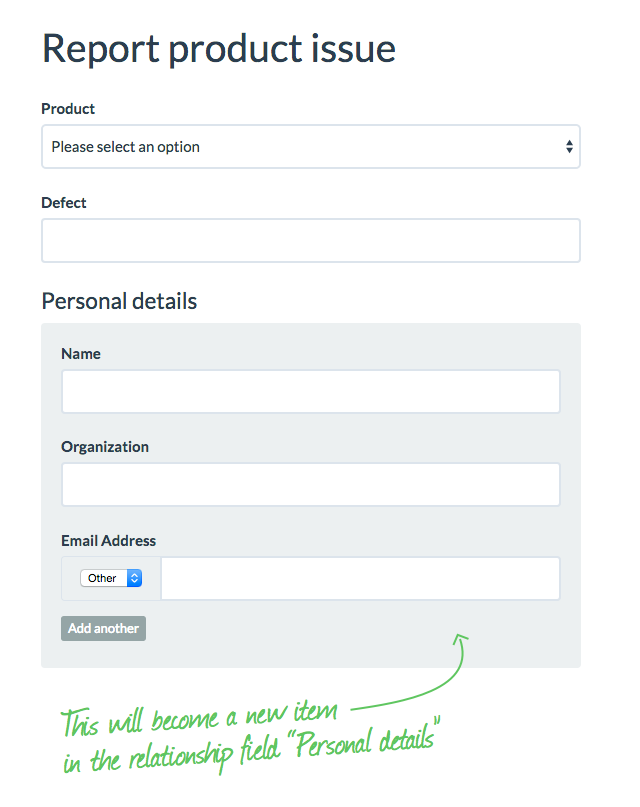
Create a new item
Sometimes, you don’t want to expose the existing items in a relationship field, but instead let people create a new related item. Using the same support ticket example, maybe you want to put the personal data in a separate “Contact” app and link it to the ticket. With this option, the webform will automatically create a new item in the “Contact” app and link to it from the relationship field in the newly created ticket.
Help texts
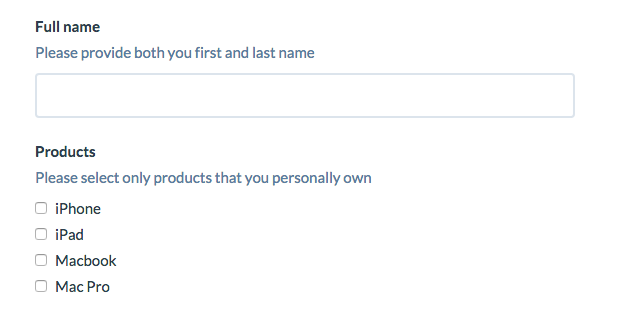
In the app template, you can add a help text to every field. This help text will not only show up in items in Podio, but also in the corresponding webform.
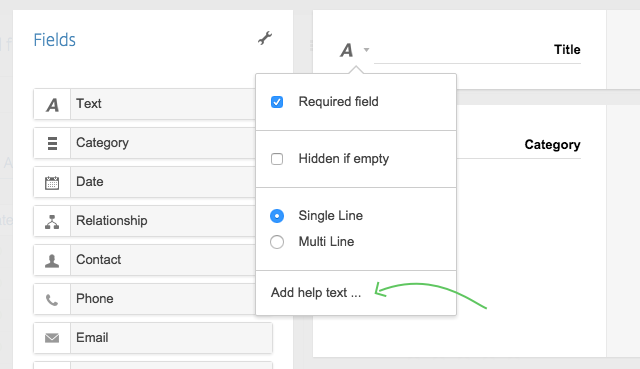
You can use the help text to provide more information about how to use the field, without having to use long field labels. The help text is always shown beneath the field name, so you know the user won’t miss it.
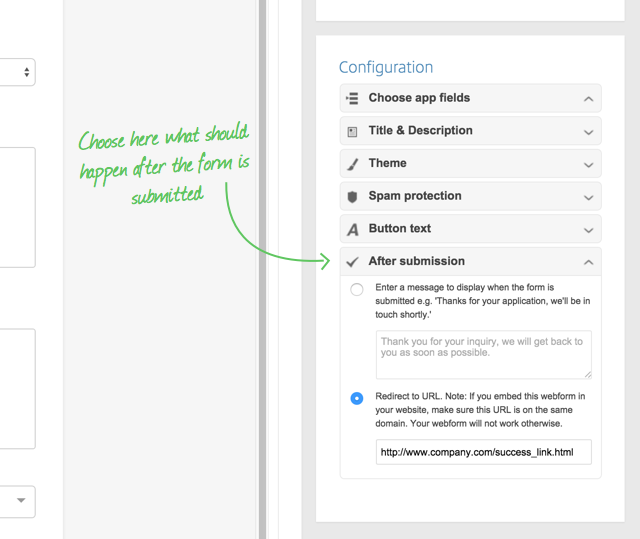
After submission
After the visitor has filled out the webform, you have two options. You can:
-
Show them a success message of your choosing
-
Redirect them to a link you provide
The second option is great if you want the visitor to do anything else after completing the form, or if you use analytics software to track people’s site usage. If you use the standard webform page, you can redirect the user to any URL; if you embed the webform in your website, make sure to redirect to a URL on the same domain, otherwise it will not work.
Note:
If your webform is embedded within your website, using a URL redirect will open the redirected webpage from within the webform frame on your website, rather than redirecting the entire browser tab. This is because the webform is embedded as an iframe, and actions can only be performed from within the iframe.
Webform styling
Webforms come in a range of themes, so you can make it fit your style or audience.
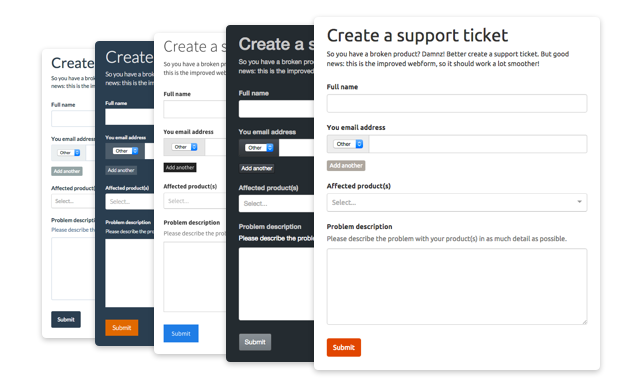
Simply go to the Theme tab in the webform editor and select a theme. The preview will instantly show you what your webform will look like.
Advanced features
Are you CSS-savvy?
You can add custom CSS to make your Podio webform look just the way you want. Simply click “Theme” on the right of the webform settings page to show a text box where you can add your stylesheet.
Embedding webforms on your site
To embed the webform on your website, it is required to include the domain of your website in the webform settings, with and without the “www.” prefix. Example: “www.yourdomain.com” and “domain.com”
Want to prefill webform fields?
It’s a little technical, but the Prefilling fields in webforms article explains in detail how to prefill your webforms using static and dynamic field values.