Building an advanced HelpDesk System in Podio
For this, you need to build an advanced Helpdesk system in Podio with exciting bells and whistles.
The following information provides the details of how you will work in Podio, and external customers will be able to interact with their tickets with web forms and email.
-
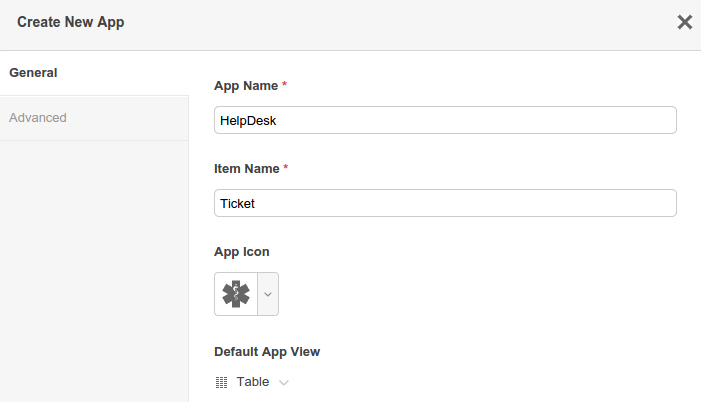
Step 1 - The HelpDesk App
-
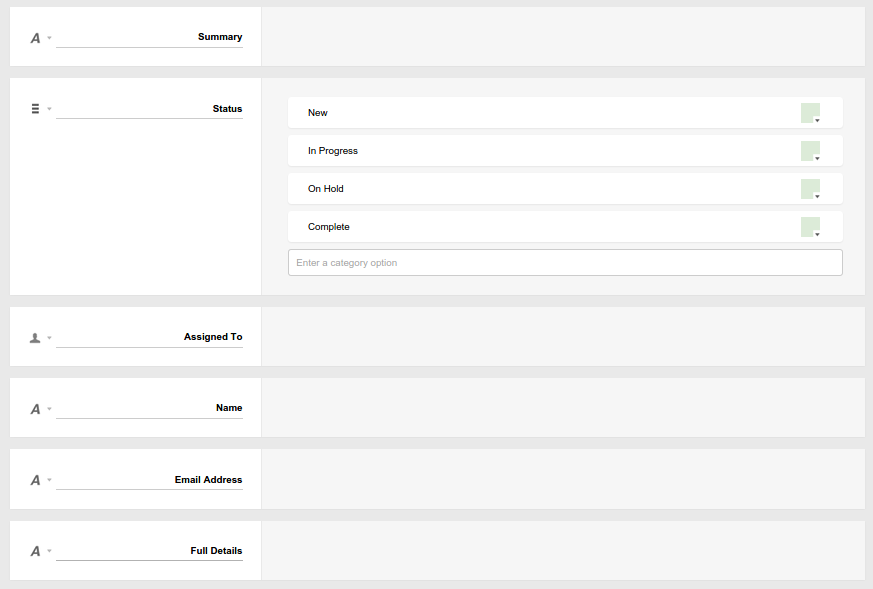
Build an app in Podio for the HelpDesk.
-
You can have any fields you want, but we’ll start with the following:
 a
a
-
-
Step 2 - Getting new Support Requests into Podio
-
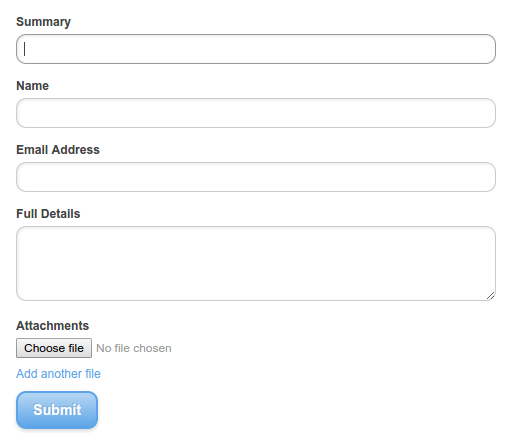
The 2 easiest ways to get new support requests is via webform and via email.
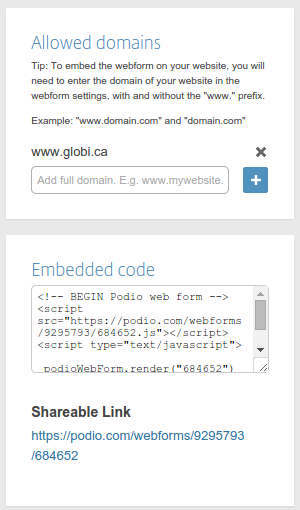
Note: For the webform, don’t forget to specify the domain(s) that the form will be on, and simply copy and paste the HTML provided by Podio into your website HTML.
-
Congratulations! Now you have a support form on your website.
-
For receiving support requests via email, select the Email to App option under your App settings, and make note of the external email address for this app.
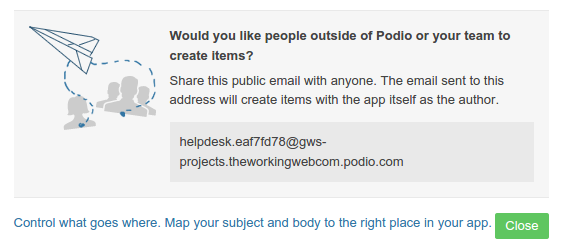
-
Then simply forward an appropriate email to this address, like support@yourdomain.com. This way, all emails received by support@ will create a new item in your HelpDesk app.
-
-
Step 3 - New Ticket Flows
When a new ticket is created in the HelpDesk app, we want GlobiFlow to do a few things. One would be to set the ticket status to New, and the other is to send an email to an external user letting them know that their request has been received along with a link for them to see their ticket status.
-
Create the External Link flow to show the ticket status.
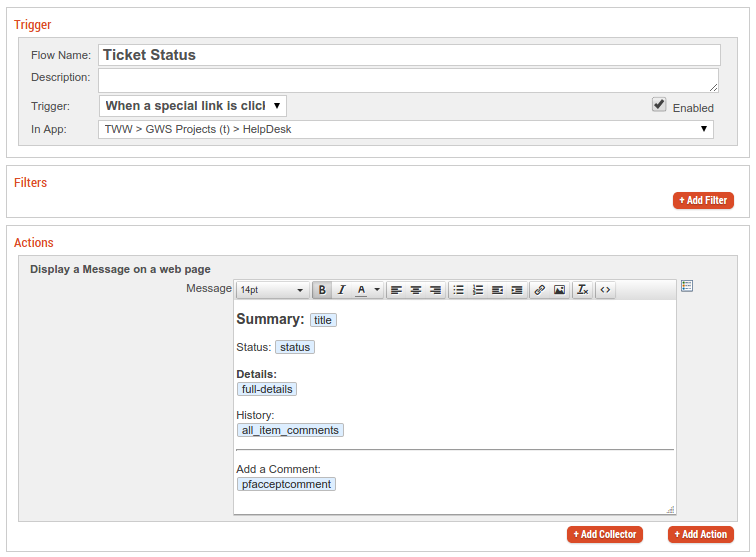
-
Set up the flow on Item Created to update the status and send an email.
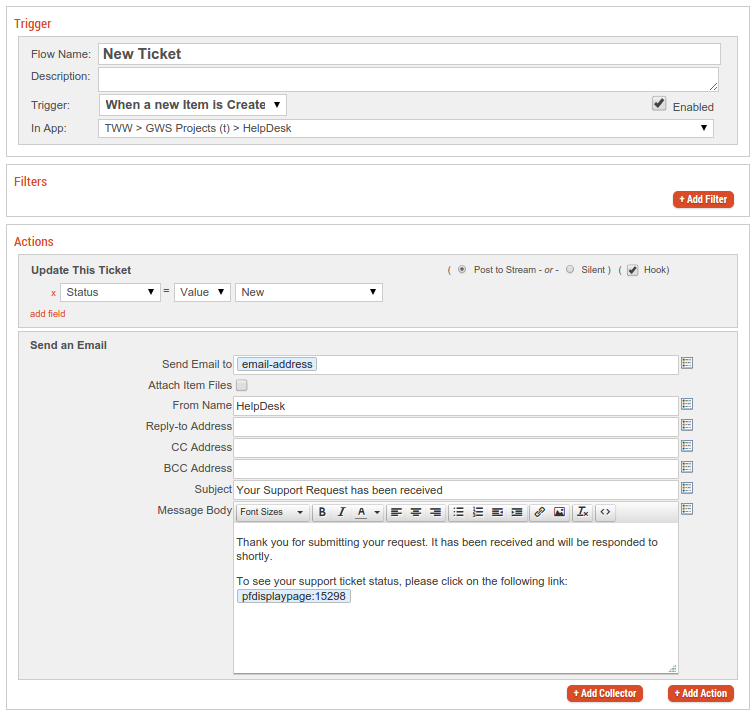
-
Now, when someone fills in the support webform or submits an issue via email, it will create a new item in your HelpDesk app, and the customer will receive an email notifying them of receipt of the issue.
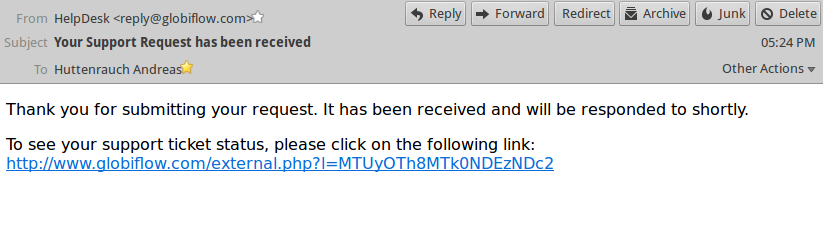
-
When the customer click on the link, they will be directed to a web page showing details and history of the support request.
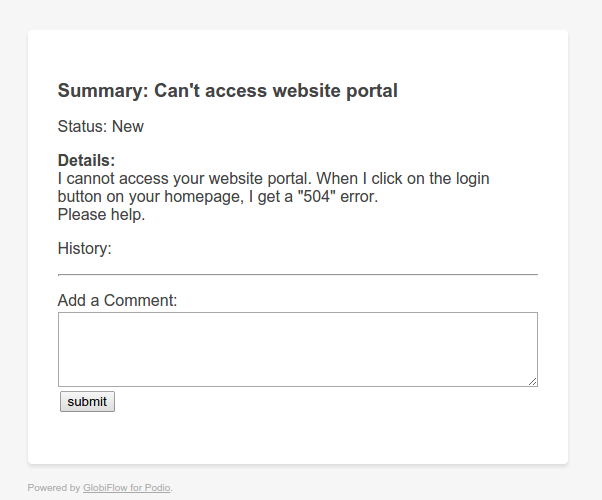
-
Now the customer can at any time see the details of their request including comment history, and can also add their own comments.
-
-
Step 4 - Responding to Customers
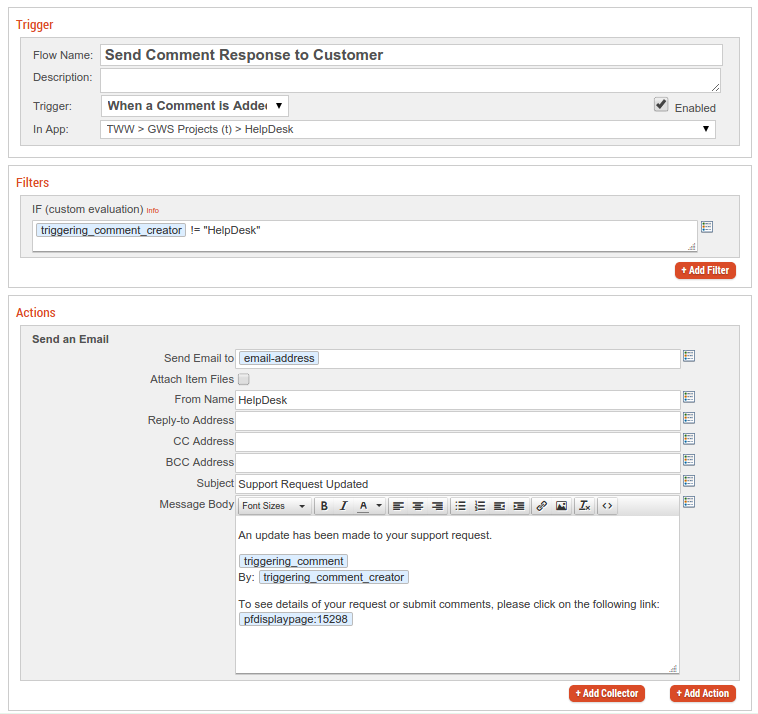
In order to respond to customer tickets, use the Comments feature in Podio. You can input responses into a new comment, and you will have GlobiFlow email this response back to the customer. This flow will trigger on New Comment, and you will have to make sure that you don’t trigger on comments created by the user.
-
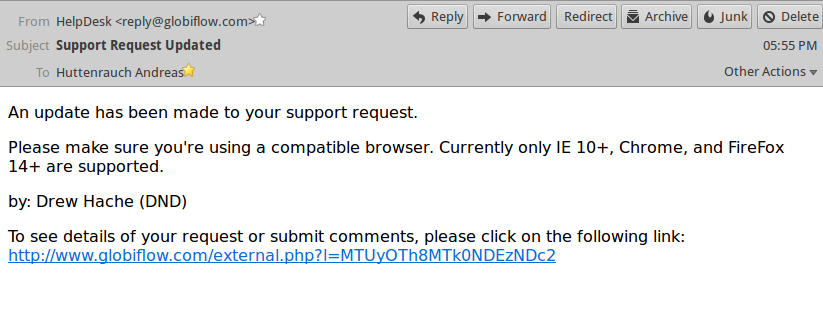
Now, when you add a comment to the ticket in Podio, it will automatically be emailed to the customer.
-
-
Step 5 - Getting Responses from Customers
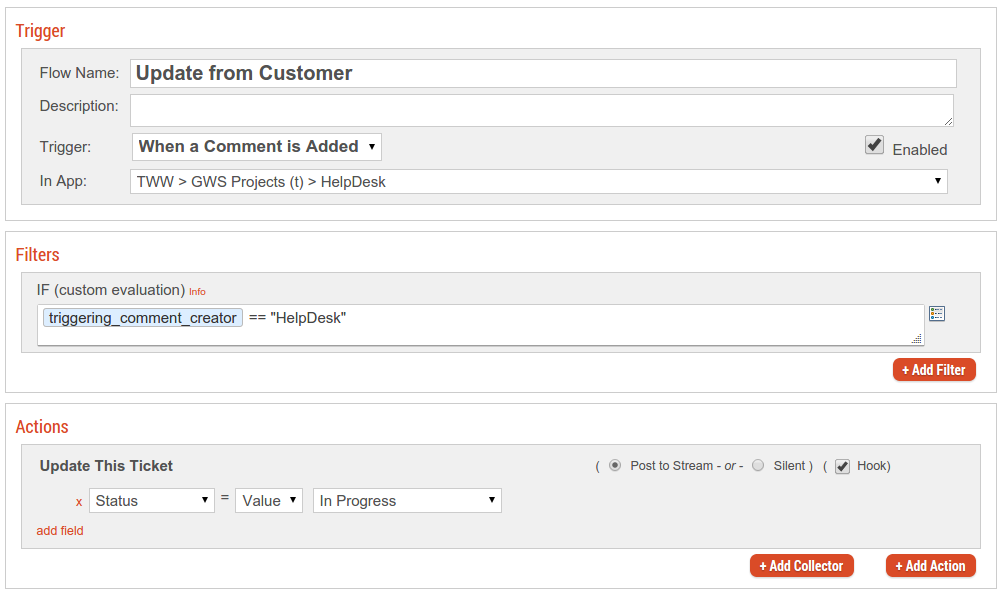
The external link page lets customers add comments to their support tickets. When they do, you should update the ticket status in Globiflow to In Progress.
-
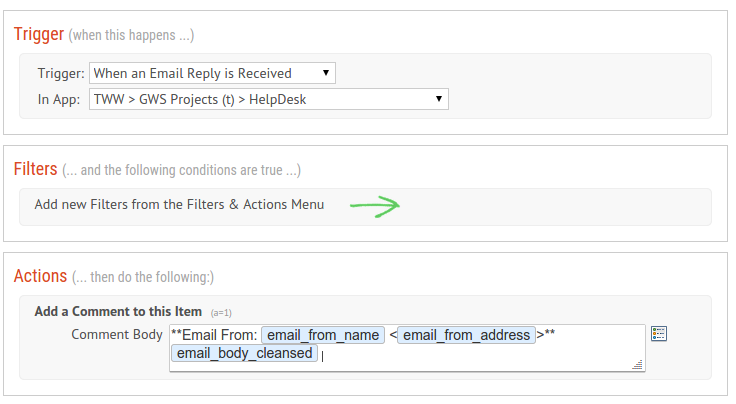
Step 6 - Getting responses via Email
To allow customers to respond to tickets via email, you need to create a flow on Email Reply to triggered when an email reply is received and put the email body into a comment.
-
You also need to update the email send action to forward replies to GlobiFlow to trigger the flow you just created:
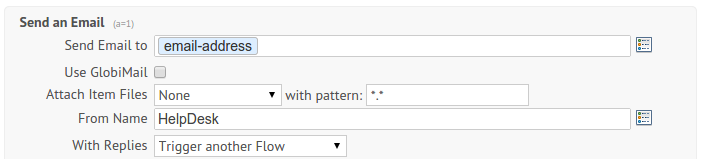
-
That’s it - all done. Now customers can respond to tickets via email, or click on the link provided in the email to see the status and history of their ticket and add comments there.
There’s no need to touch email at all, and can interact with tickets and respond to customers simply by adding comments in Podio.