Workflow Automation: External CMS Page
Adding an External CMS Page allows you to embed data from a Podio App onto a website.
Note: Image field changes do not trigger a CMS change and must accompany another field update in order to reflect the changes on the External Page.
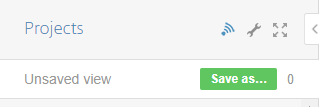
First, display a table of your items and create a View of your App in Podio. Here you can choose the sorting order and filters of the data you want to display.
Note: If you want to display just one item, you don’t need to create a View of your app in Podio. You’ll be able to select which single item to display in your flow.
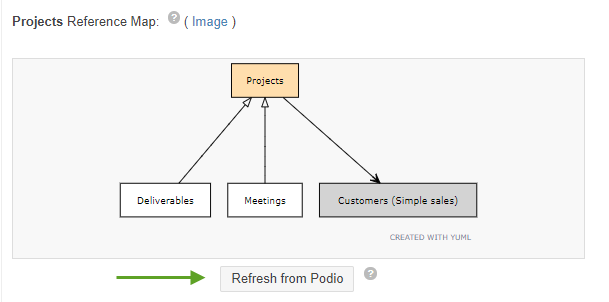
Next, log into your Workflow Automation account. Select your workspace and click on Refresh from Podio to apply the changes you had just made.
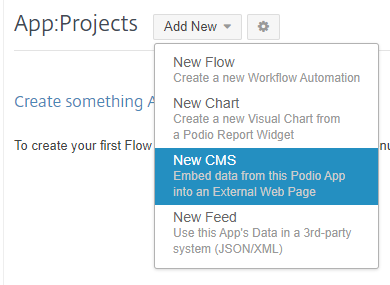
Once your workspace has been refreshed, select the App you want to use and click on Add New to display the drop down menu. Select New CMS from the menu.
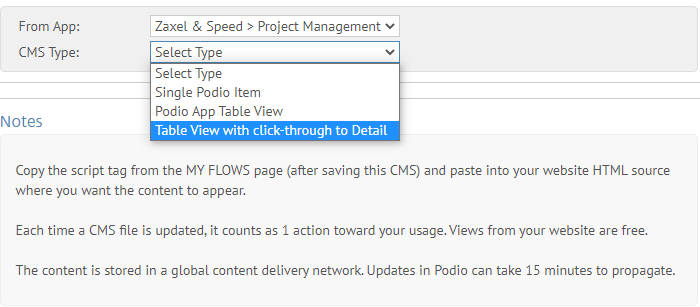
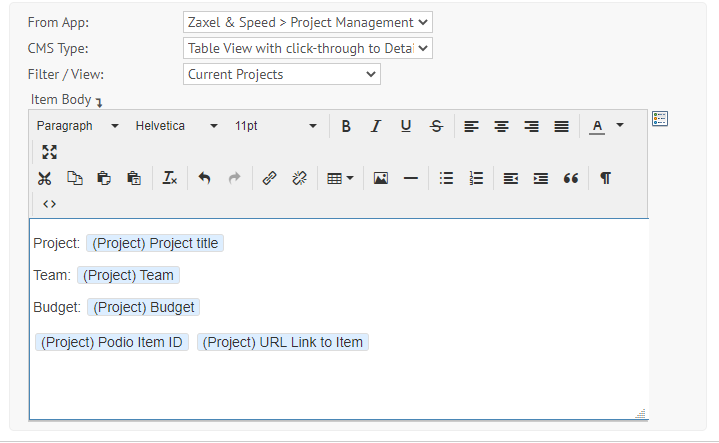
There are 3 CMS Types to choose from when creating an External CMS Page. Select which one you want to use for your CMS. For this example, we will use #3, Table View with click-through to Detail.
-
Single Podio Item: Displays a single item from Podio
-
Podio App Table View: Displays a basic HTML table of all your items
-
Table View with click-through to Detail: Displays a HTML table of all your items that you can click on for more detail.
Next, select your View you had created and saved earlier a in Podio.
Depending if you had chosen Single Podio Item or Table View with click-through to Detail, you will have a new text area called Item Body, where you can insert custom formatting for your item details that will appear on the page or when you click on an item in the table.
Once you have saved the flow, copy and paste the javascript code into your website HTML source.


The end result gives you either a table of items or the content of Item Body you had created.
FORMATTING YOUR DATA
You can use your own CSS stylesheet or include our default CSS stylesheet to add some styling to your table.
Here are the class names you can target to add your own styling:
Table Classname: globiflow-cms-view-table
Table Cell Classname: globiflow-left
A good resource for learning how to style a table with CSS is w3schools.com
SSL (HTTPS)
Your javascript file will be hosted with SSL automatically enabled, and any HTTP requests will be automatically redirected to HTTPS.
A previous version of Workflow Automation CMS javascript files did not have SSL, and you may have used the direct Rackspace DNS to support SSL on your website. Please note this is no longer necessary and is now deprecated. Please use https://pfjava.workflow-automation.com/[your javascript file name here].js