Podio MCP Server — Integration Guide
The Podio MCP (Model Context Protocol) Server connects AI assistants — ChatGPT, Microsoft Copilot Studio, Claude Desktop, and any other MCP-compatible platform — directly to your Podio data. Once connected, your AI assistant can read and write your Podio workspaces, apps, and items using plain natural language.
No coding required to get started. The server is live at https://mcp.podio.com — just point your AI platform at it and log in with your Podio account.
What You Can Do
The Podio MCP Server gives your AI assistant 22 tools covering both reading and writing your Podio data:
| Category | Examples |
|---|---|
| Browse | List organizations, workspaces, apps, and members |
| Read data | Fetch items with full field values, filter and search across your account |
| Write data | Create and update items, post comments |
| Tasks | Create, update, reassign, and complete tasks |
| Notifications | Read recent activity and notifications |
Examples of queries for your AI assistant
- “Show me all open deals in my Sales Pipeline app worth more than $10,000.”
- “Create a follow-up task for item 123456, due next Friday.”
- “What tasks are assigned to me this week?”
- “Find everything related to Acme Corp across my Podio account.”
- “Update the status of item 987654 to ‘In Review’.”
Quick Start to try it — Connect in a Minute
The server uses shared default credentials so you can connect immediately without creating a Podio API key. You simply log in with your Podio account when prompted.
Recommended for: VSCode / GitHub Copilot and any platform where you cannot enter your own API credentials. Also fine for trying the integration before committing to your own API key.
The setup depends on your AI platform — jump to the Connect Your AI Platform section for step-by-step instructions. The key things to know:
- MCP Server URL: https://mcp.podio.com/mcp
- Authorization URL: https://mcp.podio.com/oauth/authorize
- Token URL: https://mcp.podio.com/oauth/token
- No client ID or secret needed when using default credentials.
The first time you connect, your AI platform will open a browser window where you log into Podio and click Allow access. After that, your AI assistant is ready to use.
Note:
This case is meant for testing, with some limits added - approximately 30-40 requests to the MCP server. For production use, we recommend connecting with your API key.
Using Your Own Podio API Key
For platforms that support it (ChatGPT, Copilot Studio), we strongly recommend creating your own Podio API key instead of relying on the shared default credentials.
Benefits
- API calls are made under your own application identity, not a shared one
- Better audit trail — Podio activity logs show your app name
- More control — you can revoke the key at any time from Podio Settings
- Higher reliability — your usage is independent of other users on the shared credentials
- Higher API limits - the default client has more restricted call limits
Step 1 — Create an API Key in Podio
- Log in to Podio and go to Account Settings -> API Keys (direct link: https://podio.com/settings/api)
- Click on Generate API Key
- Fill in the form:
- Name: something descriptive, e.g. “My ChatGPT Integration”
- Redirect URL: https://mcp.podio.com <- this exact value is required.
- Select Generate
- Copy your Client ID and Client Secret — you will need them in the next step

Important Note:
Keep your Client Secret private. Do not share it or post it anywhere.
Step 2 — Use Your Key When Connecting
Once you have your Client ID and Client Secret, enter them in your AI platform’s OAuth configuration.
Connect Your AI Platform
ChatGPT / OpenAI
ChatGPT supports MCP servers with full OAuth configuration, so you can choose between using the shared default credentials or your own Podio API key.
Option A — Without your own API key (quick setup)
-
In ChatGPT Settings, go to Connectors (or MCP Servers, depending on your plan).
-
Add a new MCP Server connection.
- Fill in Field Values:
- MCP Server URL: https://mcp.podio.com/mcp
- Authorization URL: https://mcp.podio.com/oauth/authorize
- Token URL: https://mcp.podio.com/oauth/token
- Client ID: Leave blank or enter any placeholder
- Client Secret: Leave blank
- Click on Connect and log into Podio when prompted.
Option B — With your own Podio API key (recommended)
-
In ChatGPT, add a new MCP Server connection.
- Fill in Field Values:
- MCP Server URL: https://mcp.podio.com/mcp
- Authorization URL: https://mcp.podio.com/oauth/authorize
- Token URL: https://mcp.podio.com/oauth/token
- Client ID: Your Podio Client ID
- Client Secret: Your Podio Client Secret
- Click on Connect and log into Podio when prompted.
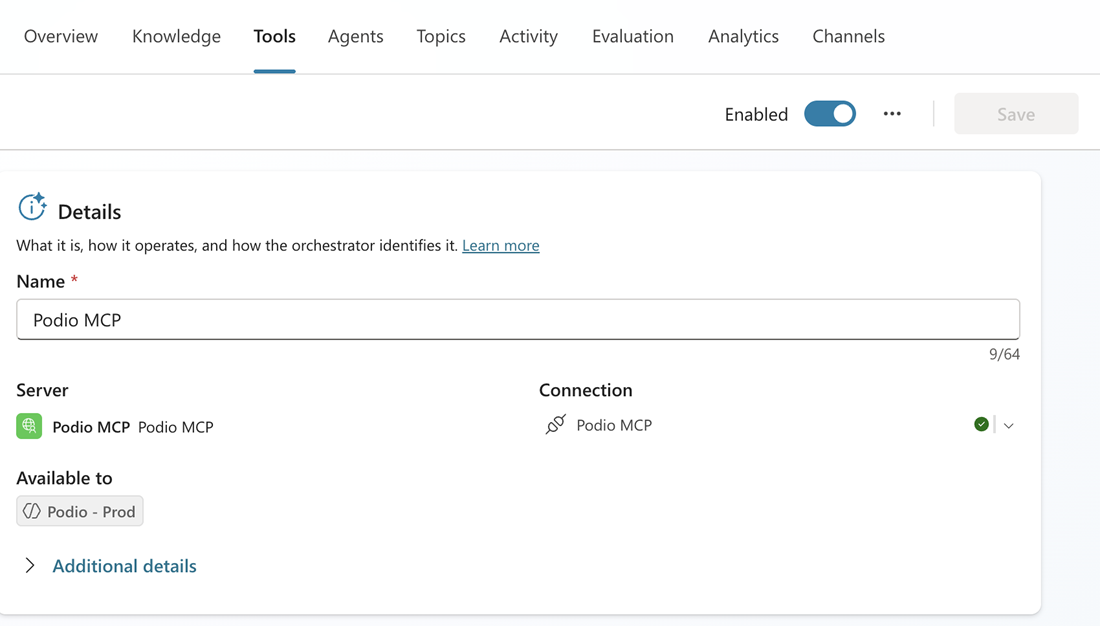
Microsoft Copilot Studio
Copilot Studio supports MCP connections through Actions, with the same two credential options as ChatGPT.
Option A — Without your own API key
-
In your Copilot Studio agent, go to Actions -> Add an action -> MCP Server.
-
Set the MCP Server URL to https://mcp.podio.com/mcp .
- For authentication, choose OAuth 2.0 and fill in Field Values:
- Authorization URL: https://mcp.podio.com/oauth/authorize
- Token URL: https://mcp.podio.com/oauth/token
- Client ID: Leave blank or enter any placeholder
- Client Secret: Leave blank
- Save and test the connection.
Option B — With your own Podio API key (recommended)
Follow the steps above for “Using your Own API Key” first, then use your Client ID and Client Secret in the fields below.
- Create Blank Agent
- Go to the tools section
- Add a new Model Context Protocol tool
- Enter Name, Description
- For Server URL, use https://mcp.podio.com
- Select OAuth 2.0 with Manual Type
- Enter your Client ID and Client Secret you created in Podio.
- Enter the following details for mandatory Fields Values:
- MCP Server URL: https://mcp.podio.com/mcp
- Authorization URL: https://mcp.podio.com/oauth/authorize
- Token URL: https://mcp.podio.com/oauth/token
- Refresh URL: https://mcp.podio.com/oauth/authorize
Troubleshooting
In case you see that the Copilot cannot connect to the MCP in your chat session, you need to go to the Manage your connections view and connect the tool. If you continue to encounter the following message or a similar error:
Example Message: “It looks like I couldn’t retrieve your organization because the Podio authentication token has expired. To proceed, you’ll need to re-authenticate your Podio account so I can access your data. Once that’s done, I can list all your organizations”.
Open your agent in Copilot Studio, then go to Tools to reconnect. Expand the Connection section and select Reconnect.
Health Check
Before configuring your AI platform, you can verify the server is reachable:
curl https://mcp.podio.com/health
Important:
A 200 OK response with “status”: “healthy” confirms the server is running.