This content has been machine translated dynamically.
Dieser Inhalt ist eine maschinelle Übersetzung, die dynamisch erstellt wurde. (Haftungsausschluss)
Cet article a été traduit automatiquement de manière dynamique. (Clause de non responsabilité)
Este artículo lo ha traducido una máquina de forma dinámica. (Aviso legal)
此内容已经过机器动态翻译。 放弃
このコンテンツは動的に機械翻訳されています。免責事項
이 콘텐츠는 동적으로 기계 번역되었습니다. 책임 부인
Este texto foi traduzido automaticamente. (Aviso legal)
Questo contenuto è stato tradotto dinamicamente con traduzione automatica.(Esclusione di responsabilità))
This article has been machine translated.
Dieser Artikel wurde maschinell übersetzt. (Haftungsausschluss)
Ce article a été traduit automatiquement. (Clause de non responsabilité)
Este artículo ha sido traducido automáticamente. (Aviso legal)
この記事は機械翻訳されています.免責事項
이 기사는 기계 번역되었습니다.책임 부인
Este artigo foi traduzido automaticamente.(Aviso legal)
这篇文章已经过机器翻译.放弃
Questo articolo è stato tradotto automaticamente.(Esclusione di responsabilità))
Translation failed!
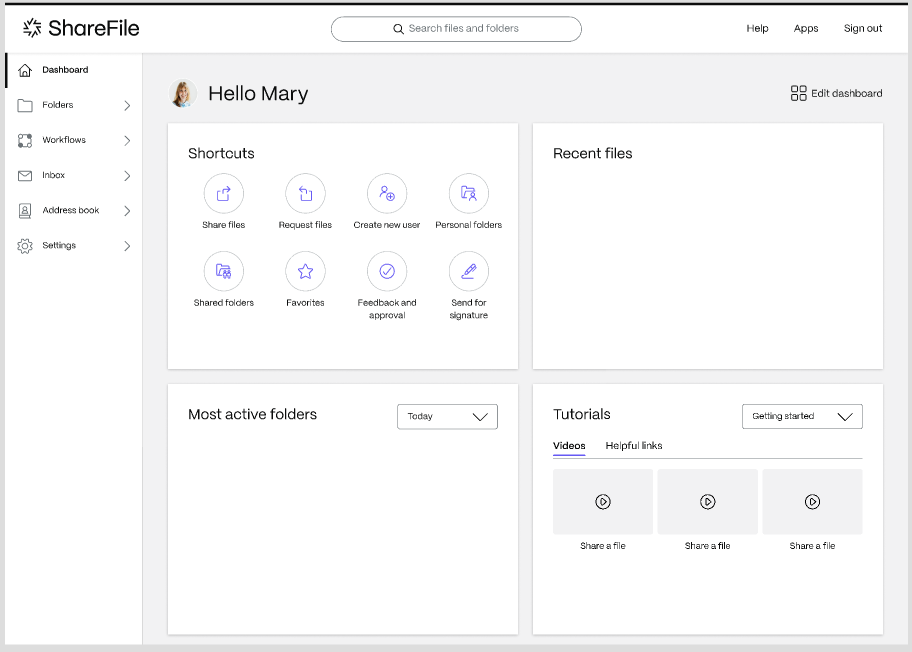
Personal Security
To access Personal Security, go to Settings > Personal Settings > Personal Security.
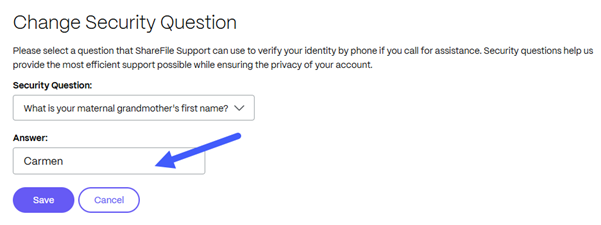
Change Security Question
The security question is used by Support to verify your identity.
To change the security question, select a question from the drop-down options and type your answer. Click Save to save your response.
Two Step Verification
Two-Step Verification uses your phone to provide an extra layer of security for your username and password. After logging in, you will enter a verification code sent to your phone via text message (SMS) or voice call. Two-Step verification also supports Authenticator apps like Google and Microsoft as an option instead of receiving verification codes.
Two-Step Verification is available to both Client and Employee users.
The following information is included in this article:
- Enroll in Two Step Verification
- Backup or edit a phone number
- Pair an authentication app to receive verification codes
- Backup security codes
- Generate application - specific passwords
Enroll in Two Step Verification
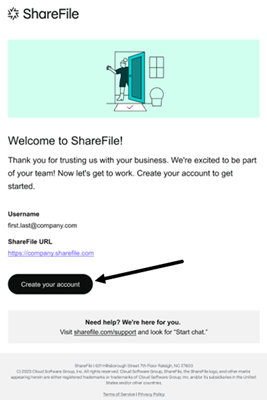
Once you locate your ShareFile account activation message in your email, complete the final steps to start using ShareFile for the first time.
-
In the Welcome to ShareFile message, select Create your account.
-
The Choose a password screen displays.

-
Create your password and confirm it, then select Continue.
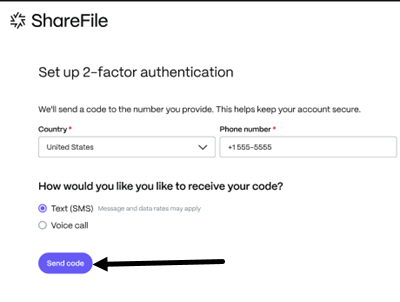
The Set up 2-factor authentication screen displays.
-
Enter the phone number that you want to use for 2-factor text messages or phone calls.
-
Select Send code to initialize the 2-factor process.
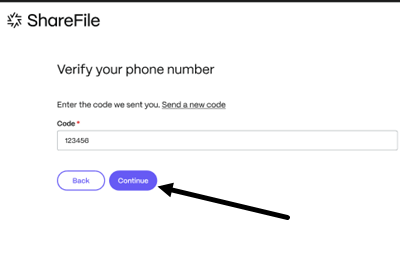
The Verify your phone number screen displays.
-
Check your phone for the code and enter it in the Code field then select Continue.
The Choose your security question screen displays.

-
Select from the list of questions then provide the answer in the field.
-
Select Continue.
Your ShareFile dashboard displays. Welcome to ShareFile.
Phone Numbers
Whenever you login from an untrusted computer or device, we will send you a verification code to your saved phone numbers.
To backup or edit a phone number:
- Click Add a Backup Phone.
- Provide the Country code and a backup Phone Number and click Send.
- Verify the code sent to your backup phone number and complete the enrollment.
- If you have set up a backup phone number, you will be presented the options before receiving the code. Select Use another verification method to choose from the other available methods.
Pair an authentication app to receive verification codes
An authenticator app lets you generate verification codes on your phone.
To set up an authenticator app:
- Click Set up an authenticator app.
- On your phone, search your app store for an authenticator app (for example Microsoft or Google Authenticator).
- Download and install the app.
- Add a new account in the app.
- Select the option to scan a barcode and use your phone’s camera to scan the barcode from your screen.
- Enter the 6-digit verification code from the authenticator app to continue.
- Click Verify.
Backup Security Codes
Backup security codes can be used if you lose access to your other verification methods. Once generated, codes should be stored in a secure location.
- Generate these codes using the Generate Backup Code button.
- Save the codes in a secure location. If you have generated backup codes before, please note generating a new set of codes will invalidate the previously generated set.
- During login, you will see an additional option. Click Don’t have access to your devices.
- Enter a generated Backup Code.
- Click Verify.
-
Choose Use another verification method to return to other choices to receive a verification code.

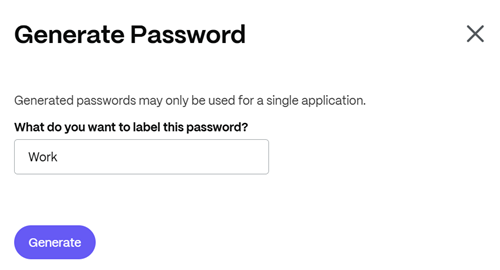
Application Specific passwords
Some ShareFile applications run outside a browser and are not compatible with Two-Step Verification. You will need to create a separate password for authentication. Examples of these applications include Storage Zone Controller, FTP, WebDAV, UMT, and any custom API script.
Click Generate Password to generate a password for a single application, label the password and select Generate.
Share
Share
In this article
This Preview product documentation is Citrix Confidential.
You agree to hold this documentation confidential pursuant to the terms of your Citrix Beta/Tech Preview Agreement.
The development, release and timing of any features or functionality described in the Preview documentation remains at our sole discretion and are subject to change without notice or consultation.
The documentation is for informational purposes only and is not a commitment, promise or legal obligation to deliver any material, code or functionality and should not be relied upon in making Citrix product purchase decisions.
If you do not agree, select I DO NOT AGREE to exit.