Integrations
Eliminate manual data entry and duplicate effort by automatically syncing prospective client data, saving time and reducing data entry errors.
Utilize these integrations when using ShareFile:
Video: Integrations
The following 2 minute video provides information on how Salesforce and QuickBooks are integrated with ShareFile.
Integrating QuickBooks
The QuickBooks integration helps accounting and finance teams connect their document workflows with financial operations. By linking ShareFile with QuickBooks, users can more easily organize, access, and share accounting-related documents associated with clients, invoices, and financial workflows without switching between systems. This integration helps reduce manual work, improves collaboration, and keeps supporting documentation connected to the systems teams already use in their daily workflows.
Use the following steps to add QuickBooks Customers to your ShareFile account.
-
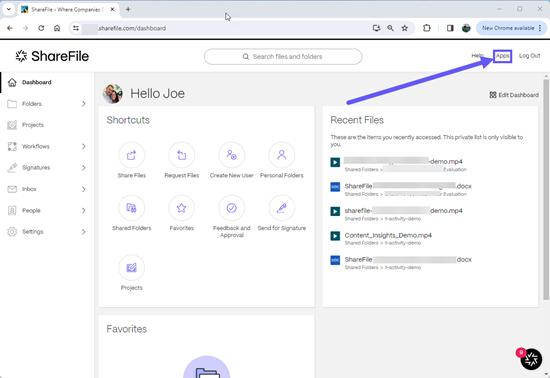
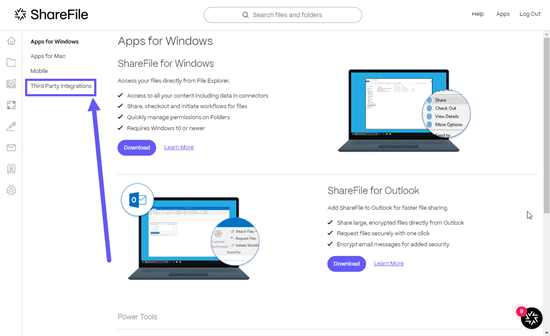
From your ShareFile dashboard, navigate to Apps > Third Party Integrations.
-
For Quickbook Customers, select Add.
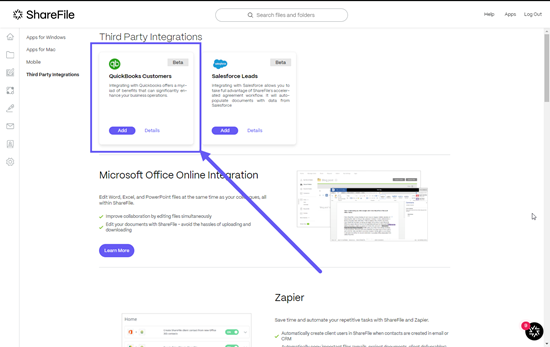
The Connect ShareFile to your QuickBooks account popup displays.
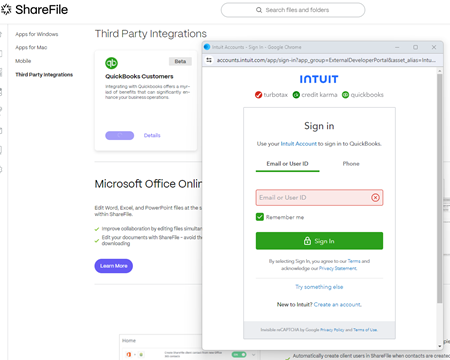
-
Select Next.
The Please select your company screen displays.
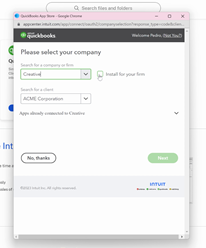
-
Select or search for a company or firm.
-
Select or search for a client.
-
Select Next.
-
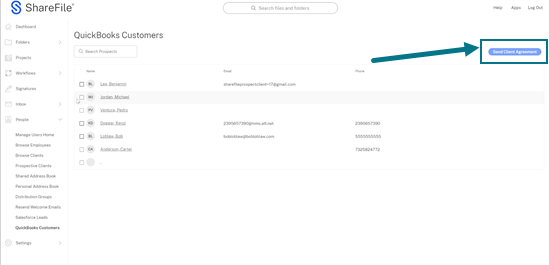
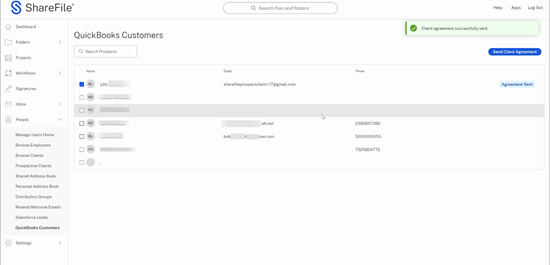
Navigate in ShareFile to People > QuickBooks Customers.
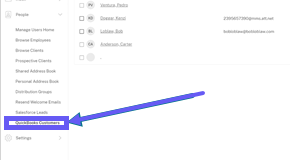
-
Select or use search to locate a prospects.
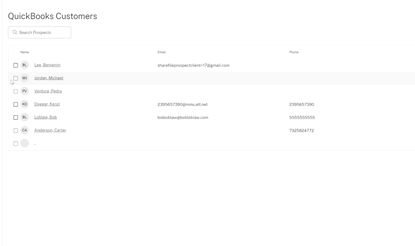
-
Select Send Client Agreement.
-
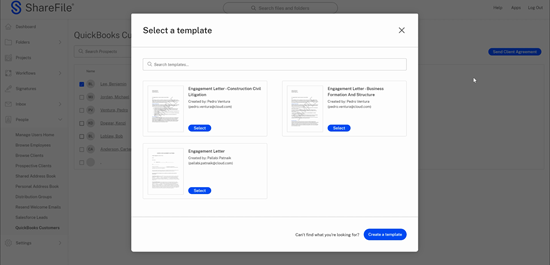
Choose from the available client agreement templates.
-
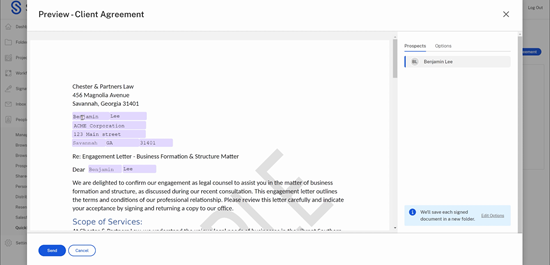
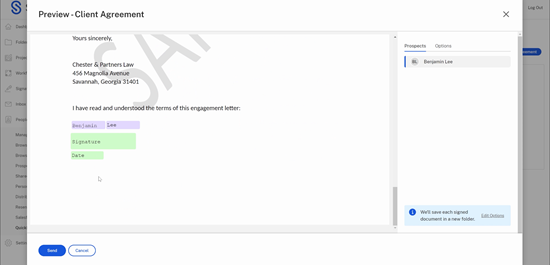
Review the auto-fill information provided by the integrated QuickBooks Customers for verification.
-
Select Send. This creates a folder for the new client.
The "Client agreement successfully sent." confirmation message displays briefly.
Integrating Salesforce
Use the following steps to add Salesforce Leads to your ShareFile account and send a client agreement.
-
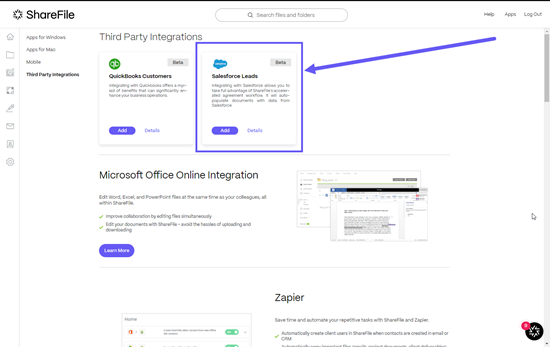
From your ShareFile dashboard, navigate to Apps > Third Party Integrations.
-
For Salesforce Leads, select Add.
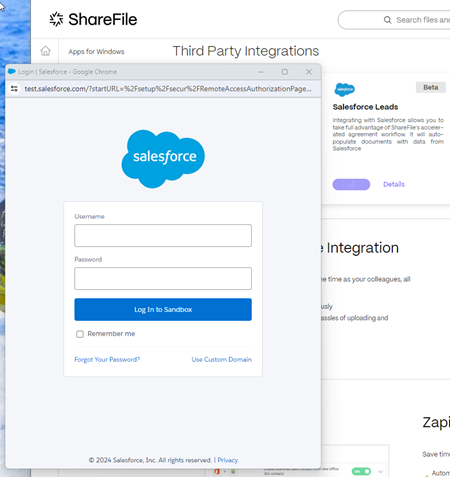
The Salesforce sign on page displays.
-
Type in your Salesforce credentials.
-
Select Log In.
-
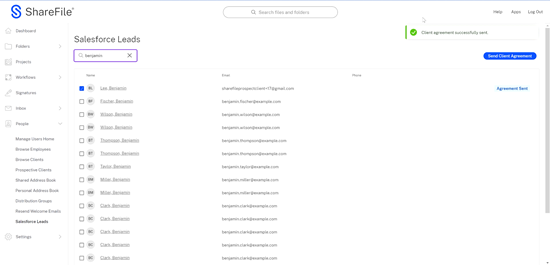
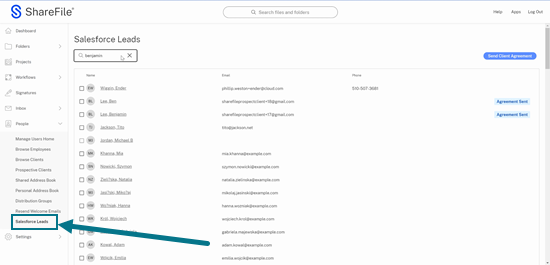
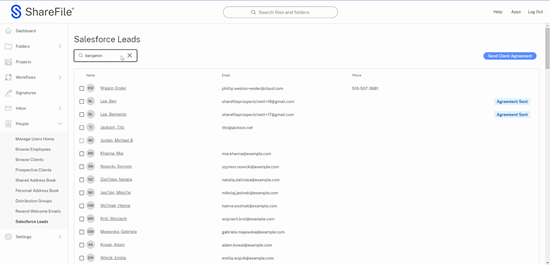
Navigate in ShareFile to People > Salesforce Leads.
-
Select or use search to locate a lead.
-
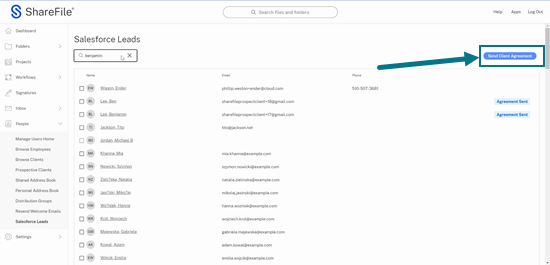
Select Send Client Agreement.
-
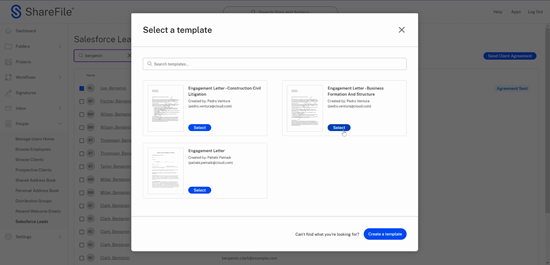
Choose from the available client agreement templates.
-
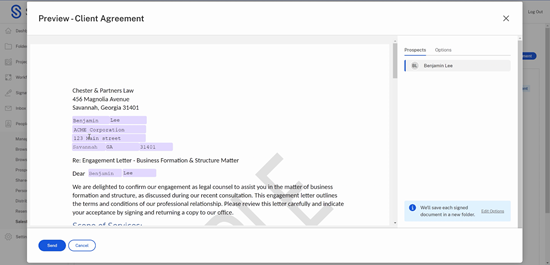
Review the auto-fill information provided by the integrated Salesforce Leads for verification.
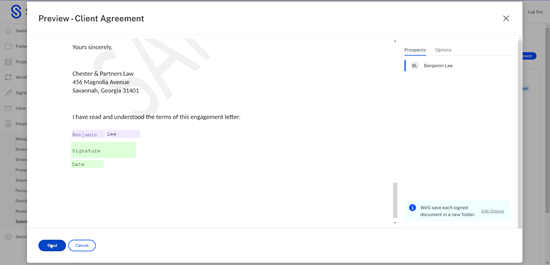
-
Select Send. This creates a folder for the new client.
The "Client agreement successfully sent." confirmation message displays.