This content has been machine translated dynamically.
Dieser Inhalt ist eine maschinelle Übersetzung, die dynamisch erstellt wurde. (Haftungsausschluss)
Cet article a été traduit automatiquement de manière dynamique. (Clause de non responsabilité)
Este artículo lo ha traducido una máquina de forma dinámica. (Aviso legal)
此内容已经过机器动态翻译。 放弃
このコンテンツは動的に機械翻訳されています。免責事項
이 콘텐츠는 동적으로 기계 번역되었습니다. 책임 부인
Este texto foi traduzido automaticamente. (Aviso legal)
Questo contenuto è stato tradotto dinamicamente con traduzione automatica.(Esclusione di responsabilità))
This article has been machine translated.
Dieser Artikel wurde maschinell übersetzt. (Haftungsausschluss)
Ce article a été traduit automatiquement. (Clause de non responsabilité)
Este artículo ha sido traducido automáticamente. (Aviso legal)
この記事は機械翻訳されています.免責事項
이 기사는 기계 번역되었습니다.책임 부인
Este artigo foi traduzido automaticamente.(Aviso legal)
这篇文章已经过机器翻译.放弃
Questo articolo è stato tradotto automaticamente.(Esclusione di responsabilità))
Translation failed!
Client Billing Solution - BETA
NOTES:
The installation of a solution installs it for all employee users on the account. Only Billing Admins (SuperUser, Account Owner, or AdminManageEmployees roles) can install or uninstall.
The Client Billing Solution is available as a beta release with access limited to ShareFile Premium customers. This Client Billing solution beta release is provided “AS IS” without any warranties or indemnities of any kind, or any promises, or guarantees that this solution will be publicly announced or made generally available. This beta release can be suspended or terminated at any time by ShareFile in its sole discretion with or without notice to customers.
Solutions Catalog is not available on Premium Trial Accounts.
Overview
Note:
The installation of this solution provides a new client portal experience to all client users. See those updates. For information, see Client Portal.
Streamline your billing process with our Client Billing solution, designed specifically for service providers. Easily send payment requests, including post-service invoices, pre-service quotes, proposals, retainers, and any other documents that require seamless payment processing to optimize your cash flow.
This includes:
- Centralized Tracking: Manage all payment requests from one central location
- Document Attachments: Include necessary documents with each payment request
- Smooth Integrations: Seamlessly connect with top payment processing platforms for efficient, PCI-compliant transactions.
NOTE:
You need to have an account with one of the supported payment processing platforms for this solution to work. If you don’t have an account, you can sign up for new account during the installation process.
This solution currently works with:
Stripe
QuickBooks Payments
Accessing and installing the solution
Use the following information to access the Client Billing Solution from your ShareFile Catalog.
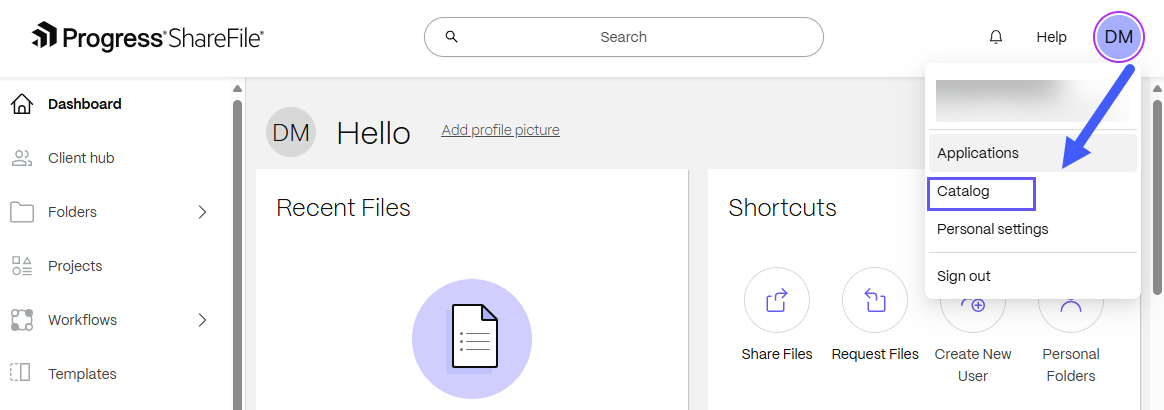
- Open ShareFile in your web browser.
- From the ShareFile Dashboard, click the user icon located in the upper right corner of the screen.
-
Select Catalog from the dropdown options.
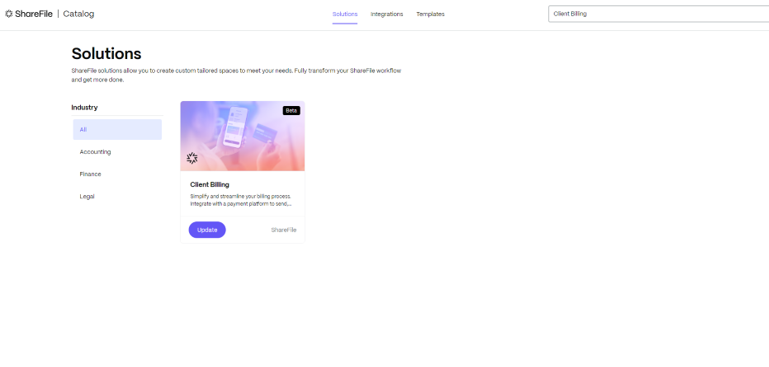
The ShareFile Catalog page opens in a new tab with the available solutions. Click on any tile to access the solution overview.

-
Click the solution tile to see the solution details.
The Solution details page displays with an overview of the solution.
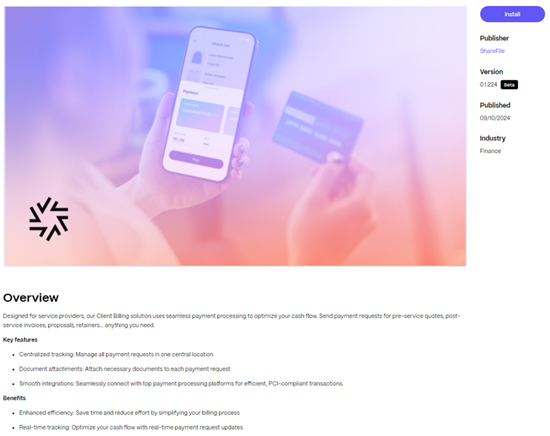
-
Select Install.
The “Welcome…” message displays providing more details regarding the solution.
-
Select Continue.
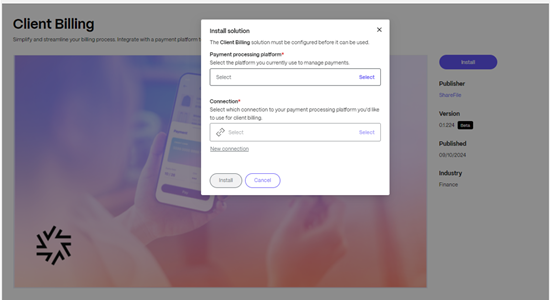
You are prompted to select your payment processing platforms (Stripe or QuickBooks) and set up a new connection.
First-time connection setup:
To connect ShareFile with your payment processing platform for the first time:
- Select your payment platform.
- Select New Connection.
- Once you are redirected to the payment platform’s login page, sign in with your existing Stripe or QuickBook credentials.
Once you are signed in, you are redirected back to ShareFile.
-
Select Install.
Once you’ve selected both your payment processing platform and connection, click install to complete the installation.

-
Open Solution.
The confirmation message displays letting you know the installation started.
Once the installation is complete, a confirmation message displays letting you know the solution is installed.
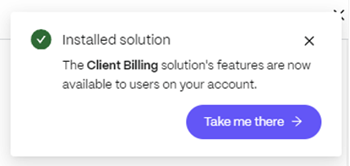
- Select Take me there to start using the installed solution.
Using the Client Billing Solution to request a payment
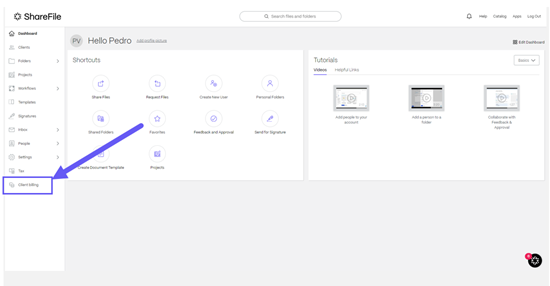
On your ShareFile dashboard the added solution is in the left navigation menu. Refresh the page if it’s not displaying.
-
Select Client Billing to open the solution dashboard.
NOTE:
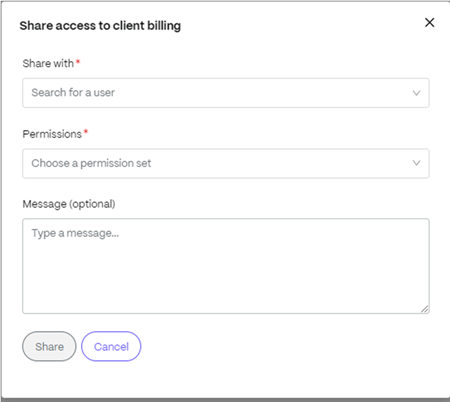
All employee users with SuperUser, Account Owner, or AdminManageEmployees roles have access to the Client Billing Solution after installation. If you have access to the solution, you can share access to other users from the Client Billing Solution.
-
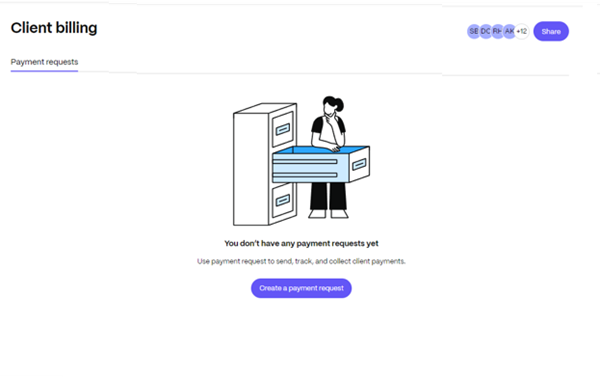
Select Create Payment Request.
The Create Payment Request page displays allowing you to create a payment request for a client.
-
Add description.
Add description to the payment request to help others identify its purpose. The description can be a short service summary, invoice number, or project name (e.g., “Consulting Services – June 2024,” “Invoice #12345,” or “Website Design Project”)
-
Select Client.
Assign the payment request to an existing client or add a new client.
-
Enter Amount.
Enter the Amount for the payment request.
-
Enter Due Date.
Specify the Due Date for when the payment is expected.
-
Attach file.
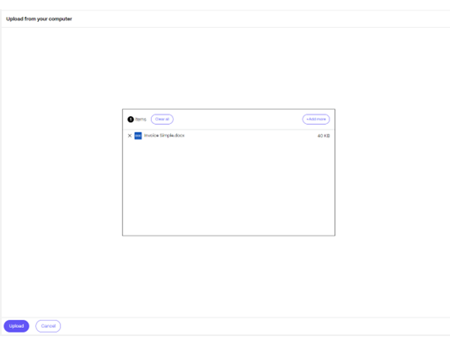
Attach any relevant files, such as an invoice or supporting documents, by clicking Upload a File and choosing a file from your system.
-
Select Send payment request.
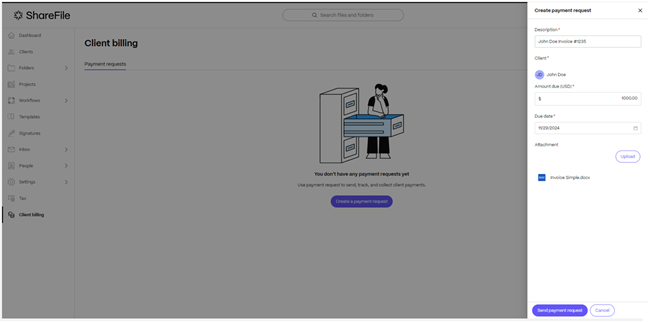
Select Send Payment Request to send the request to the selected client. This will create a new entry in the Client Billing dashboard, showing the client, payment request details, and status. Once sent, the client will receive an email notification with the payment request details and a link to pay the requested amount.
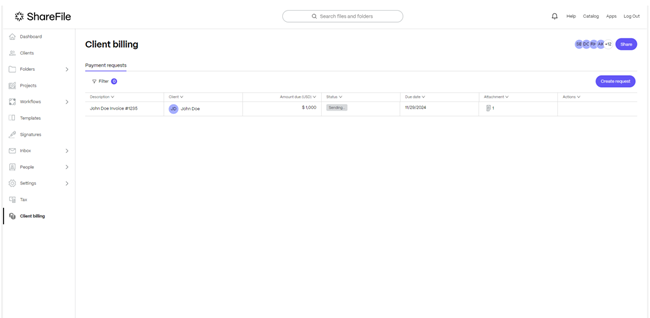
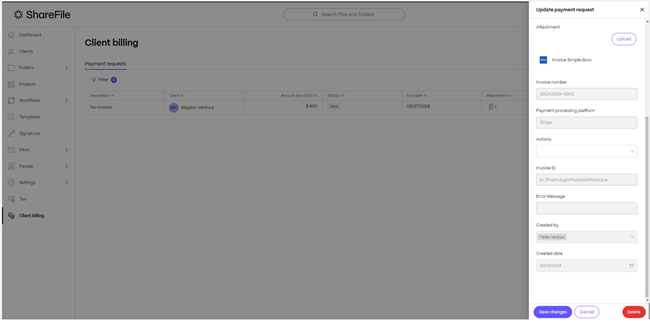
Click on an existing payment request in the Client Dashboard to view its details. Once sent, the Payment Request Side panel will display additional information such as the generated invoice number, payment platform, invoice ID, any errors from the payment platform, as well as the request’s creator, creation date, and available follow-up actions like sending reminders or voiding the request.
Note:
Once the payment request is sent, the request is locked for editing. This is because once it’s sent the email notification goes out immediately to the client. Changing details of the invoice after sent, such as amount or due date, may cause confusion with the client. If you need to change the details of the payment request, we recommend to void or delete the payment request and create a new one.
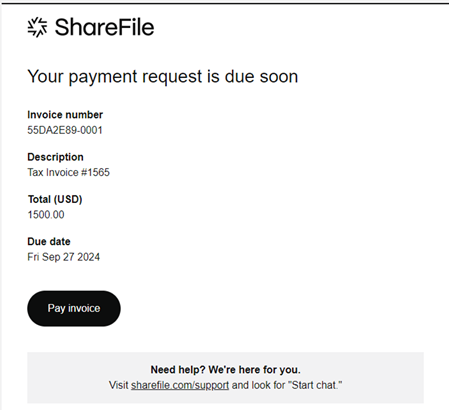
Sending Payment Reminders
If a payment is approaching its due date, you can send a reminder to ensure timely payment. This helps remind clients of upcoming deadlines.
-
Select the payment request that is due soon.
-
Click Send Reminder.
-
Confirm the action to notify the client.
The client will receive an email reminder with the upcoming due date to prompt payment.
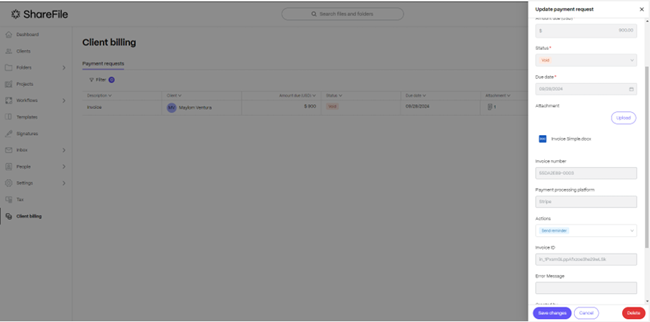
Void a Payment Request
If you’ve created a payment request by mistake or need to prevent a client from completing the payment, you can void the request before deleting it. Voiding ensures the client cannot make a payment using the email link.
-
Select the payment request you wish to void.
-
Under actions, select Void request.
-
Save Changes.
Once voided, the client will no longer be able to access the payment. If they try using the original email link, the payment processing platform will show that the invoice was voided, and no payment will be processed. A notification will confirm when the payment request is voided and the payment request status will change to Void.
Clients will also receive an email notification once the payment request is voided. Screenshot below shows example of an email notification the client receives.
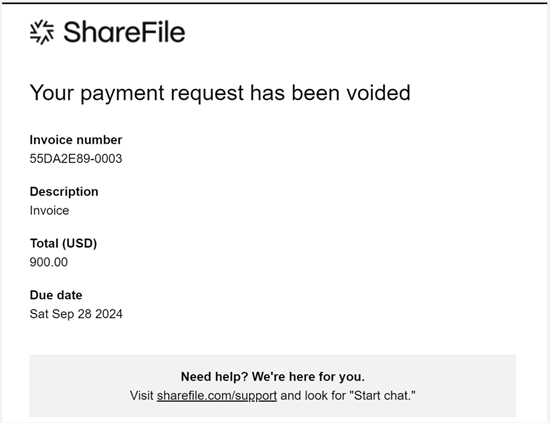
Once voided, the client will no longer be able to access the payment. If they try using the original email link, the payment processing platform will show that the invoice was voided, and no payment will be processed.
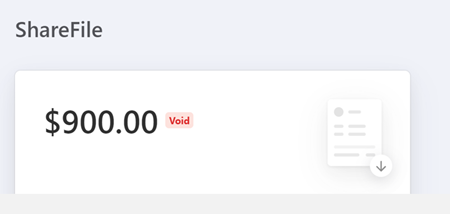
Screenshot shows an example invoice using Stripe:
Deleting a Payment Request
If a payment request is no longer needed, you can delete it.
-
Select the payment request you wish to delete.
-
Click Delete.
-
Confirm the deletion.
NOTE:
Deleting a payment request will not automatically void it. If the client has received an email notification, they will still be able to access and pay the request through the email link. If you created the payment request by accident or want to prevent the client from making the payment, it is recommended to void the request first and then delete it.
Paying the Payment Request
Once a payment request has been sent, the client can complete the payment using the link provided in the email notification. Depending on the payment platform you’re using, the client will have different payment method options (e.g., credit card, ACH). Payment methods are configured under your payment processing platform’s settings.
Client Steps to Pay a Payment Request:
-
Open the email containing the payment request.
-
Click the payment link to be redirected to the payment platform.
-
Review the payment details.
-
Select the available payment method.
-
Complete the payment by following the on-screen instructions.
Once the payment is processed, the client billing dashboard will automatically update to reflect the status as paid, and both you and the client will receive confirmation of the completed transaction.
Advisory:
Starting September 9, 2025, the EU control plane will no longer support the following integrations:
- Salesforce File Export
- QuickBooks File Export
- FreshBooks File Export
- Pipedrive File Export
- QuickBooks Document Generator
- Salesforce Document Generator
Share
Share
This Preview product documentation is Citrix Confidential.
You agree to hold this documentation confidential pursuant to the terms of your Citrix Beta/Tech Preview Agreement.
The development, release and timing of any features or functionality described in the Preview documentation remains at our sole discretion and are subject to change without notice or consultation.
The documentation is for informational purposes only and is not a commitment, promise or legal obligation to deliver any material, code or functionality and should not be relied upon in making Citrix product purchase decisions.
If you do not agree, select I DO NOT AGREE to exit.