This content has been machine translated dynamically.
Dieser Inhalt ist eine maschinelle Übersetzung, die dynamisch erstellt wurde. (Haftungsausschluss)
Cet article a été traduit automatiquement de manière dynamique. (Clause de non responsabilité)
Este artículo lo ha traducido una máquina de forma dinámica. (Aviso legal)
此内容已经过机器动态翻译。 放弃
このコンテンツは動的に機械翻訳されています。免責事項
이 콘텐츠는 동적으로 기계 번역되었습니다. 책임 부인
Este texto foi traduzido automaticamente. (Aviso legal)
Questo contenuto è stato tradotto dinamicamente con traduzione automatica.(Esclusione di responsabilità))
This article has been machine translated.
Dieser Artikel wurde maschinell übersetzt. (Haftungsausschluss)
Ce article a été traduit automatiquement. (Clause de non responsabilité)
Este artículo ha sido traducido automáticamente. (Aviso legal)
この記事は機械翻訳されています.免責事項
이 기사는 기계 번역되었습니다.책임 부인
Este artigo foi traduzido automaticamente.(Aviso legal)
这篇文章已经过机器翻译.放弃
Questo articolo è stato tradotto automaticamente.(Esclusione di responsabilità))
Translation failed!
Configure your Client account
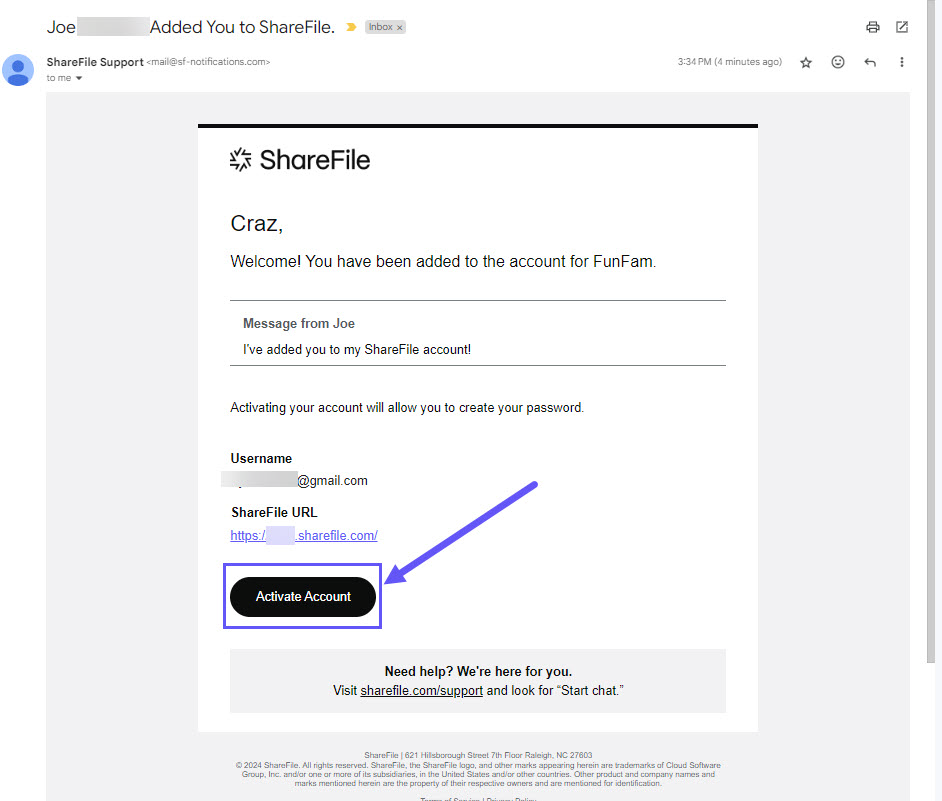
When you are invited to a ShareFile account as a Client contact, you receive an email from ShareFile Support (mail@sf-notifications.com) with instructions to create your account. Make sure your email spam filters allow inbound messages from this address.
Use the following instructions to sign into ShareFile for the first time after receiving a request email from your service provider.
-
Open the email and select Activate Account. The email contains your username (email address) and your service provider’s ShareFile URL, which is your sign-in page.
Note:
Please rember your sign-in page, as this information will be required for future logins.
-
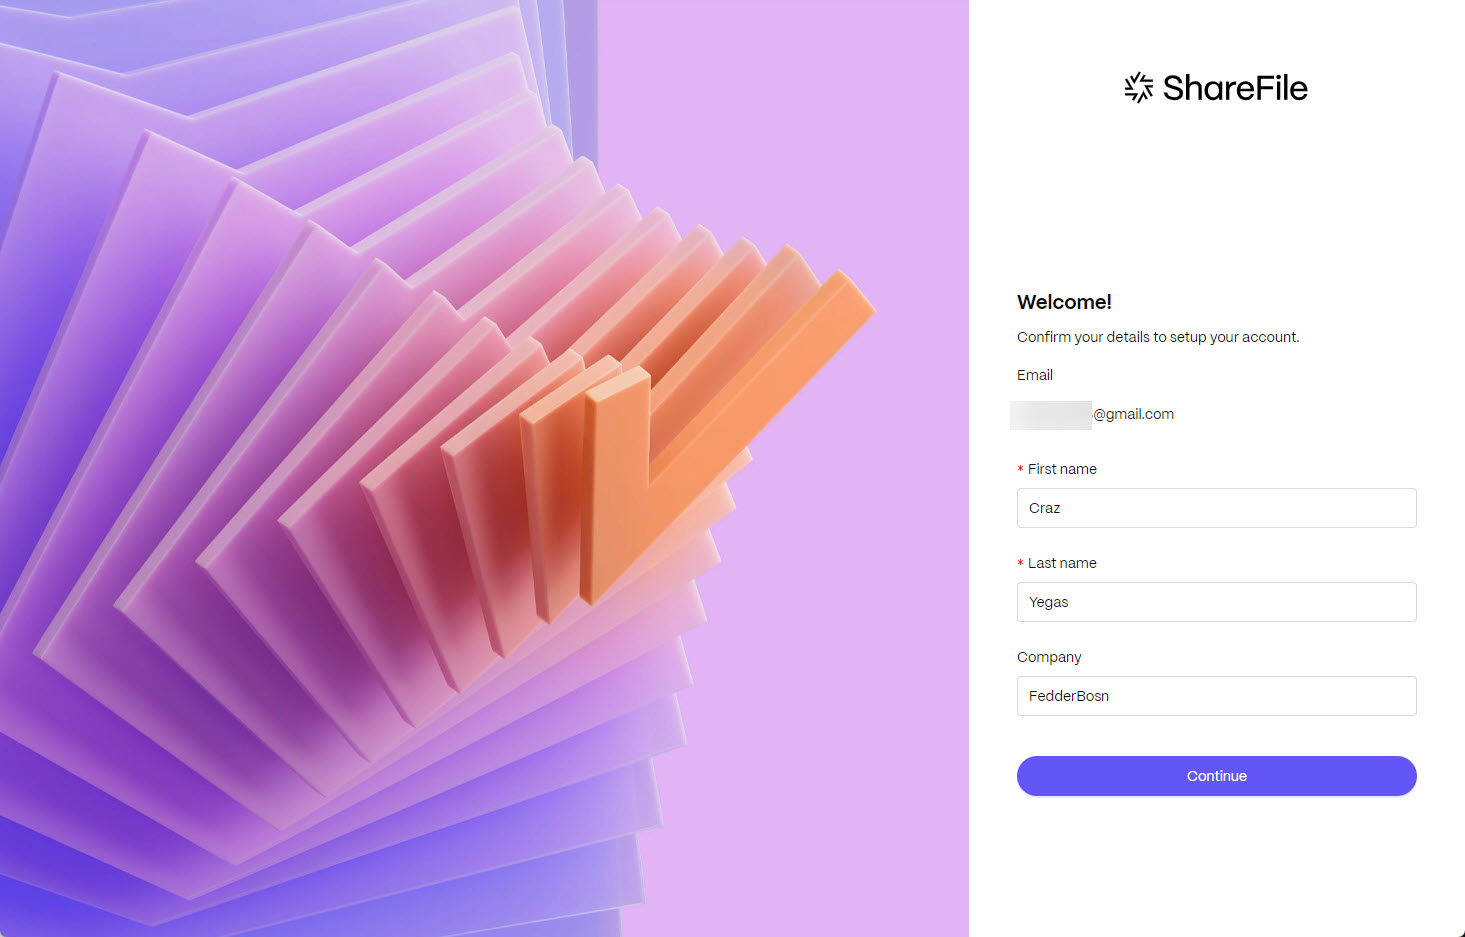
When the ShareFile Welcome screen displays, confirm your Email, First name, Last name and Company name. You can make edits if needed. Then, select Continue.
-
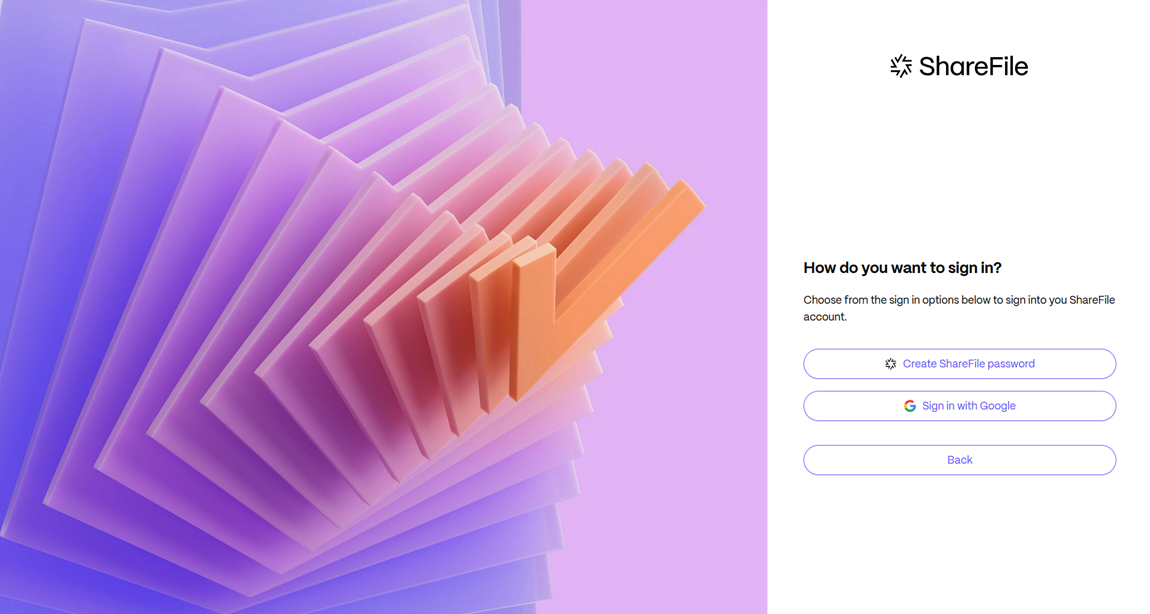
In the How do you want to sign in? screen, select Create ShareFile password.
Note:
ShareFile allows clients to use a social sign in. For more information on using a social account to sign into ShareFile, see ShareFile Social sign in.
-
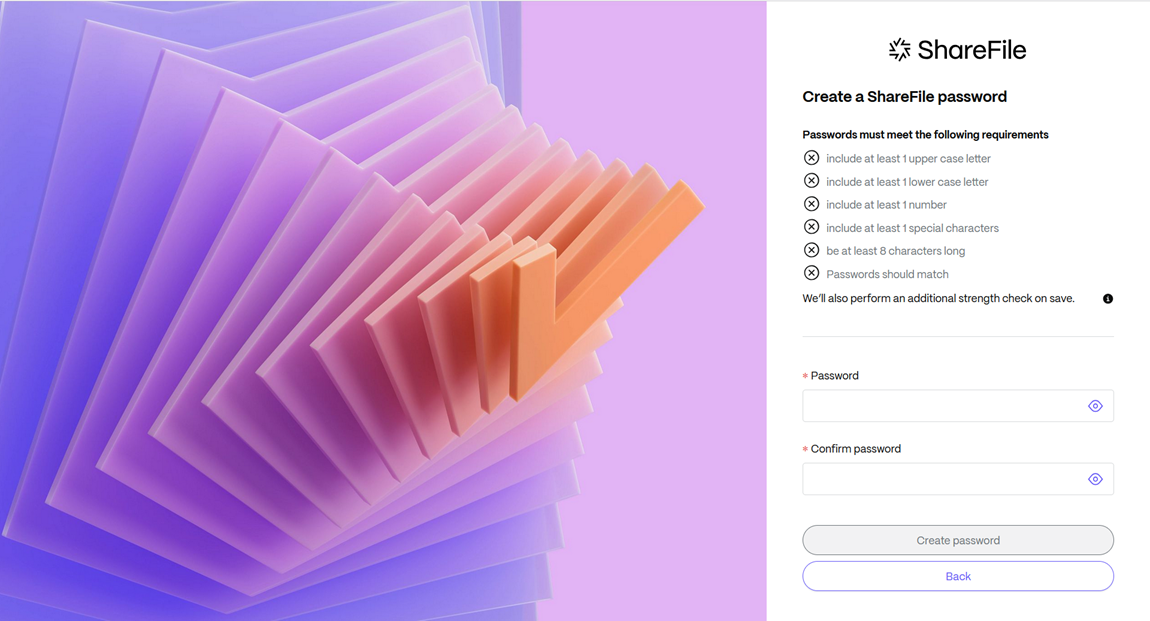
Create a ShareFile password for your account using the requirements stated on the page.
-
Select Create password. You’ve successfully created your ShareFile client user account.
Accounts using Multi-Factor authentication
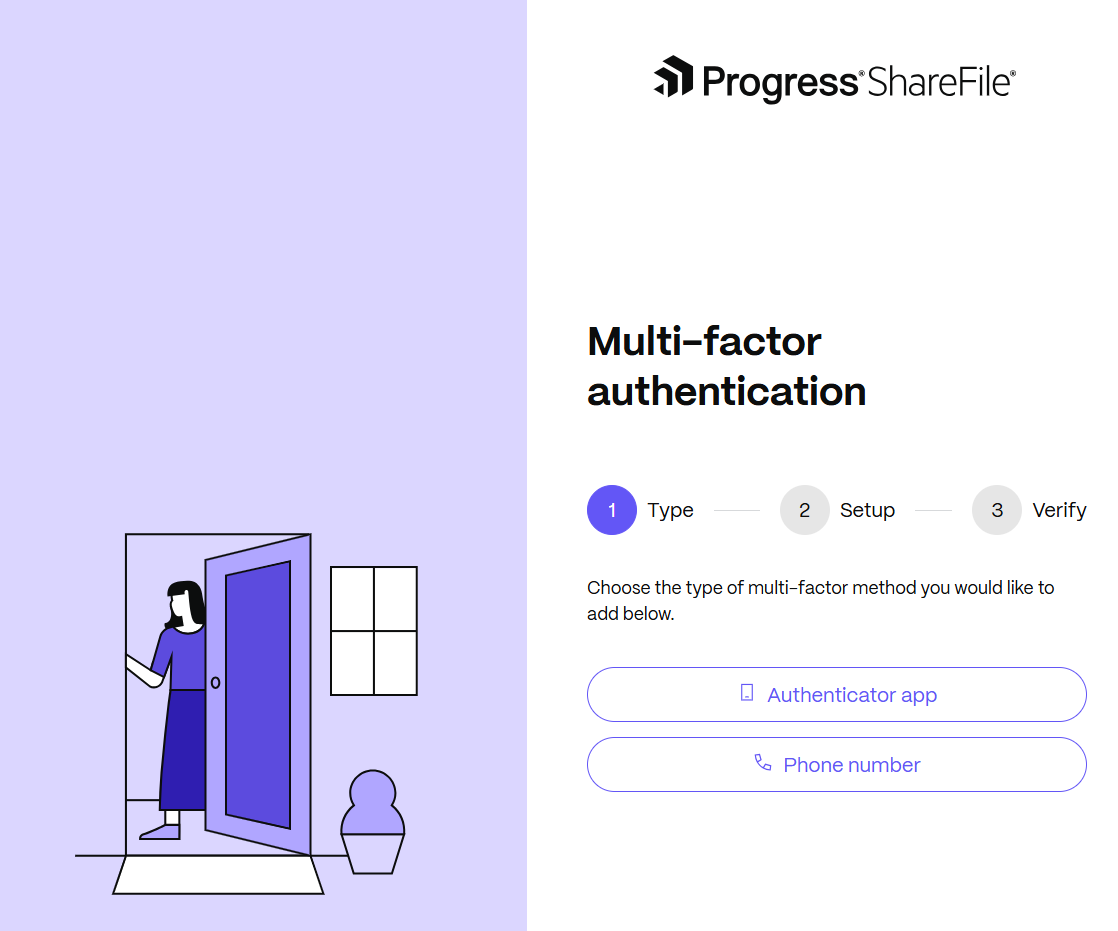
If your service provider requires Multi-Factor Authentication (MFA), you will be asked to set up MFA as part of the account activation process.
Follow the prompts under Authenticator app or Phone number to set up MFA and continue activating the account.
-
Authenticator app - Verify your identity using a code generated by a mobile app. To add an authenticator app:
- Search your app store for an authenticator app (for example Microsoft or Google Authenticator).
- Download and install the app.
- Add a new account in the app.
- Select the option to scan a barcode and use your phone’s camera to scan the barcode from your screen. Click Continue.
- Enter the 6-digit verification code from the authenticator app. Click Continue.
- Check the box if you want to make this to be your primary verification method.
Once verified, the authenticator app method is added to your account.
-
Phone Number - Verify your identity using a code sent to your phone number. To add a phone number:
- Select your Country.
- Enter your Phone Number.
- Select a default delivery option. Choose from Text message (SMS) or Voice call. Click Continue.
-
A verification code is sent to your phone number. To validate and add the phone number as multi-factor authentication method, enter the code received. and click Add.
Once verified, the phone number authentication method is added to your account.
In this article
This Preview product documentation is Citrix Confidential.
You agree to hold this documentation confidential pursuant to the terms of your Citrix Beta/Tech Preview Agreement.
The development, release and timing of any features or functionality described in the Preview documentation remains at our sole discretion and are subject to change without notice or consultation.
The documentation is for informational purposes only and is not a commitment, promise or legal obligation to deliver any material, code or functionality and should not be relied upon in making Citrix product purchase decisions.
If you do not agree, select I DO NOT AGREE to exit.