This content has been machine translated dynamically.
Dieser Inhalt ist eine maschinelle Übersetzung, die dynamisch erstellt wurde. (Haftungsausschluss)
Cet article a été traduit automatiquement de manière dynamique. (Clause de non responsabilité)
Este artículo lo ha traducido una máquina de forma dinámica. (Aviso legal)
此内容已经过机器动态翻译。 放弃
このコンテンツは動的に機械翻訳されています。免責事項
이 콘텐츠는 동적으로 기계 번역되었습니다. 책임 부인
Este texto foi traduzido automaticamente. (Aviso legal)
Questo contenuto è stato tradotto dinamicamente con traduzione automatica.(Esclusione di responsabilità))
This article has been machine translated.
Dieser Artikel wurde maschinell übersetzt. (Haftungsausschluss)
Ce article a été traduit automatiquement. (Clause de non responsabilité)
Este artículo ha sido traducido automáticamente. (Aviso legal)
この記事は機械翻訳されています.免責事項
이 기사는 기계 번역되었습니다.책임 부인
Este artigo foi traduzido automaticamente.(Aviso legal)
这篇文章已经过机器翻译.放弃
Questo articolo è stato tradotto automaticamente.(Esclusione di responsabilità))
Translation failed!
Create an Information Request
Article applies to:
- ShareFile Employee users
To create an information request in a project, you can follow the steps given below:
-
Navigate to the Project
a. From the ShareFile web app, select Projects from the left-hand menu.
b. Open the project where you want to create the Information Request.
-
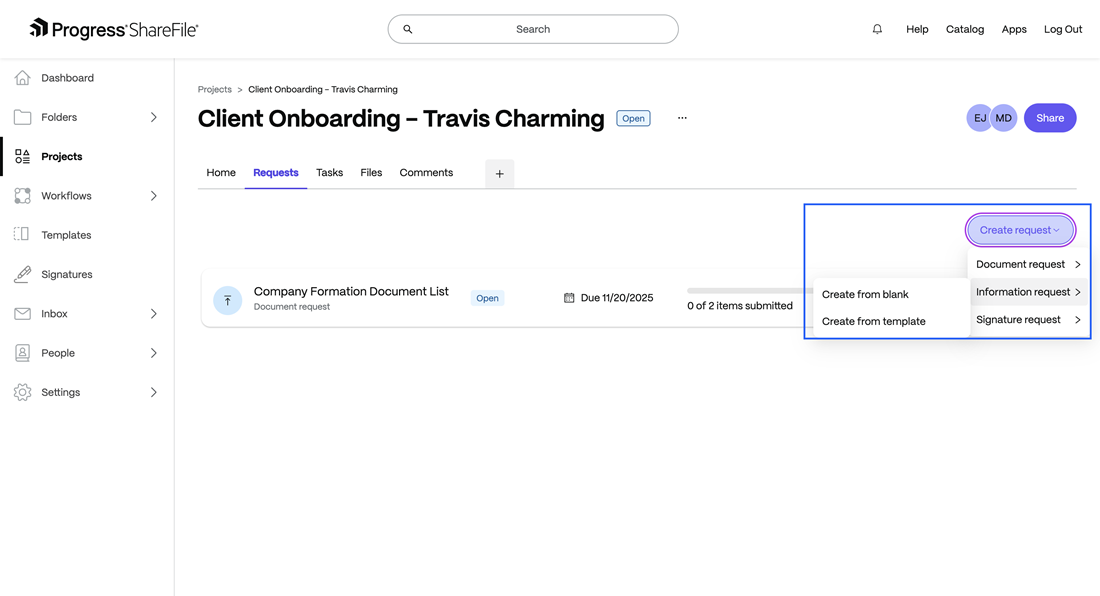
Access Information Requests
a. On the project dashboard, select the Requests tab.
b. Click on the Create Request button.
c. Hover over the information request section.
d. Select one option from either blank or template.
-
Add Request Details
a. Enter a Title for your Information Request.
b. (Optional) Add a Description explaining the purpose of the form.
c. Set a Due Date if you need the form completed within a specific timeframe.
-
Design the Request Form
a. Add questions or fields by selecting Add fields.
b. Choose a Field Type for each question:
- Short Text
- Paragraph Text
- Date Picker
- Dropdown / Multiple Choice
- File Upload (optional hybrid field)
- Yes/No Toggle
c. Reorder questions using drag-and-drop.
d. Use Conditional Logic to show or hide questions based on earlier responses. Example: Show “Proof of Address” field only if user selects “Yes” for “Do you reside in the U.S.?”
-
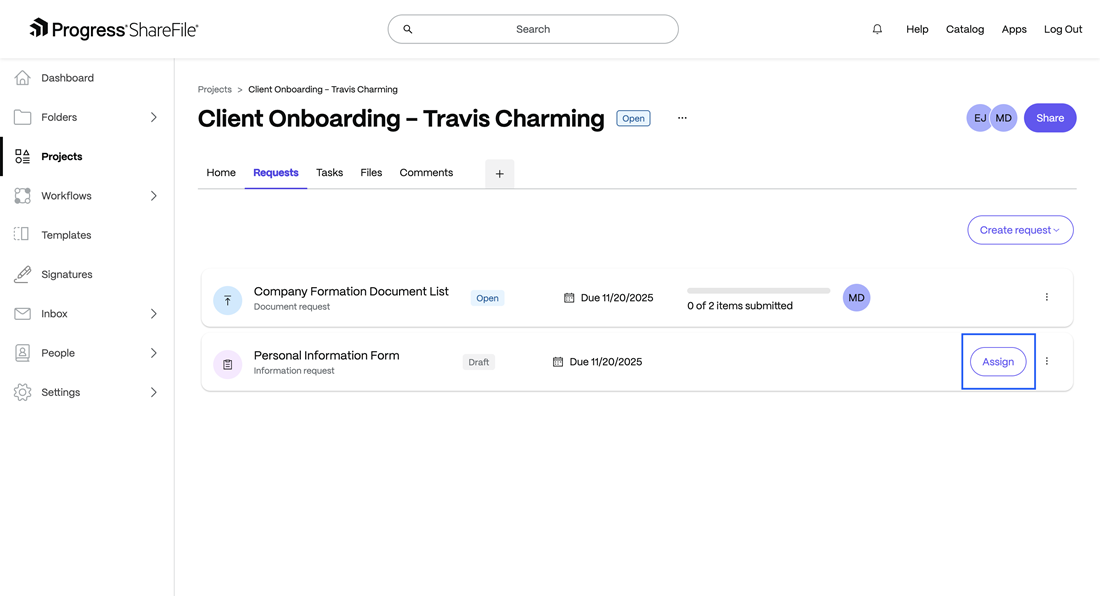
Assign Recipients
a. Select internal users or clients who need to complete the request.
b. Each recipient will receive an email notification with access to the form.
-
Configure Reminders
a. Automatic reminders are sent 1, 3, 5, and 10 days before the due date.
b. Post-due date, reminders are sent daily for 30 days after the deadline until completed.
c. You can also send manual reminders from the three-dot menu (…).
Share
Share
In this article
This Preview product documentation is Citrix Confidential.
You agree to hold this documentation confidential pursuant to the terms of your Citrix Beta/Tech Preview Agreement.
The development, release and timing of any features or functionality described in the Preview documentation remains at our sole discretion and are subject to change without notice or consultation.
The documentation is for informational purposes only and is not a commitment, promise or legal obligation to deliver any material, code or functionality and should not be relied upon in making Citrix product purchase decisions.
If you do not agree, select I DO NOT AGREE to exit.