This content has been machine translated dynamically.
Dieser Inhalt ist eine maschinelle Übersetzung, die dynamisch erstellt wurde. (Haftungsausschluss)
Cet article a été traduit automatiquement de manière dynamique. (Clause de non responsabilité)
Este artículo lo ha traducido una máquina de forma dinámica. (Aviso legal)
此内容已经过机器动态翻译。 放弃
このコンテンツは動的に機械翻訳されています。免責事項
이 콘텐츠는 동적으로 기계 번역되었습니다. 책임 부인
Este texto foi traduzido automaticamente. (Aviso legal)
Questo contenuto è stato tradotto dinamicamente con traduzione automatica.(Esclusione di responsabilità))
This article has been machine translated.
Dieser Artikel wurde maschinell übersetzt. (Haftungsausschluss)
Ce article a été traduit automatiquement. (Clause de non responsabilité)
Este artículo ha sido traducido automáticamente. (Aviso legal)
この記事は機械翻訳されています.免責事項
이 기사는 기계 번역되었습니다.책임 부인
Este artigo foi traduzido automaticamente.(Aviso legal)
这篇文章已经过机器翻译.放弃
Questo articolo è stato tradotto automaticamente.(Esclusione di responsabilità))
Translation failed!
Projects, Client Hub, and Solutions in ShareFile for Windows
ShareFile for Windows now provides direct access to all files stored in your Projects, Client Hub, and Solutions (Tax, Legal, Client Billing) folders. These three new folders appear in the Windows application, allowing you to navigate, reference, and work on engagement-related documents without leaving Windows.
The latest version of ShareFile for Windows requires users to re-authenticate to access the application. Users will be prompted to log in via a pop-up once the update is installed.
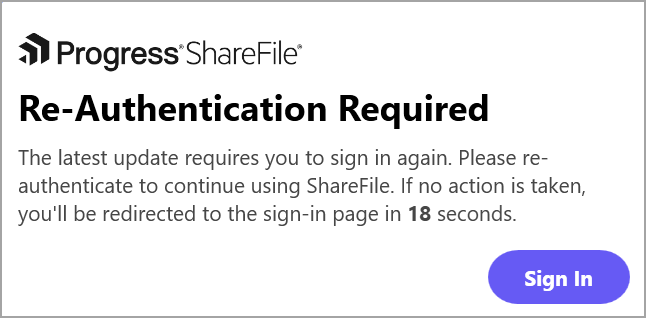
NOTES:
If no action is taken, the login flow will be redirected once the timer expires.
For detailed instructions on downloading and installing ShareFile for Windows, see Download ShareFile for Windows.
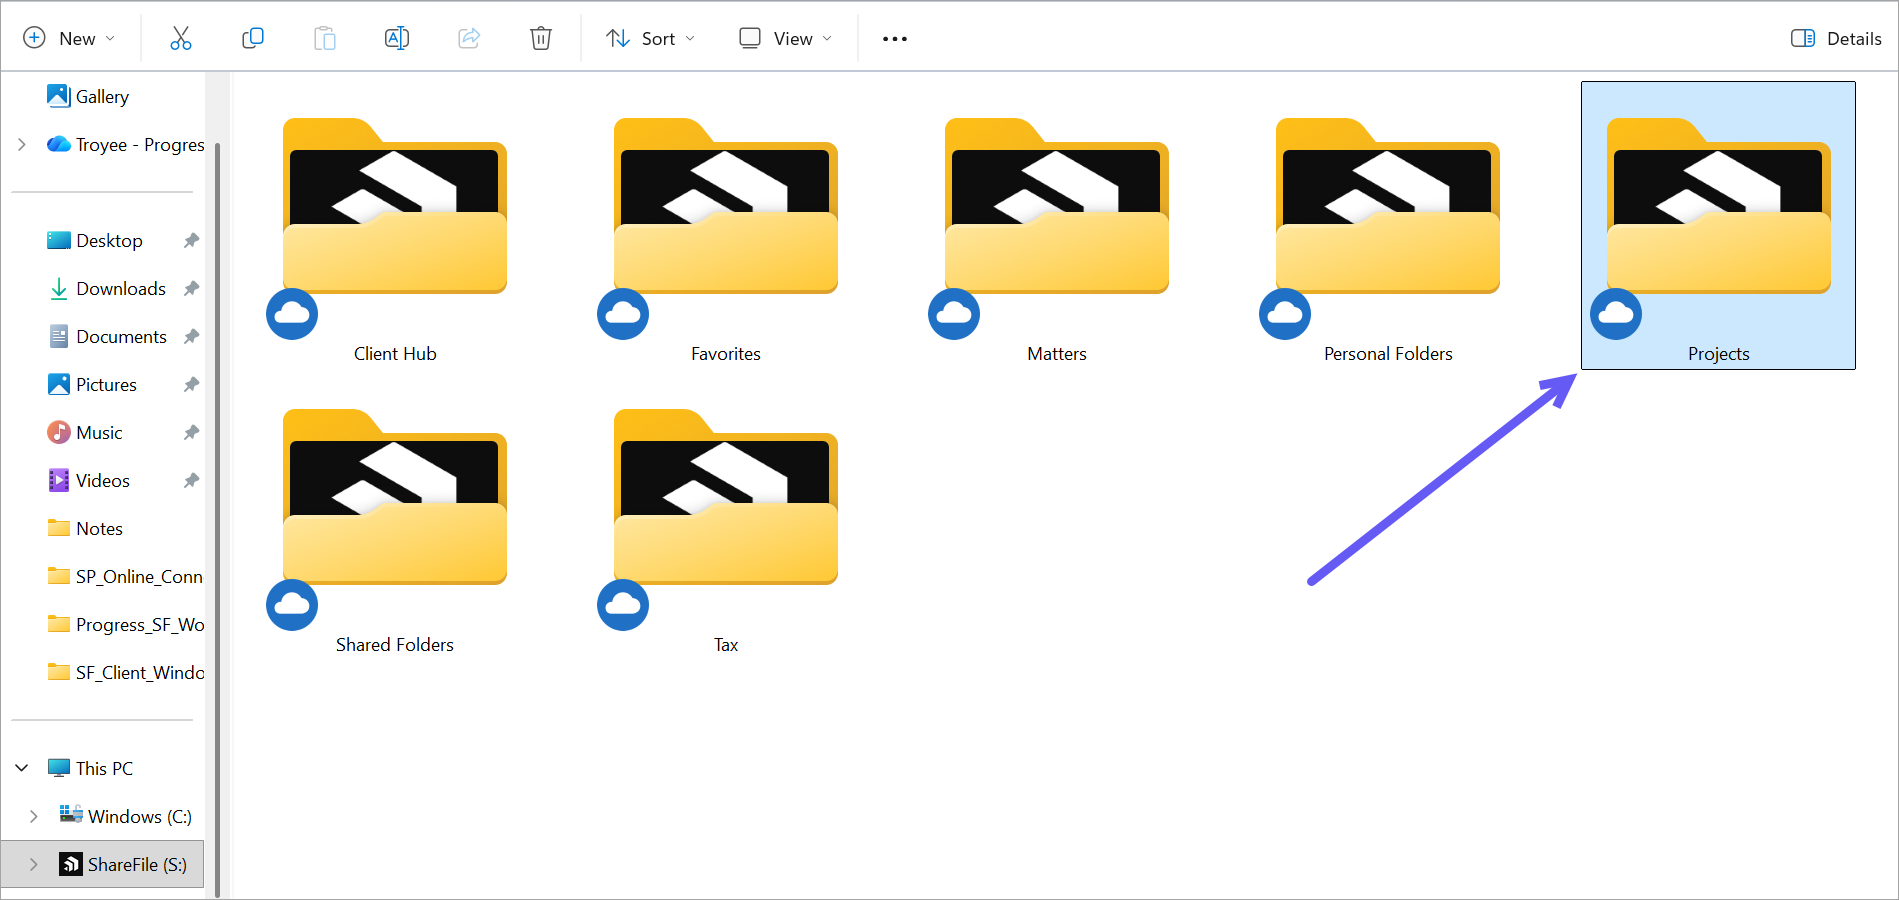
Projects
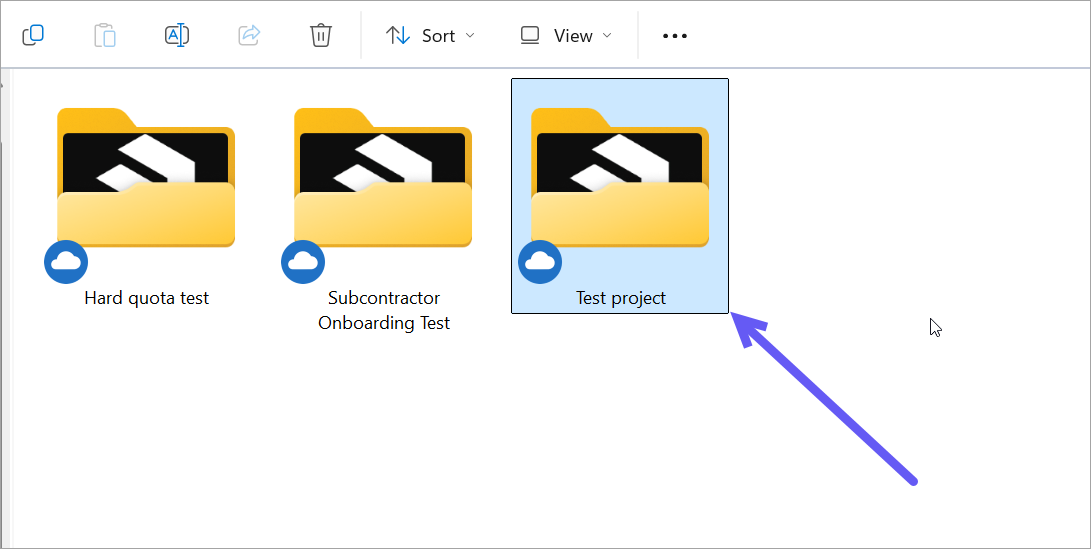
The Projects folder displays all your Open and Closed projects as subfolders. Each project folder contains all files associated with that project and reflects the files and folders shown in the project Files Tab on the web.
- Folders and requests created on the web appear as folders within the project.
- Files linked to a folder or request appear inside the corresponding folder. See Projects for more information.
Client Hub
Client Hub displays a list of all clients you are currently engaged with, based on the clients added to Client Hub on the web. Each client is represented as an individual folder. When you open a client’s folder, all related files and folders are organized and accessible in a consolidated location.
For more information about efficiently managing your client list, see Client Hub.
Solutions (Tax, Legal, Client Billing)
Solutions (Tax, Legal, Client Billing) functions similarly to Projects, offering engagement-specific folders and files arranged in a familiar structure. This ensures consistent and efficient document management directly from Windows. For more information, please refer Solutions.
Common actions across Projects, Client Hub, and Solutions
The following actions can be performed on files in all three sections (Projects, Client Hub, or Solutions) if you have the necessary permissions:
-
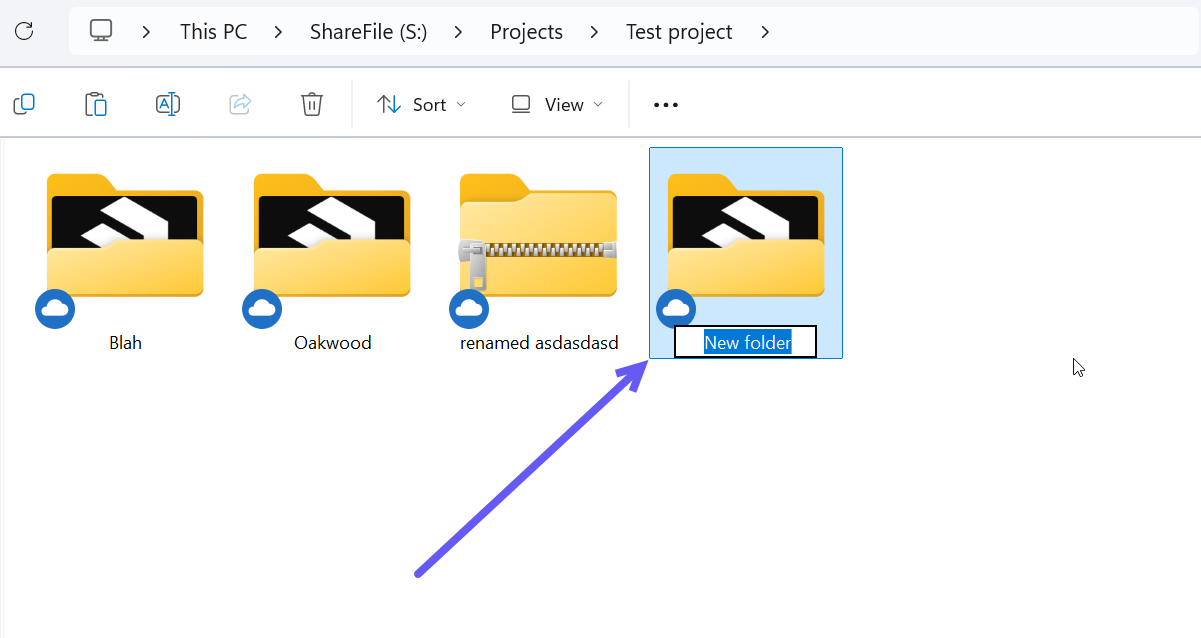
Create a new folder
a. Navigate to ShareFile (S) drive > specific Projects, Client Hub, or Solutions in Windows Explorer.
b. Select any of the folders where you want to create a New Folder.
c. Select New > Folder.
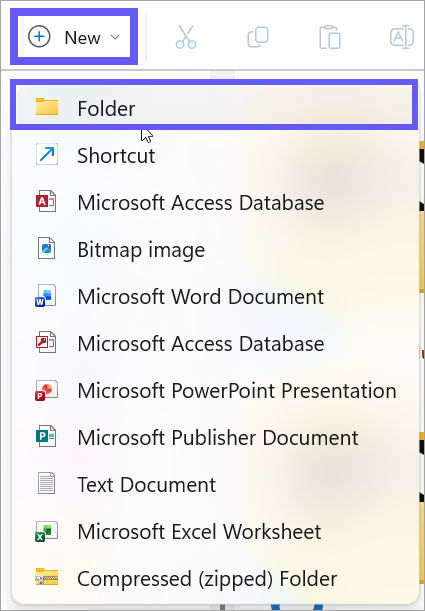
d. The New folder is created and displayed inside a specific folder.
-
Windows: Upload Files
a. Right-click and hover your cursor over ShareFile and select Upload.
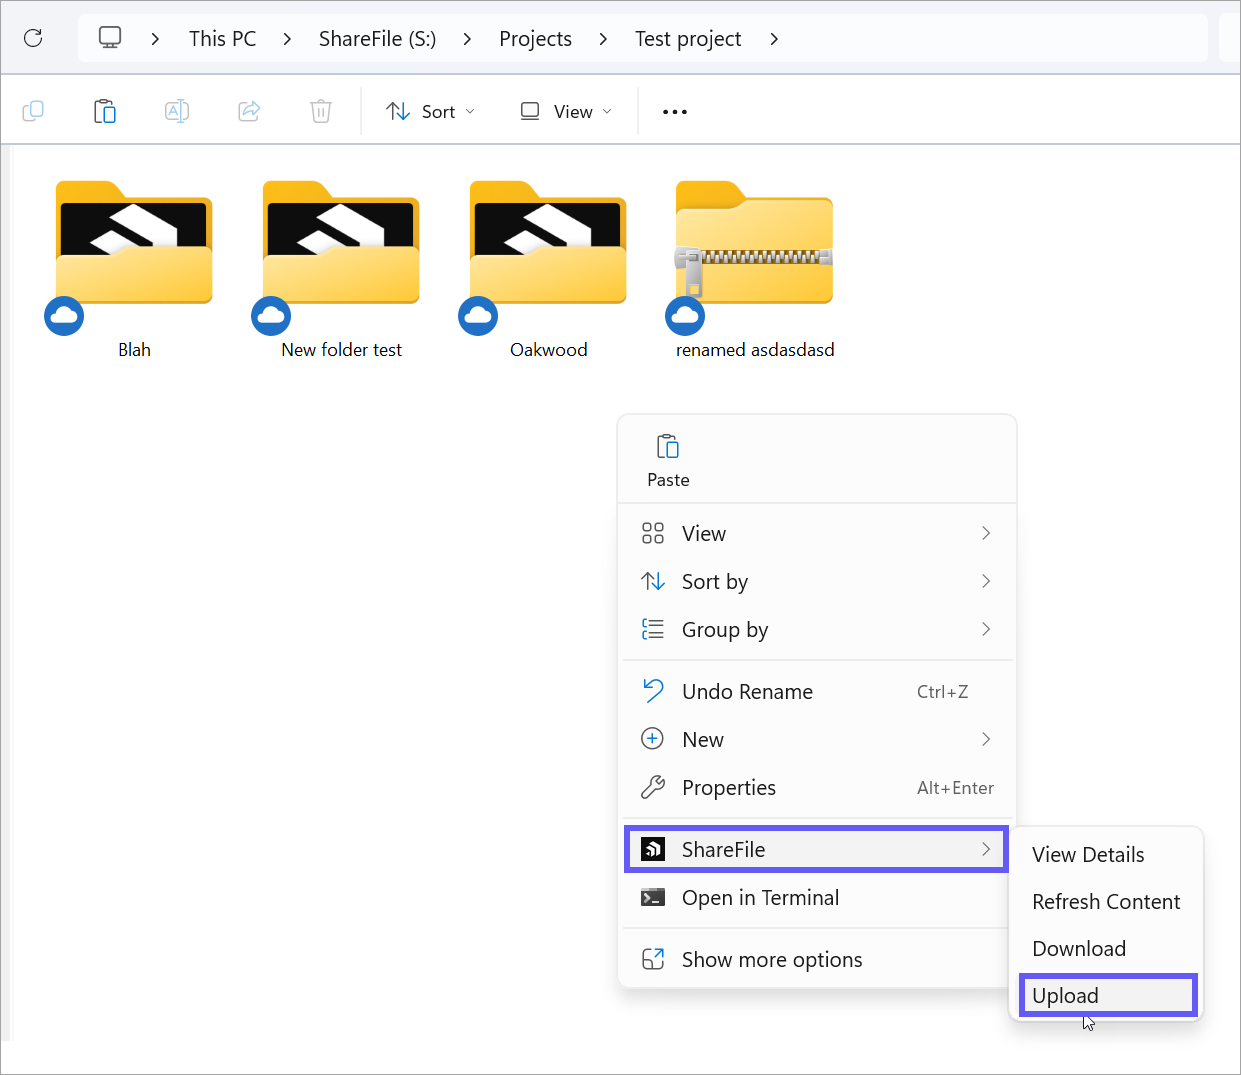
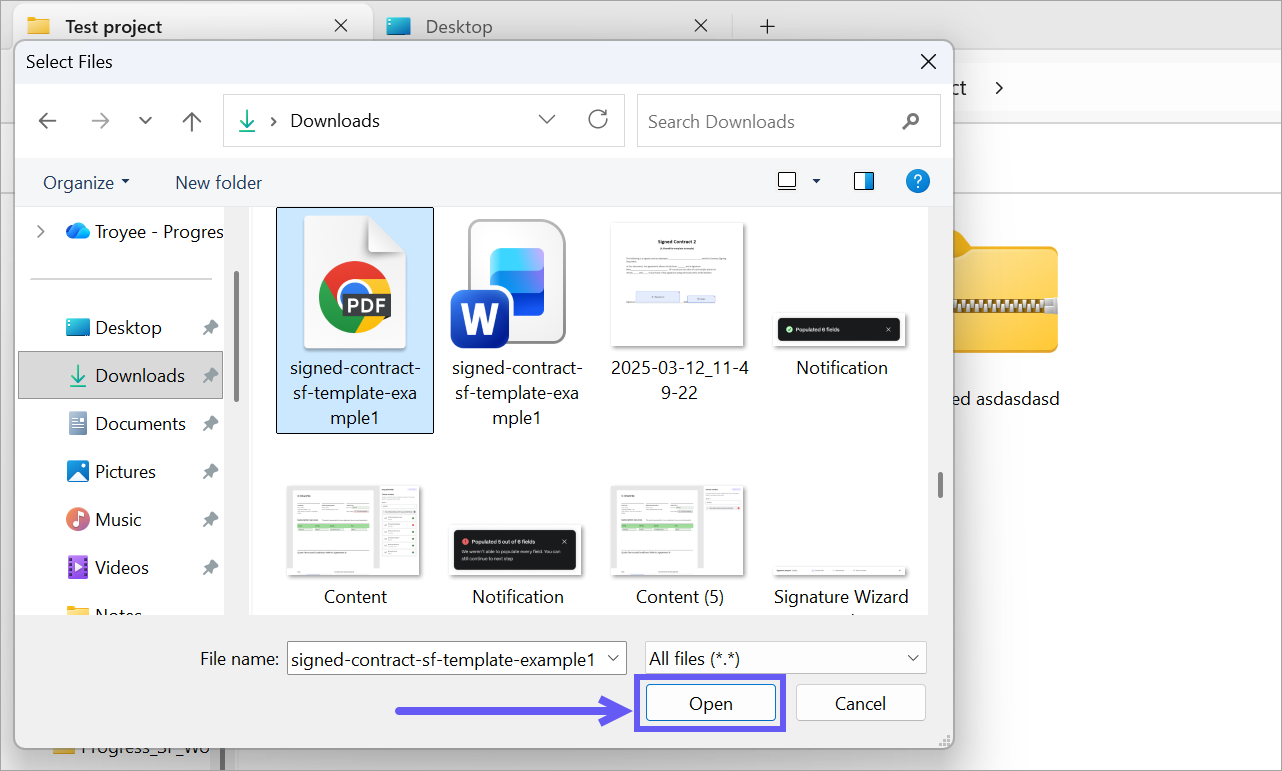
b. The Select Files dialog appears. Navigate to the file to upload.
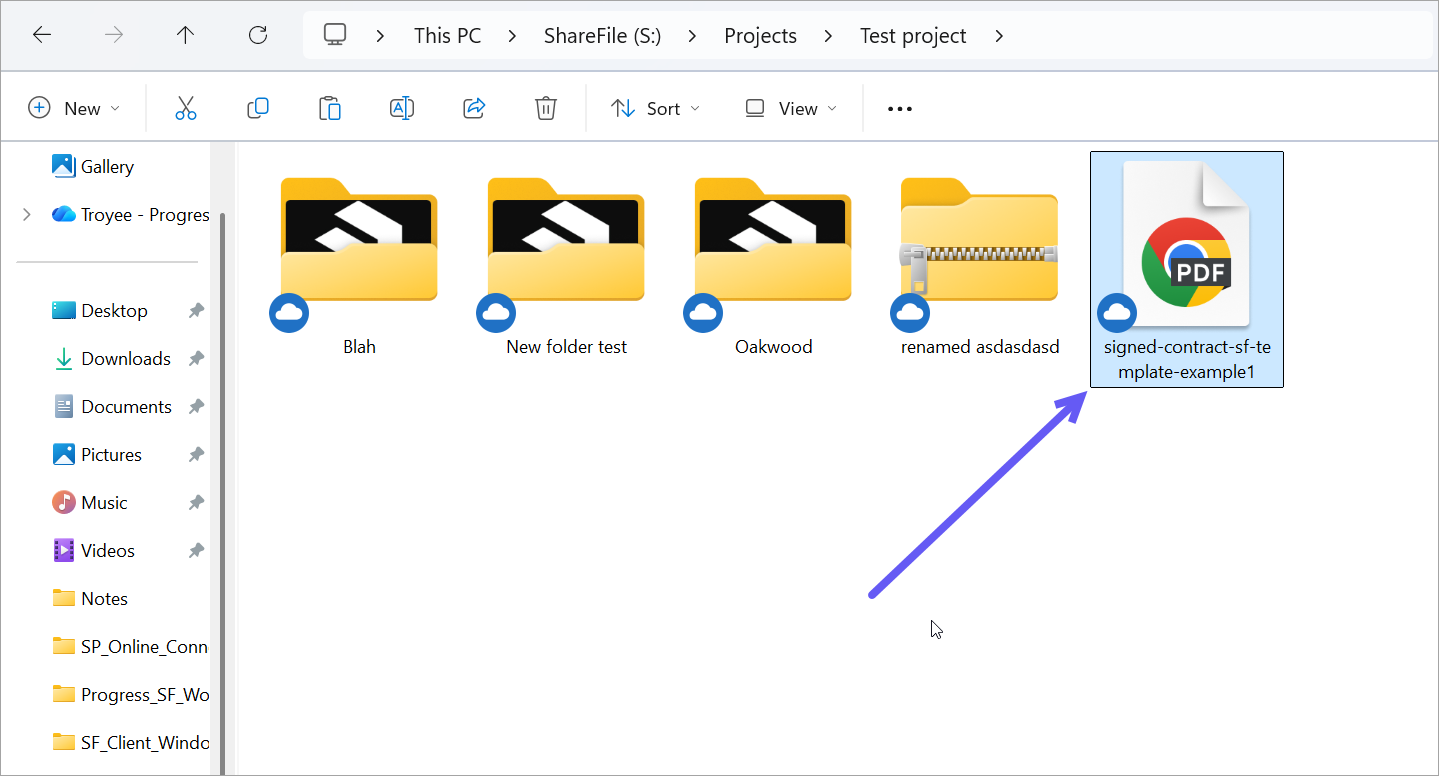
c. The file is successfully uploaded.
-
Web Interface: Upload Files
a. Navigate to ShareFile web > Projects.
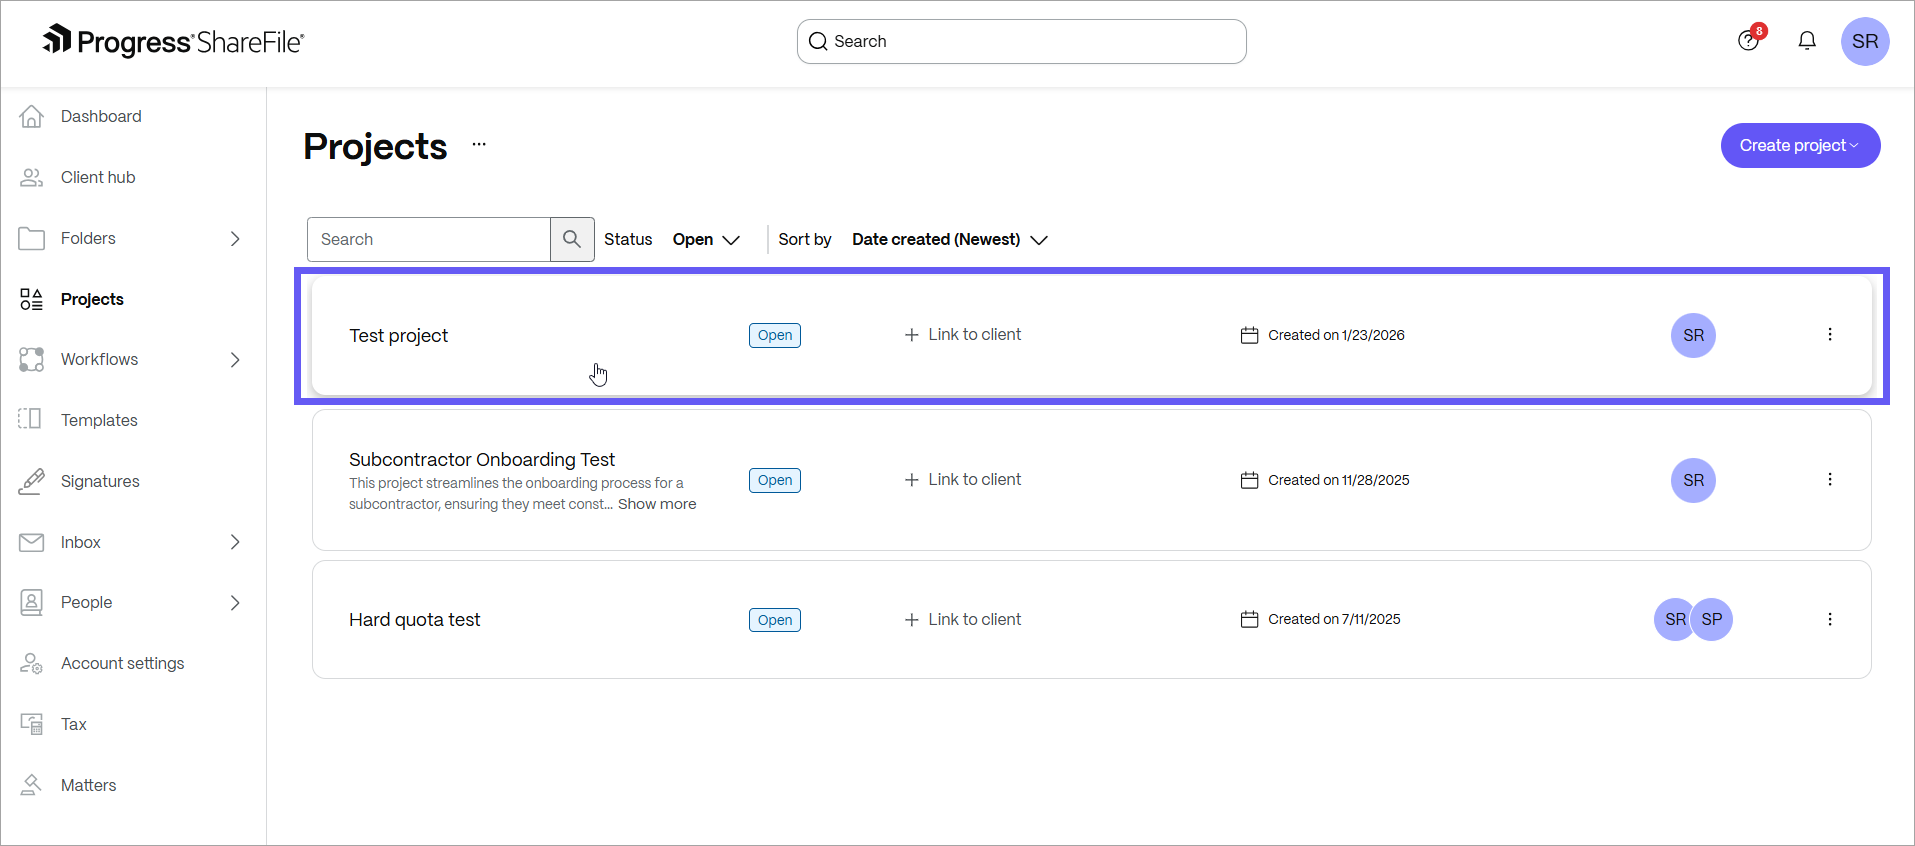
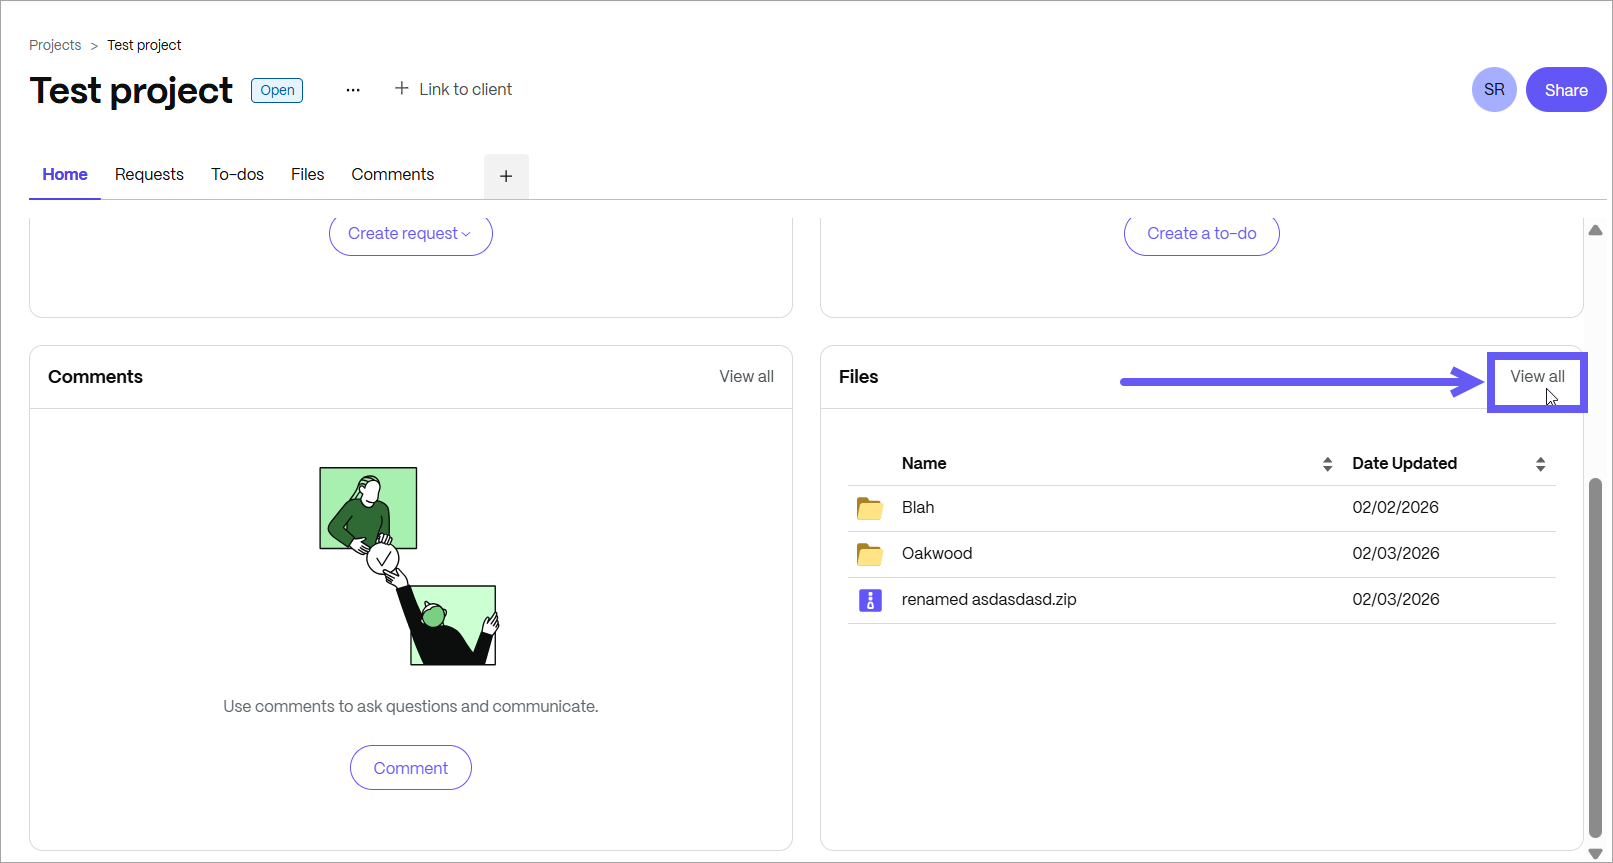
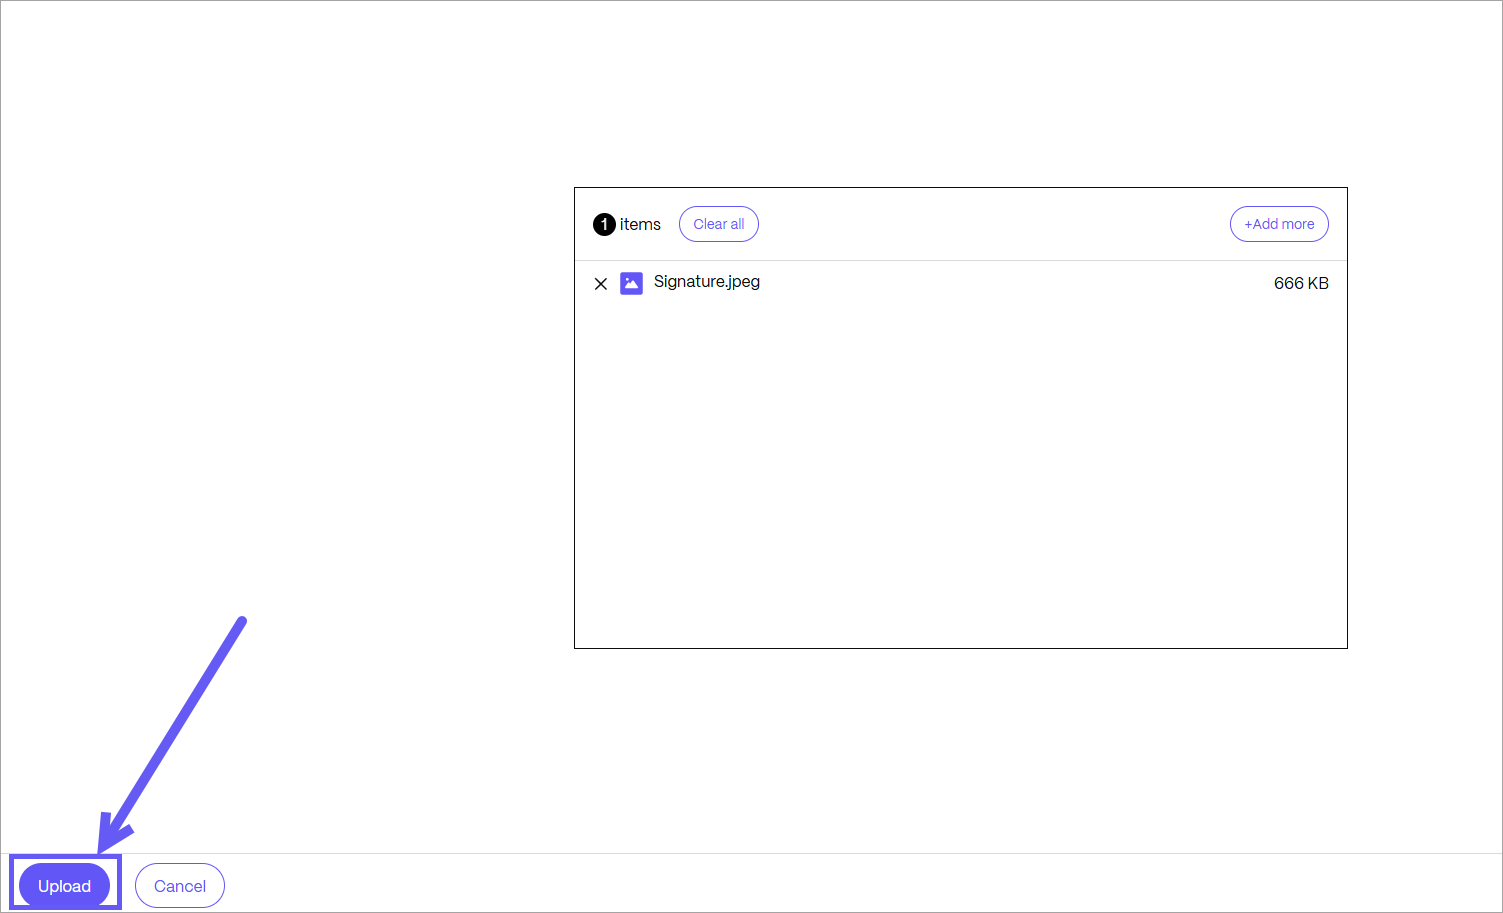
b. Click View all > Upload files.
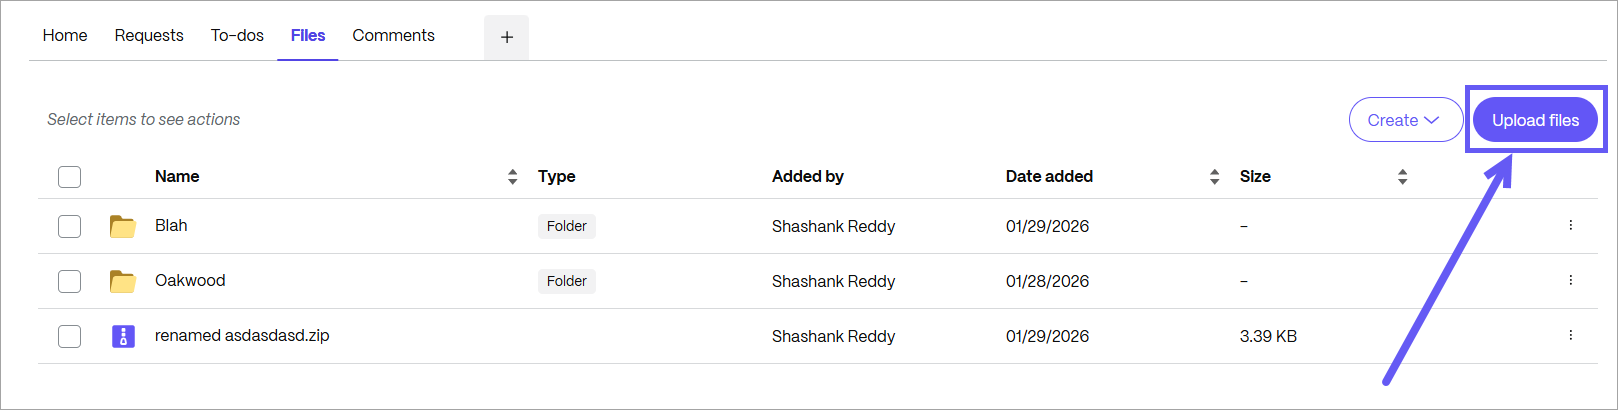 c. Click on Browse files. Choose the type of file that you want to upload.
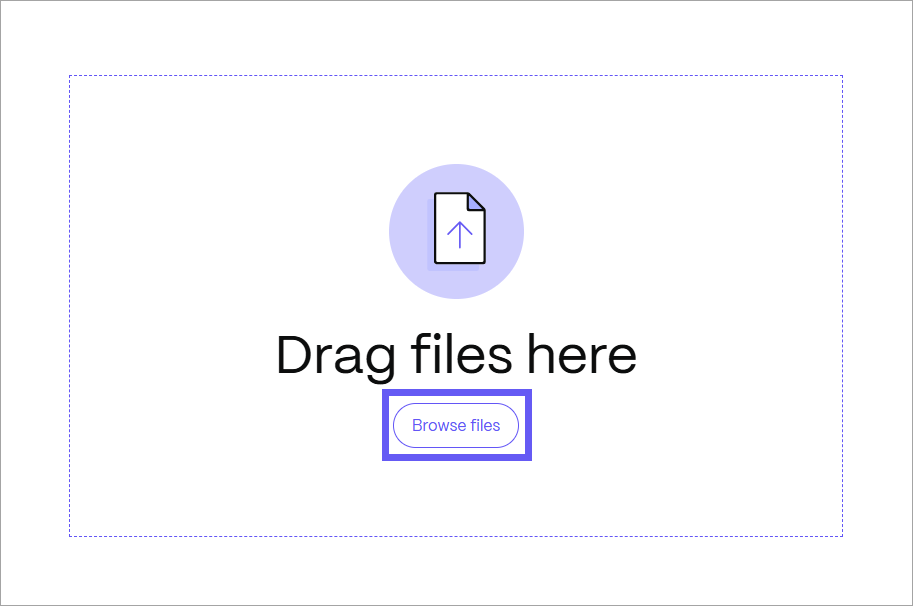
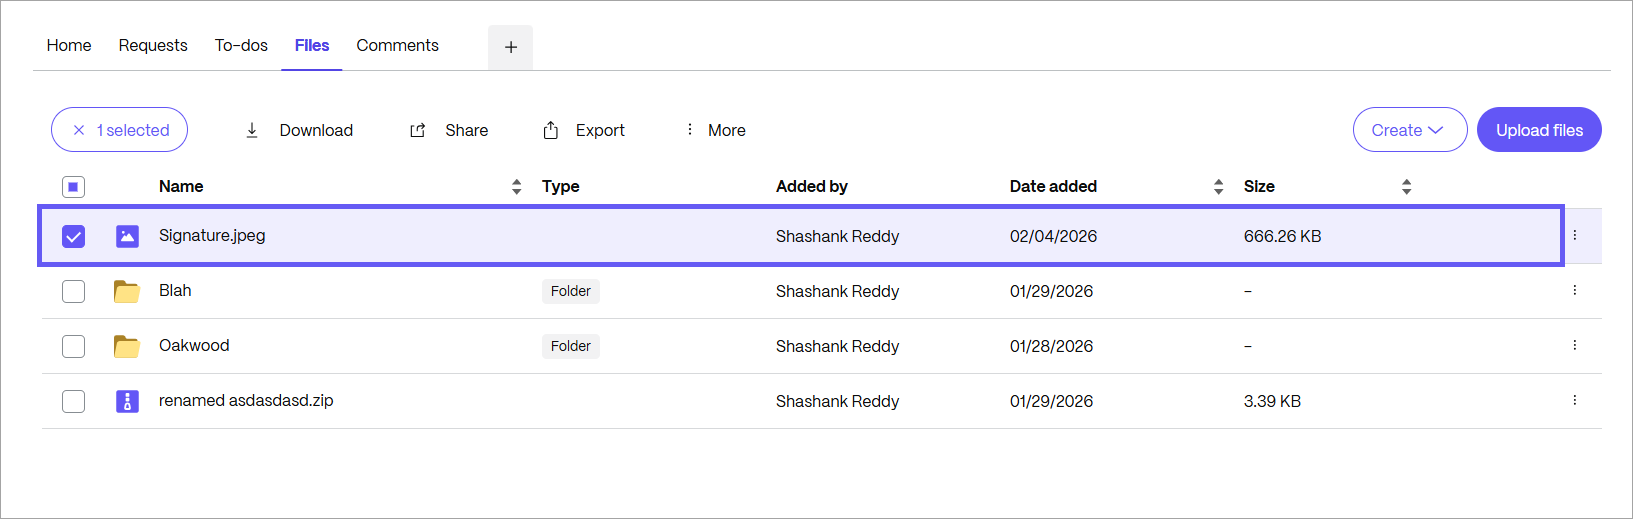
d. Once uploaded, the changes appear on both the Web and Windows.
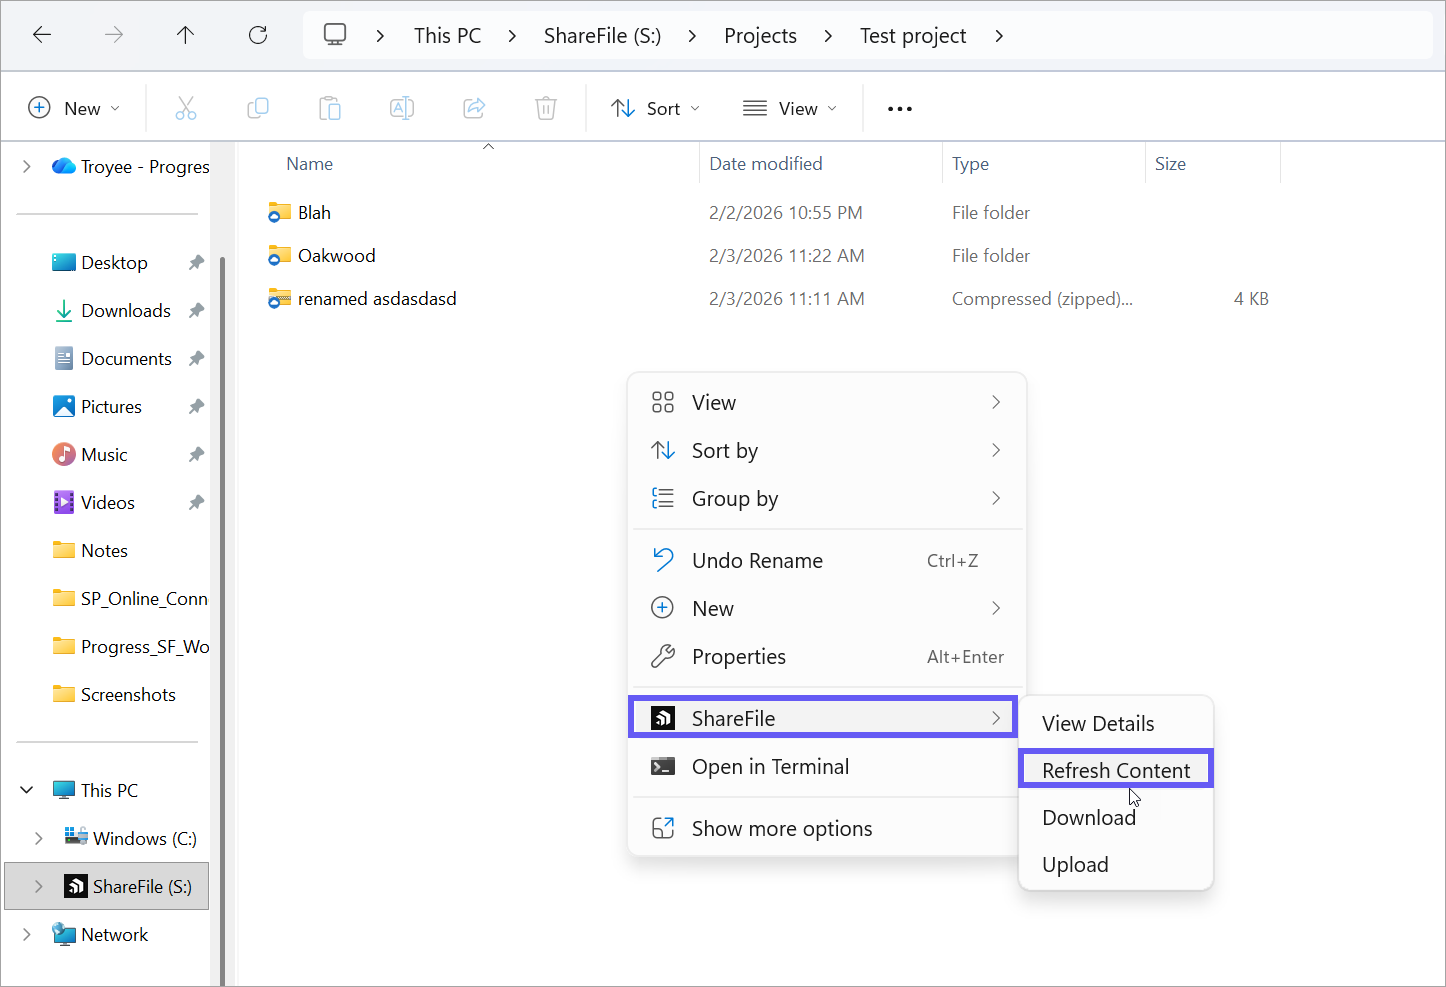
e. To view the same file on Windows Explorer, right-click on ShareFile > Refresh Content.
NOTE:
The ability to create folders or upload files at the top level of Projects and Client Hub is limited. As new Projects and Clients cannot be created from the desktop app, users need to add new items via the web interface.
-
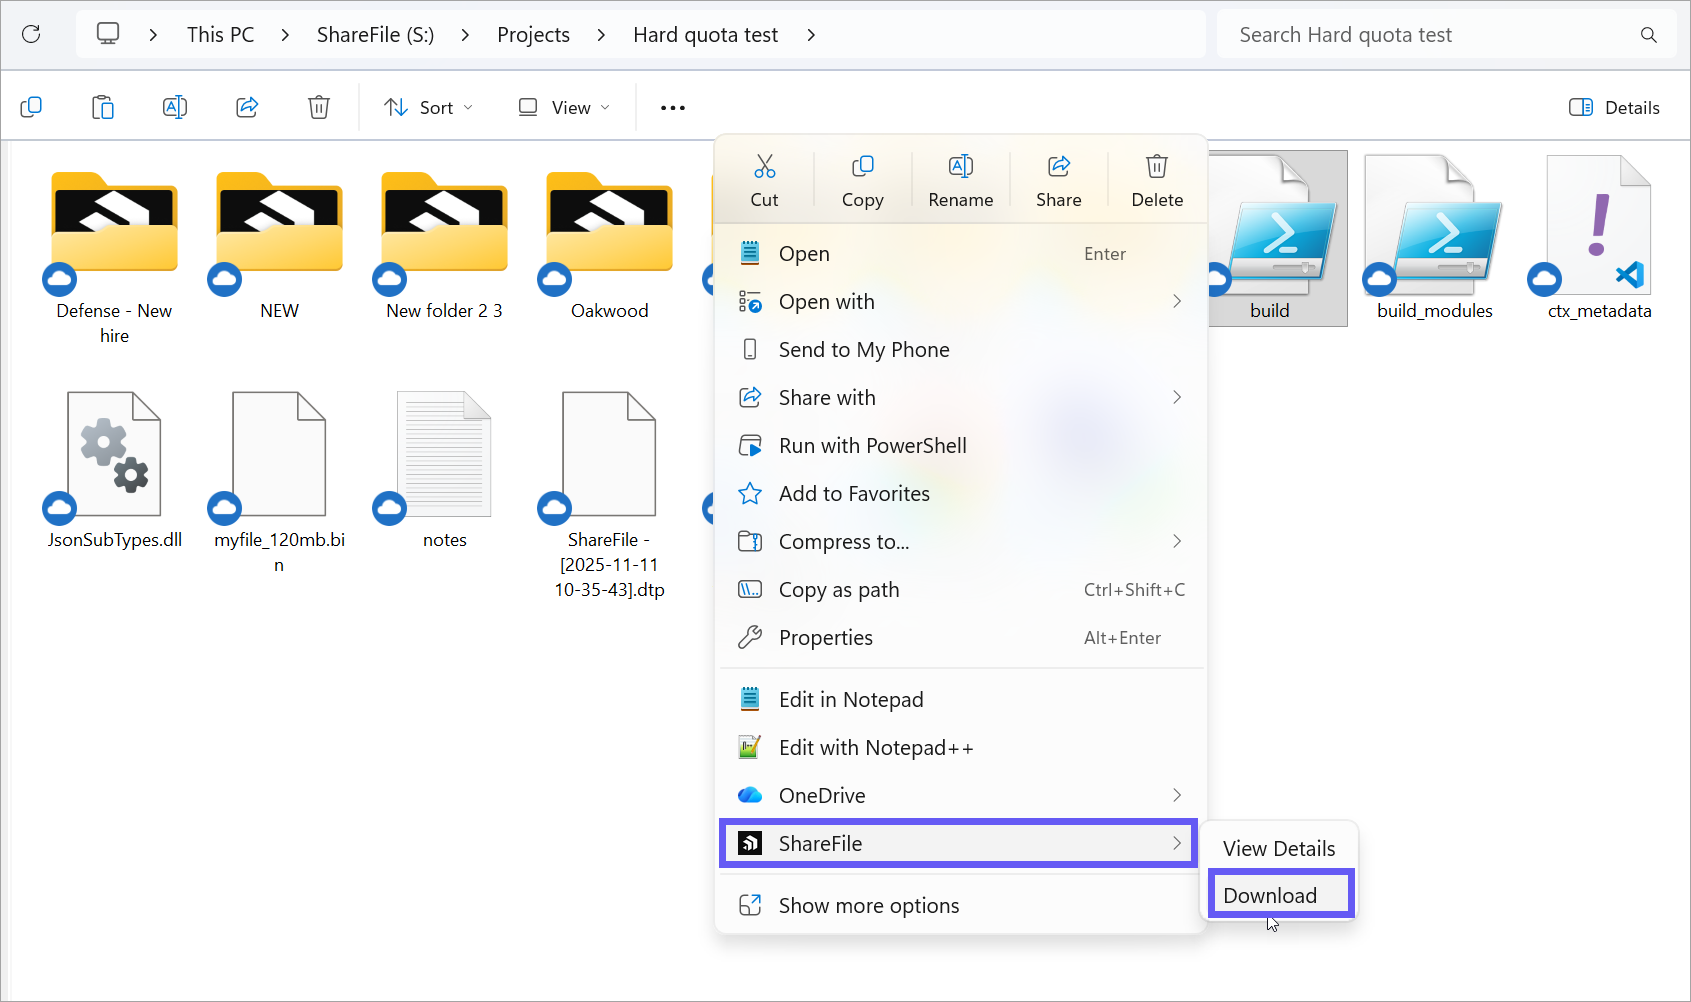
Download Files or Folders
a. In Windows Explorer, go to the desired Projects, Client Hub, or Solutions folder.
b. Right-click and select ShareFile > Download.
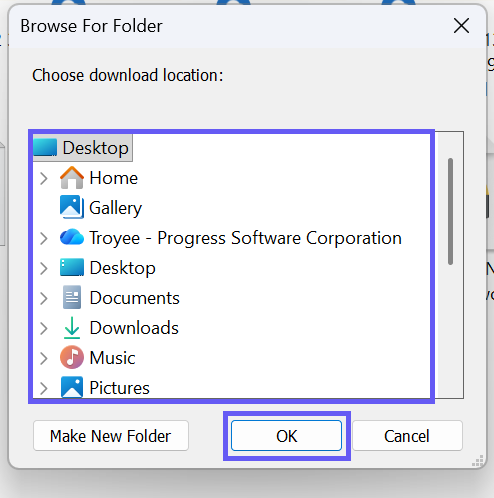
c. The Browse for Folder dialog is displayed, and you can choose the destination to download a file/ folder.
d. Once selected, click OK.
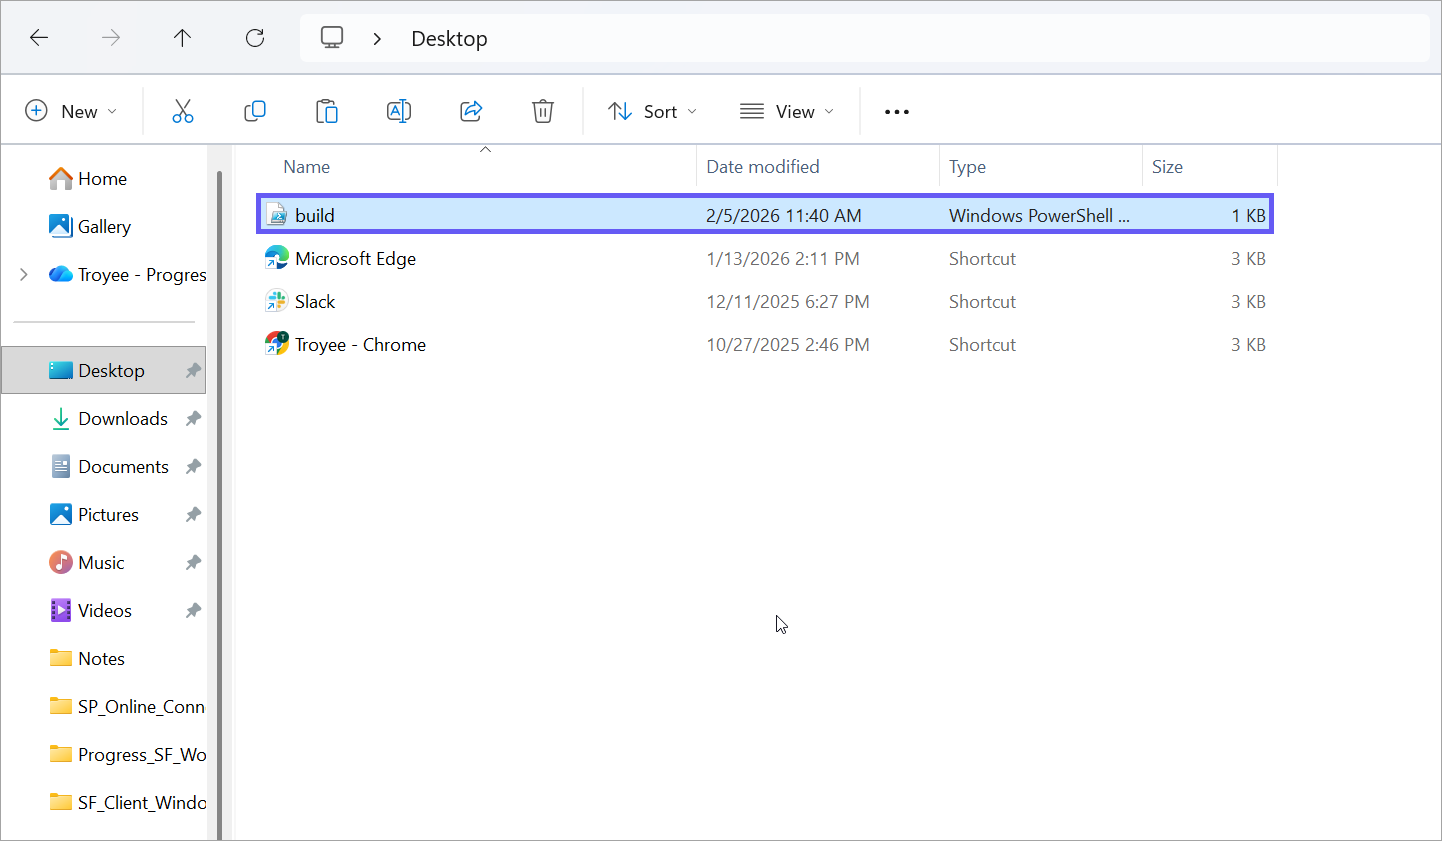
e. Navigate to the desired location to view the downloaded file/folder.
-
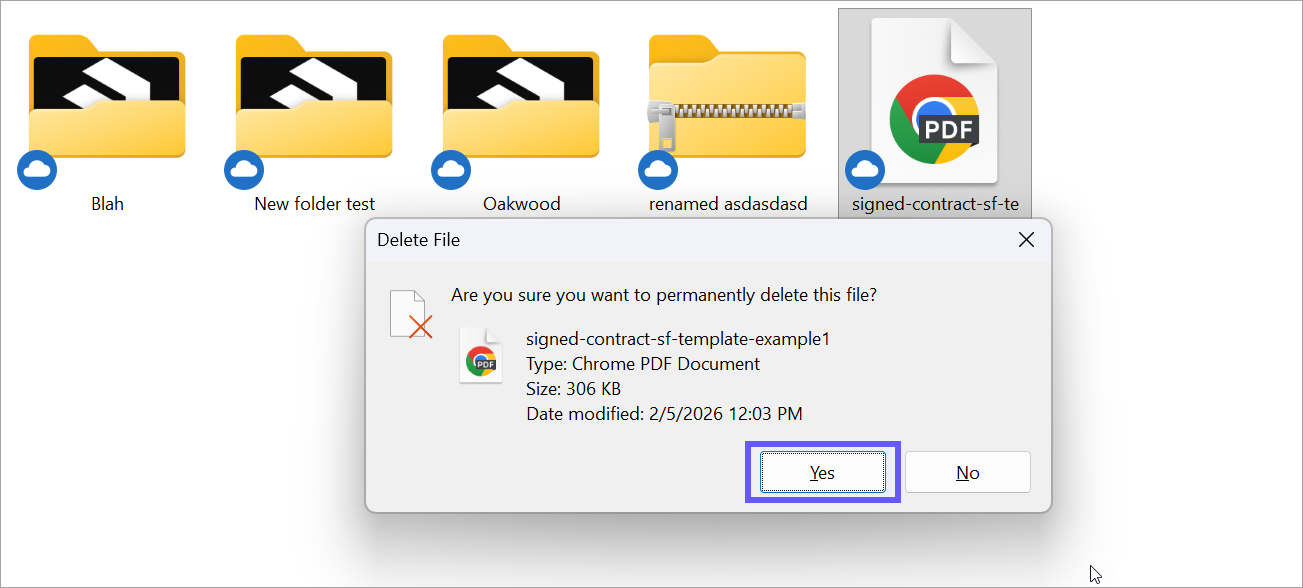
Delete Files or Folders
a. To permanently delete any file/folder, right-click it or select the Delete icon, then click Yes.
-
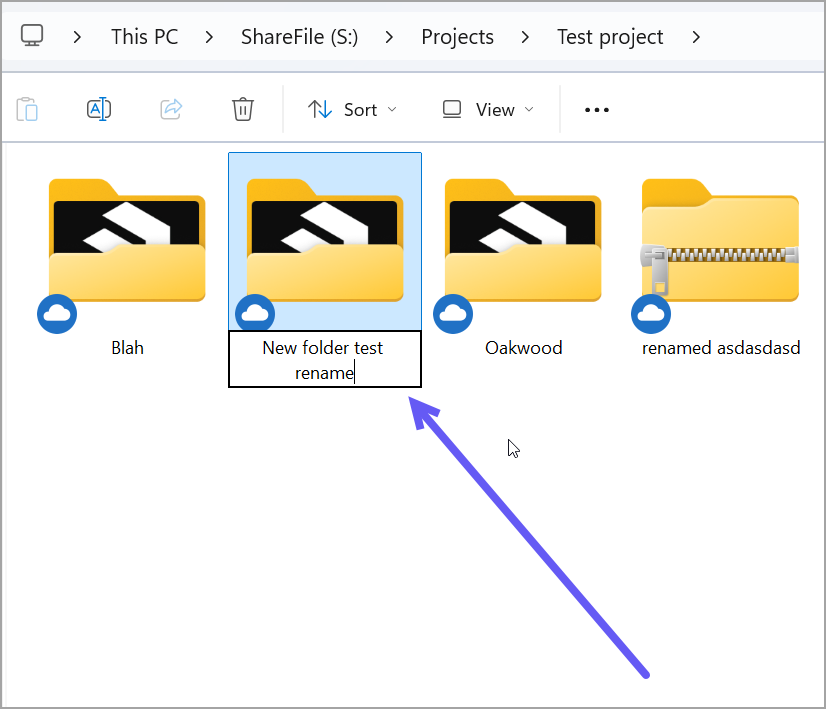
Rename Files or Folders
a. Navigate to the specific Projects, Client Hub, or Solutions and select the file you want to rename.
b. Type the new name for the file.
-
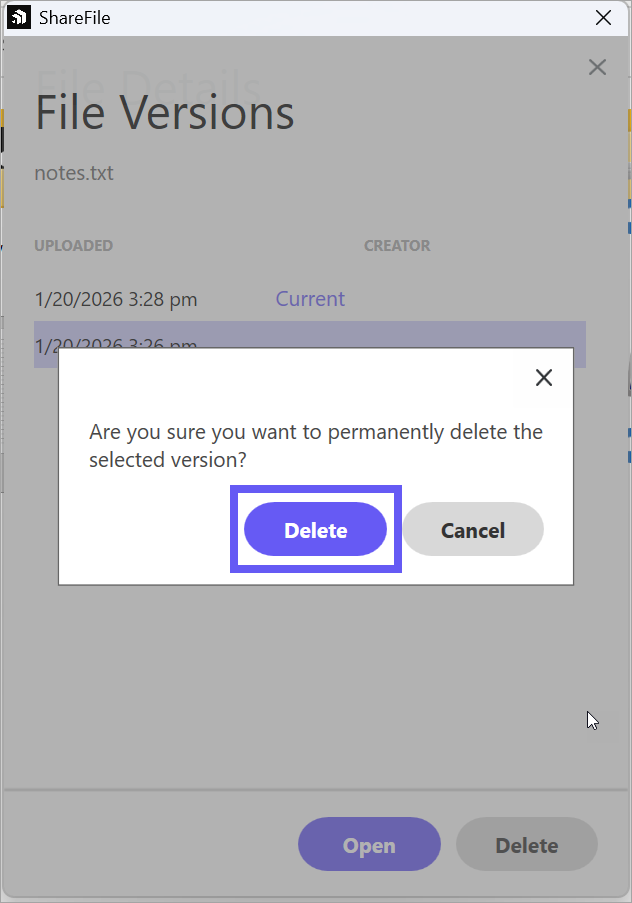
File versioning and View details
a. Navigate to the specific Projects, Client Hub, Solutions folder. Select a folder and right-click on ShareFile > View Details.
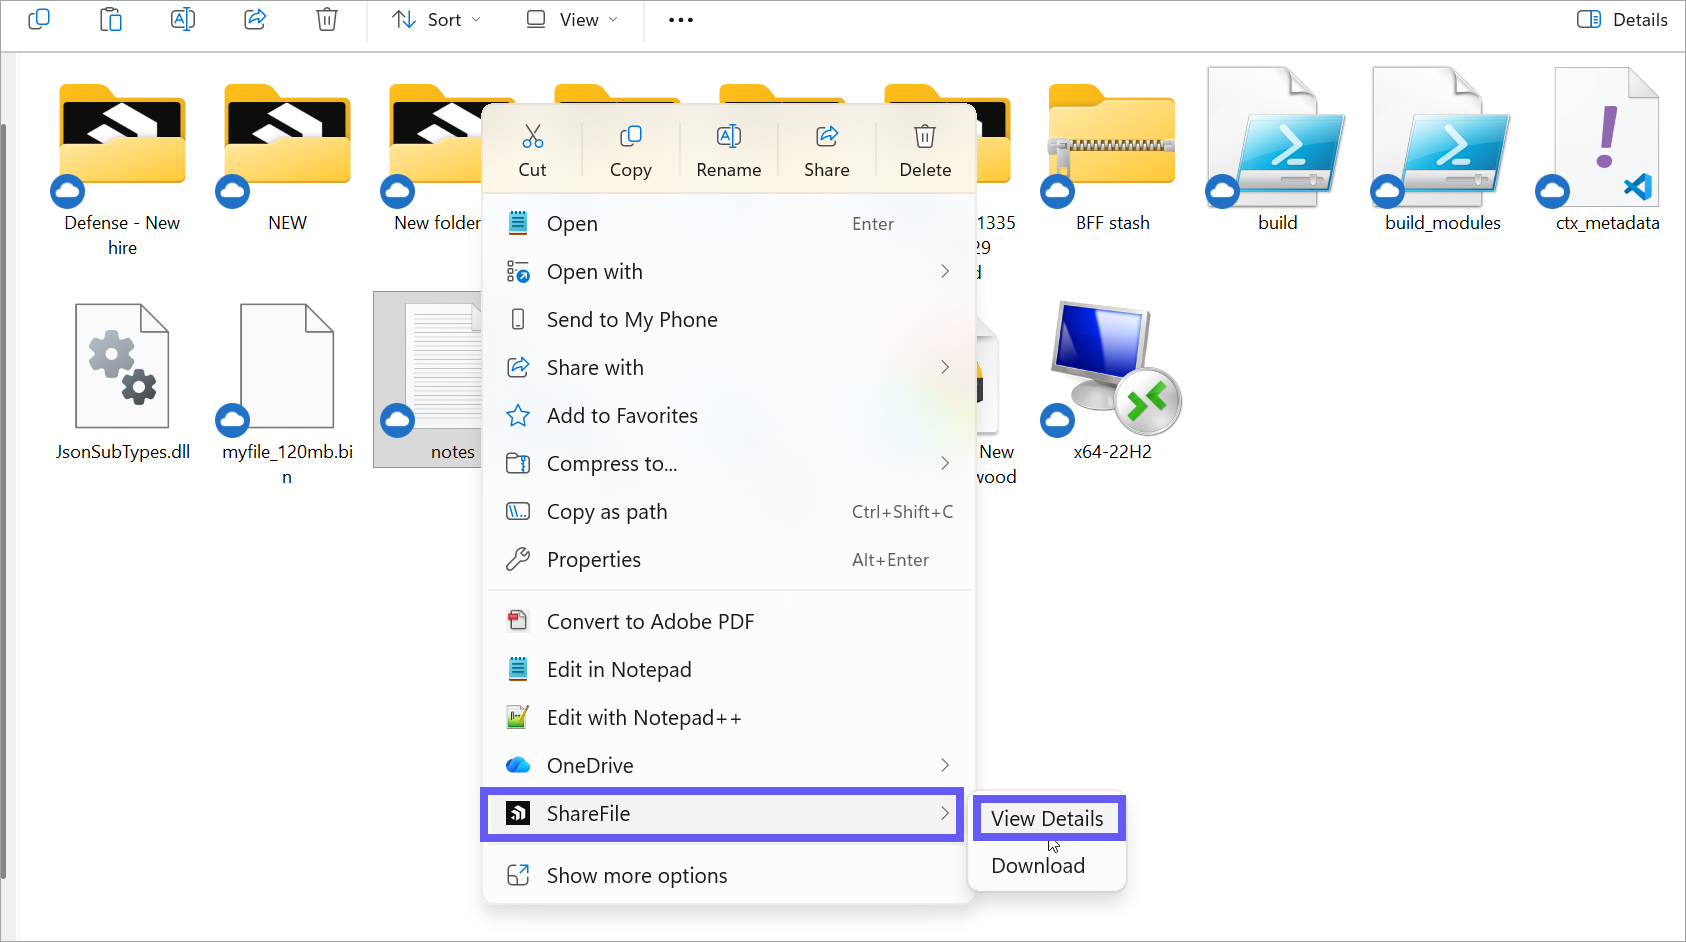
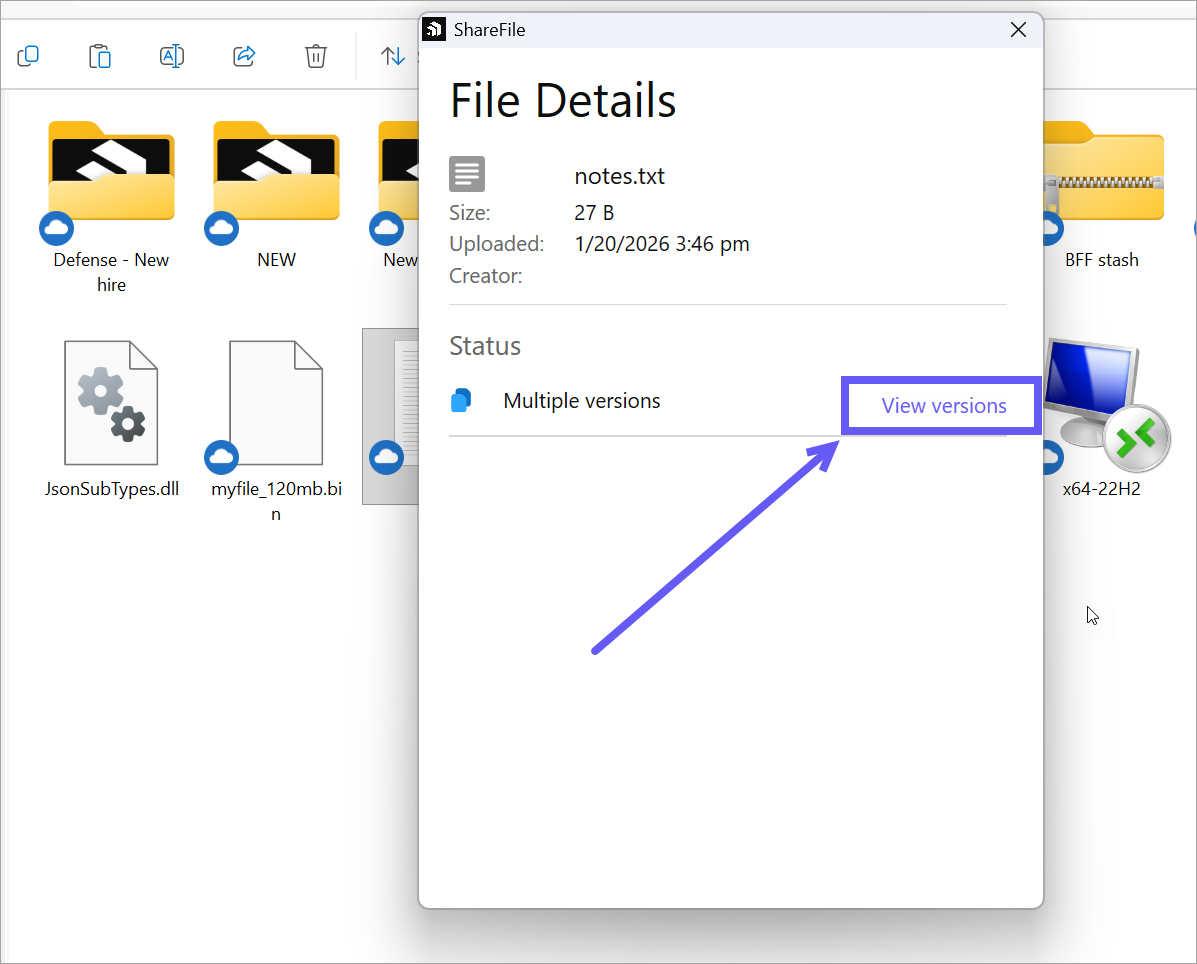
b. The File Details dialog is displayed.
c. Click on View versions to open or delete file versions.
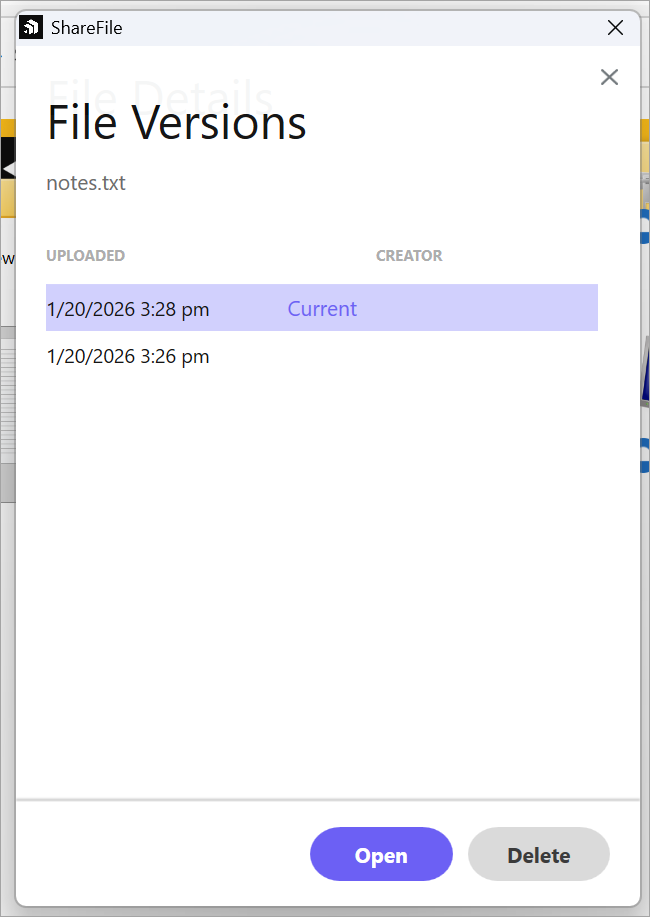
NOTE:
All file versions can be seen for the selected file.
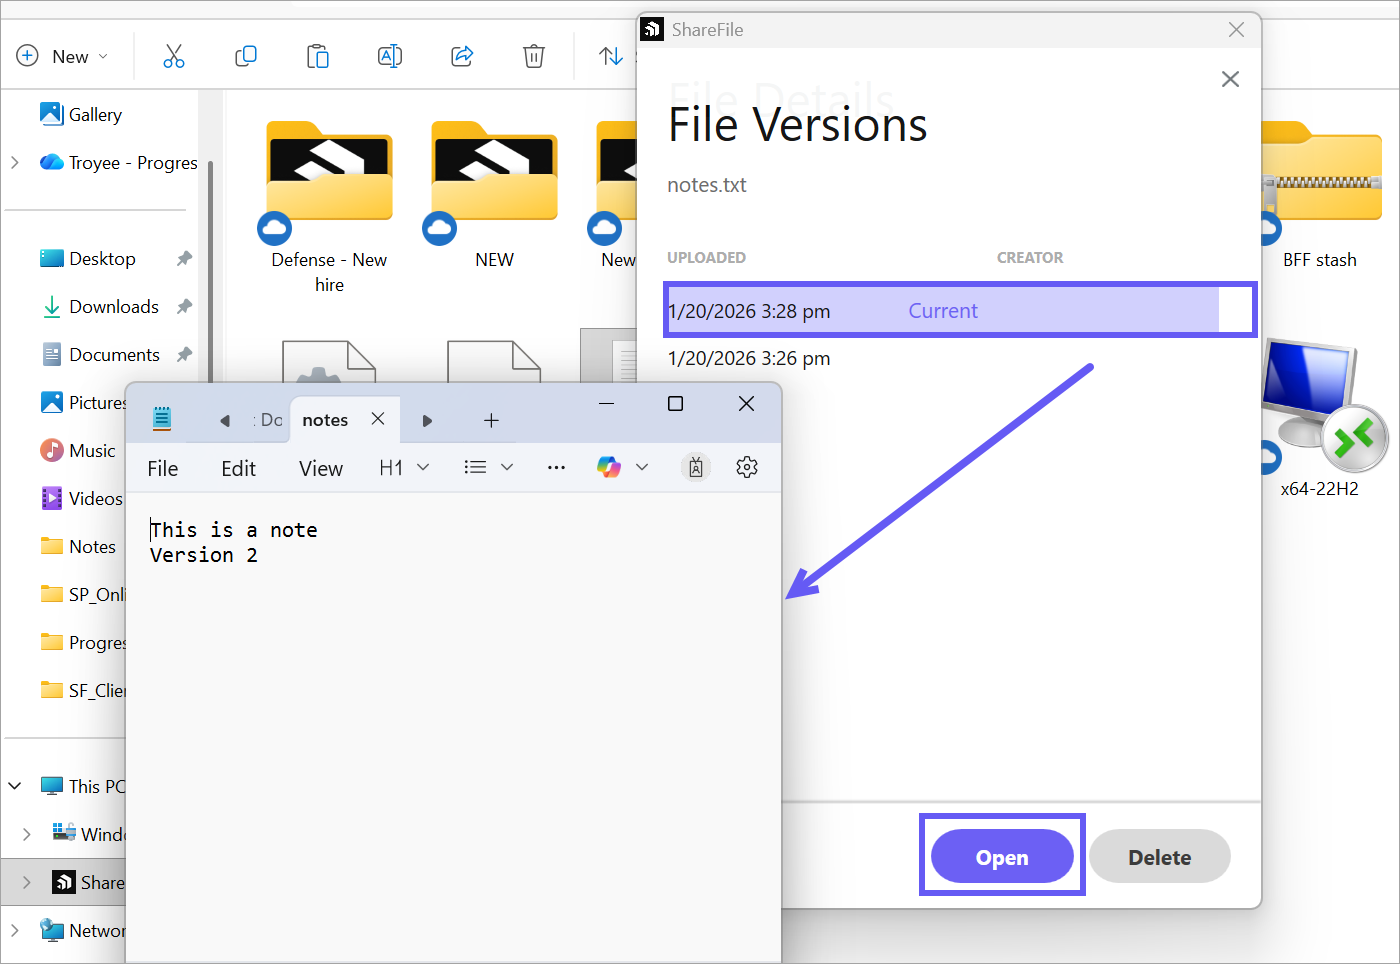
d. Select Open to view the selected file version and click on Delete to permanently delete the selected version.
Sync Behaviour across Projects, Client Hub, or Solutions
File updates remain consistent between Windows and the web:
- Adding a file in Windows reflects on the web.
- Deleting a file in Windows also removes it from the web.
-
Editing a file on either platform updates it across both.
NOTE:
This ensures your content stays up to to date regardless of where you work.
Manual Refresh of Files and Folders
If new folders or files do not appear automatically, users can manually refresh the contents:
- Right-click inside the folder.
- Select ShareFile.
-
Click Refresh to update the contents.
NOTE:
Users can manually refresh folder contents in Windows Explorer. Currently, automatic refresh is not supported for these folders.
Share
Share
In this article
This Preview product documentation is Citrix Confidential.
You agree to hold this documentation confidential pursuant to the terms of your Citrix Beta/Tech Preview Agreement.
The development, release and timing of any features or functionality described in the Preview documentation remains at our sole discretion and are subject to change without notice or consultation.
The documentation is for informational purposes only and is not a commitment, promise or legal obligation to deliver any material, code or functionality and should not be relied upon in making Citrix product purchase decisions.
If you do not agree, select I DO NOT AGREE to exit.