Add an on-premises connectors
NOTE:
An existing storage zone with Network Share or SharePoint connector features enabled is required to add on-premises connectors. For more information, see Create and manage storage zone connectors.
Employee users must have the permissions to Create and Manage Connectors and Create root-level folders to add on-premises connectors.
-
Navigate to Account settings > Connectors and then select Add next to Network Share or SharePoint connector.
-
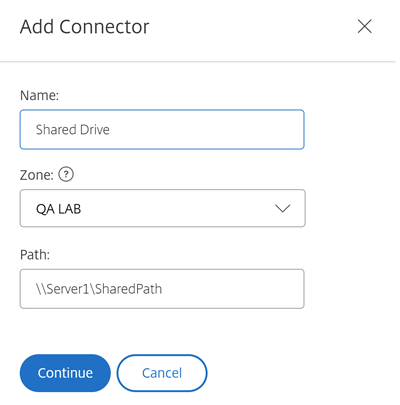
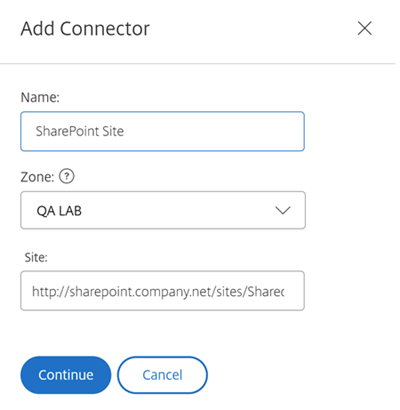
Within the Add Connector dialog box, enter the display name for the Connector. Connectors must have a unique name and not one currently used on the account.
-
You can choose the on-premises zone that is local to the Network Share or SharePoint site.
NOTE:
The zone must either be in the same domain or have a trust relationship with the storage resource.
-
Enter the path to the Network File Share connector using the UNC Path or enter the Site using the HTTP or HTTPS URL of the SharePoint site or document library.
Other considerations include:
- Network File shares and SharePoint document libraries will require additional (basic) authentication upon opening the connector. The credentials used to log in to the ShareFile account might be different than the credentials required to authenticate to the Connector.
- If both Network File share and SharePoint connectors are configured, note the same credentials are used to authenticate with SharePoint libraries and Network File shares. If a user needs to use different credentials to access a connected library or share, the user must log out of their ShareFile account and close the browser session. When you open the connector, you need to authenticate using the alternate credentials.
- Basic Authentication does not support non-ASCII characters. If using localized user names, try using NTLM or Negotiate authentication.